Starbound – Completing the First Planet (Quick Guide)
In Starbound, you use Terraria-style mining mechanics to collect materials and progress through the galaxy. This game was released in 2016. It has had some resurgence thanks to a re-release of the game on the invaluable Xbox PC Game Pass platform. I figured since I didn’t find immediate coverage of my own questions, new players may be wondering how to progress in this game. The game takes place in outer space. It has a plotline involving being stranded in space after a cataclysmic invasion destroys the planet. With some basic tools, you’re left to fend for your own. With a damaged spaceship, you escape to the orbit of a wild alien planet. Now that everyone knows the background, let’s get into how to make it past the first planet!
Some Initial Tips on
Starbound For Beginners
Your Trusty New–Broken–Ship
You could also compare Starbound to Minecraft, but the storyline is more similar to a combination of Terraria and an RPG. I’ve been wanting to try Starbound from Chucklefish ever since I first learned that it was similar to Stardew Valley.
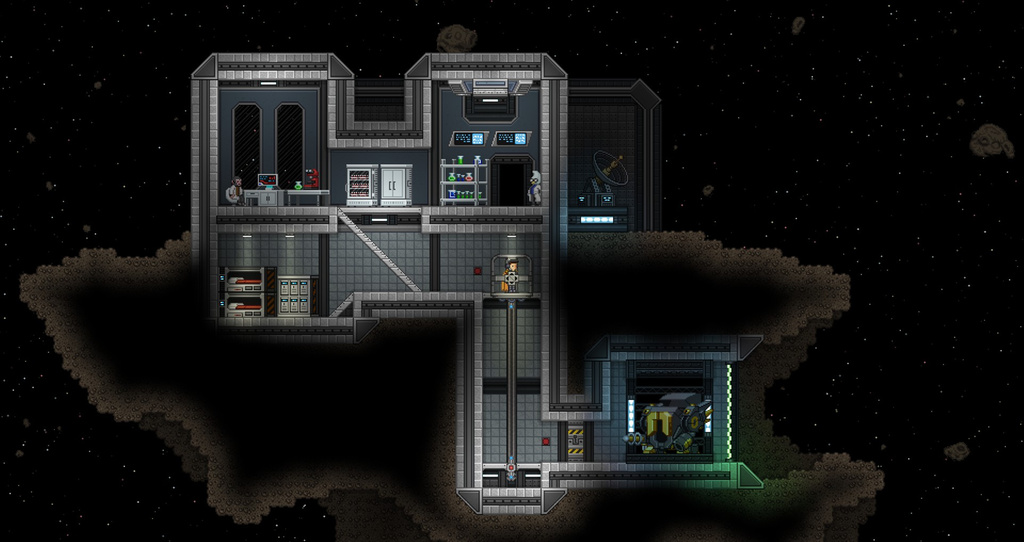
The initial planet represents the core repeating questline of the game’s open world. Completing it is a good way to set the course for the rest of the game. Thanks to the brief intro of the game at the Protectorate base, you’ll have a useful tool called a Manipulator. It’s kind of like a mix between a mining pick and a phaser. It allows you to mine materials from the inside and collects dirt, ore, objects, and more. This, and your broadsword, will provide what you need to complete the first quest. Collecting core fragments for a special arc temple that will allow you to reconnect with an alien space station.
Currently Orbited World
If you’re already at this stage, you have more or less figured out how to get through the intro. You may want to experiment a bit to figure out the controls before moving on. For starters, the action bar at the top of the page allows you to place items into it. You can then access them quickly with your mouse. By default, your manipulator, magnifying glass, and broadsword will already appear on the bar from the start.
Action Bar
I recommend grabbing the flashlight out of your ship’s locker as well because it can get quite dark when traversing through the caverns of the planet! Torches also help and are easy to craft using lumber harvested from trees and bits of coal mined from the dirt. Dangling plant matter from the ceiling of caves can also be used to craft ropes, which are helpful when exploring.
Being Careful in
Starbound
When you create your character in Starbound, I highly advise you to choose the casual mode for your character. The more difficult settings can be totally brutal. When getting started, survival mode is really not necessary to be challenged by the game.
Additionally, you should act quickly to cook food from ingredients you find along the surface. This will be vital after getting damaged by creatures or accidental falls when exploring.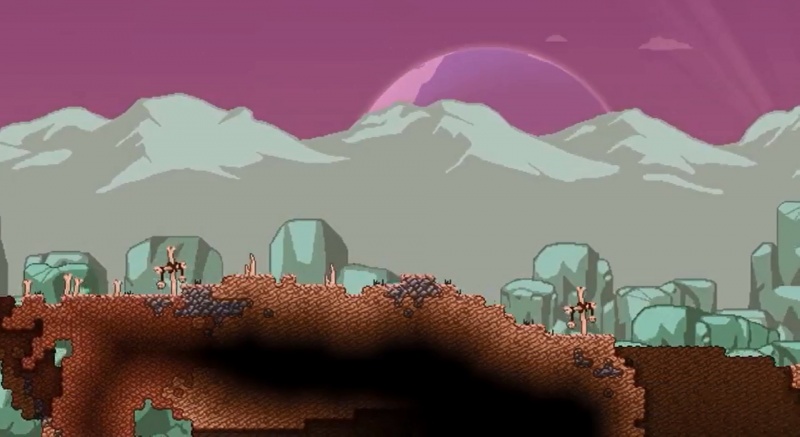 You can also find or craft bandages and health kits, but this might be difficult on the first planet. They are however dropped by several of the creatures around, and inside, the planet.
There are so many strategies and techniques when getting started. It’s kind of excessive to go over all of them, which is why I’m focusing on the basics. The best thing to do when you get started is just explore. See how things work, hoping to find out where the quest is. Do try a few things like harvesting, mining, cooking, and crafting though. This will help you with the overall strategies of the game. It’s also fun.
Finding the First Temple and Mine
The temple is an ancient-looking structure that is easy to find. It’s also where you get your first quest and the first step in teleporting to the next area. Just walk along the surface of the planet until you find it. It might seem like a long distance, but after you pass over the three major hills on the first planet, you should arrive there fairly soon. It’s a big gray stone structure with an open platform. You won’t miss it.
The Temple
You will get a quest to obtain 20 core fragments. There are a couple of ways to get them, although overall there is probably only one superior way. Some people suggest mining for core fragments deep below the surface where the rocks are filled with red lava. While this is possible, it can be really frustrating if you spend 20 minutes digging and fall into a pool of lava! Try this method instead. First, ransack the crates through the mining outpost. Next, defeat the big monster in the basement of the mine. I’ll tell you how.
Once again, this is a location you’ll find by walking along the surface. One notable aspect that will help you find the mine quicker is that the entrance is manned by a human. He tells you to check the mine for fragments–well, that was simple, right?
Collecting the Core Fragments
Using your flashlight, torches, manipulator, and sword, make your way through the platforms of the mine.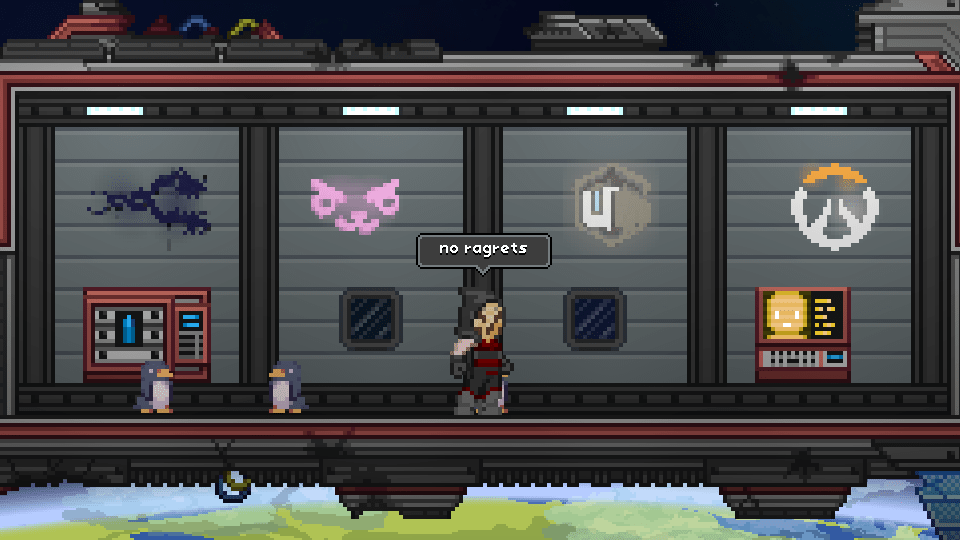 You can move through surfaces underground, by pressing down (S-key) and space bar–a traditional platformer mechanic. Open up the crates with your manipulator and collect as many fragments as you can. Then go after this guy in the lower right corridor. You will have to use the E-key to open the doors.
All the boxes behind him are filled with core fragments.
He is a bit tough to destroy in one go. If you are in casual mode, good news: your hit points will still apply even if he forces you to regenerate on your ship. You most likely won’t have enough armor to get away with it in one strike. After you defeat him, collect the fragments and head back up to the surface then to the temple.
Turn in the Core Fragments and Teleport to The Ark
Turn in the fragments.Teleport to the Ark, and save the teleport location.
And, that’s pretty much it. After being teleported to The Ark, a survival ship with refugees, you have completed the quest. From here, you can save teleporter locations to access your ship and talk to the grand protectorate about the following storyline.
This guide is also summarized on YouTube
Thanks for Reading This Guide, Please Look Around!
This is actually the first guide, or game guide at least, that I’ve written to be totally honest. The pressure to make some has been quite strong for a while, so I decided to make Starbound the game to start with, since it happens to be my current obsession. Check back again for more tutorials, or explore the vast amount of indie game coverage here at MrDavePizza. Thanks!
How to Hit the Ground Running
Hello! I went to search for guides that would help a new player or an older player who wishes to hustle through the start of the game. I couldn’t find any that fit the bill for «modern» Starbound so here are my suggestions. This guide is spoiler light. So be forewarned.
Tutorial
I’m not going to comment on this for purposes of story/spoilers, but you can skip it to speed things along. Run it if you’re going for vanity items / collectibles.
Starter Planet
Reboot your ship, grab everything in your ships locker, wait for it to stop at your starter planet, and teleport down.
Planet Surface
Resist the urge to immediately create a base and pick a direction and start running. Your goal here is to find the mine. You’ll know you’ve reached it when you find the NPC with the green clothes and purple hair who has a camp with a bunch of boxes and tents. On your way to the camp knock down a few trees and collect the wood and saplings. Also knock down a few vines and make some rope. If you encounter any capsules break them. If you find any chests use your matter manipulator (here on MM) to break them and take their contents. Use your MM to break any crops you come across as well. Basically take whatever is not bolted down. I would suggest not focusing too much on killing enemies. Dig up coal, copper, mud, and cobble/rock that’s close to the surface. If you get damaged or hungry use the food cans till full so you can regenerate health.
The Mine Surface
When you find the mine create a flat area of dirt nearby. Drop torches as needed and create an Inventor’s Table and then a Foraging Table and Primitive Furnace. Convert your copper ore to bars. Make yourself a hoe first and foremost followed by the watering can, and the hunting bow. The bow can wait a bit if need be. You won’t need the food cans to heal now as you can sleep in a tent to get back health. I highly recommend crafting a flag if you’re accident prone.
Plant All Those Crops
Prioritize the smaller crops you’ve picked up with the exception of chocolate and cotton. The smaller crops are more compact and the more harvests you get the more your future profits will multiply. Plus you have to eat. Make room to plant everything and keep expanding. Just make sure the rain can hit it. When manually watering it I suggest pointing the watering can straight up, this helps with aiming as it can be frustrating otherwise. What you’re doing is starting your economy because once you can hit a critical amount of money, you’re good. But you won’t be able to sell anything yet, but at least you’ll be full.
The Mines Underneath
Make sure you have your hunting bow before going down. As you go down you’ll be searching for the Adult Poptop. The Adult Poptop will be in a leafy room a ways down, but not at the subterranean level (background looks like a cave, not rolling hills). Break crates using your MM and take the contents. Break any vases as well for money and healing items. When you get to room with the Adult Poptop use a few blocks of dirt to create a platform about 3-4 blocks off the ground in front of the double doors. Use the CTRL key to pan your view until you can see the Adult Poptop. Fire at it with your bow from the safety of the doorway. If you made the platform correctly, the Adult Poptop won’t be able to jump on it and will be prevented from walking under the door or getting close to you. Additionally if for whatever reason you fall in, you’ll be able to use the platform to jump out. The Adult Poptop drops 20 cores which will enable you to activate the teleporter to the Outpost.
Activating the Teleporter
Before leaving the mine surface/your farm harvest and replant as needed. Before you leave craft a flag (if you haven’t before) so you can easily return to your base. Don’t forget to register that location after placing the flag. Cook your raw food in the campfire. Find the Ancient Gate (if you haven’t already) and use the cores you found to travel to the Outpost.
Outpost
SELL SELL SELL. Now you have access to the Infinity Express sell all the food, vanity items, spare weapons (not your broken protectorate sword, trust me), and all those crates and chests you picked up. You should now have a hefty amount of money. Additionally you have access to the Outpost’s Kitchen (just left of the main ladder, just to the right of the Terramart). There you can cook food you won’t have access too until you upgrade your Inventor’s Table. I don’t believe you can store food in the fridge permanently. So don’t put anything in there. Continue on with the starter quest.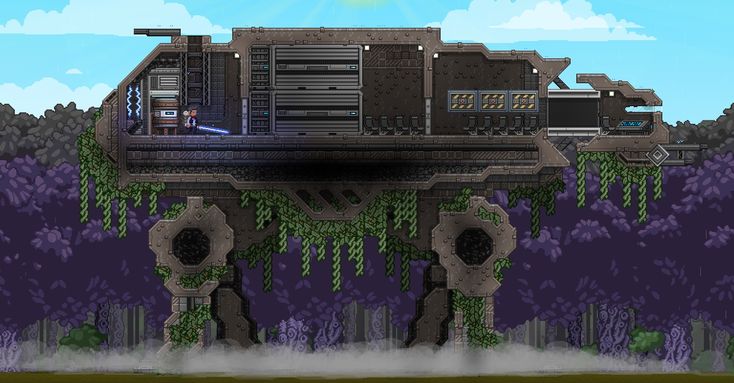 Make sure you register with the teleporter(s) you come across.
Parting Thoughts / Next Steps
Now that you have access to the Outpost you can start making money. After unlocking the Terramart I would suggest investing in either a Fluffalo or a Mooshi Egg. The milk from the Mooshi can be used to craft a lot of foods using the kitchen counter at the outpost. The Fluffalo will produce fibre that you can use for ropes and healing items. After this you may want to save up for the Terramart Shipping furniture item that will save you lots of teleport time selling your crops. Conversely you can save up for a colony deed and start making money with colonists. A nearby merchant colonist is cheaper than the Terramart Shipping item.
I hope this guide helped you and make sure to read the comments as I’m sure folks will have their own strategies they’d like to share. Personally I’m interested in methods to further streamline the process I’ve laid out or just better strategies than mine.