Should I buy an SSD for my PS4 or PS4 Pro?
Skip to main content
When you purchase through links on our site, we may earn an affiliate commission. Here’s how it works.
(Image credit: bdavid32/Shutterstock.com)
Do you need an SSD for your PS4 or PS4 Pro? Probably. SSD, which stands for solid-state storage, is a fast drive that’s almost always used in gaming PCs, and they’re also deployed in the latest next-gen consoles, including the PS5.
But the PS4 and PS4 Pro weren’t so lucky. These two older consoles from Sony rely on hard disks instead of SSDs. But there’s a difference between hard disks and SSD drives. These older drives use sluggish 5,400rpm rotation systems, while SSDs use quicker and more reliable flash memory.
The good news is, you can upgrade your PS4 or PS4 Pro with an internal SSD, which gives your older console a big boost in power and performance – along with other advantages. But, as with any technological changes, there are also disadvantages to consider, too. The main one being that you need to decide which one is right for you before you decide to upgrade.
- PS5 vs PS4 Pro: should you upgrade?
- Best PS4 accessories: all the extras you need to own
Pros
(Image credit: George Dolgikh / Shutterstock.com)
Speed
A huge increase in performance is what the SSD offers when compared to conventional hard disks. Solid-state drives use flash memory chips to store data, while hard disks rely on platters. Flash memory is fast because data is read and written in the time it takes for electrical signals to be sent around the chips – while hard disks have to wait for platters to spin, which is far slower.
The numbers don’t lie. The PS4 and PS4 Pro hard drives deliver read and write speeds that hover around 100MB/s at best, while many of the affordable, SATA-based SSDs that can be used inside the consoles offer maximum speeds above 550MB/s. The PS4 and PS4 Pro have maximum theoretical bandwidth figures of 300MB/s and 600MB/s respectively, so there’s clearly room to work when it comes to storage space.
An SSD will improve your system’s boot and game loading times, and the console’s menus will be smoother. You’ll get improvements in-game, with less pop-up and faster texture loading – and you may even see framerate improvements because games aren’t stalling due to sluggish loading.
Capacity
It used to be the case that SSDs were fast but tiny – happily, times have changed. Years ago you’d have to pay through the nose just to get a 256GB SSD, but now it’s easy to find SSDs with 1TB and 2TB capacities or higher. Those capacities match many of the 2.5in hard disk options currently available.
With games getting bigger, having more space is important, and larger capacities compare well to the PS4 and PS4 Pro’s default storage. The original console is sold with a 500GB drive and the Pro has a 1TB hard disk – its 2TB variant was only a special edition. Realistically, most consoles will still be using a 500GB or 1TB hard disk, so fitting a decent SSD will deliver a speed boost and a capacity improvement in most machines. Even if you choose an SSD that’s the same size as your console’s hard disk, you’re still going to get a solid speed boost.
Reliability
Because SSDs use flash storage, they have no moving parts – and so there’s less to go wrong when compared to hard disks, which have rotating platters and moving arms. It’s unlikely that either an SSD or a hard disk will fail, but an SSD will have better reliability for a longer period. And, as a bonus, SSDs are silent, while hard disks make occasional clicking and spinning noises.
Future-proofing
The PS4 and PS4 Pro use SATA II and SATA III storage connections, which are not particularly modern – but using an SSD will give you more future options than the console’s ageing hard disks. Once you’ve retired your PS4, your SSD will be fast enough for use inside a desktop PC or a laptop, or you could buy a cheap caddy and use it as external storage with your computer or your PS5. An SSD may be initially expensive, but there’s more headroom for future use.
Cons
(Image credit: TechRadar)
Price
SSDs have improved in price and capacity, and the PS4 and PS4 Pro’s ageing storage infrastructure means you don’t have to buy a newer, pricier drive to give your console a boost – but there’s no doubt that they can still be expensive.
A decent, mainstream 1TB SATA SSD costs between $100 and $140 and doubling the capacity increases those prices to $200 and $300. If you want a mammoth 4TB or 8TB drive you’ll be paying at least $500.
These prices don’t compare favorably to traditional 2.5in hard disks: if you want a 1TB or 2TB drive, expect to pay under $50 and $100. A 4TB hard disk is only around $120. Hard disks and SSDs both have the space to handle a solid library of games, but hard disks offer better value when it comes to pure size.
If you’ve got a spare SSD lying around, that’s obviously a huge money saver – but this won’t apply to most people.
The consoles themselves
Both the PS4 and PS4 Pro will benefit from an SSD upgrade, but internal differences mean that the PS4 Pro has the most to gain.
The PS4 Pro has a better processor and a newer, faster SATA III storage interface that has a theoretical peak bandwidth of 600MB/s. The original PS4 has a slower processor and its SATA II connection tops out at 300MB/s. The PS4 Pro’s peak speed matches the pace on offer by the best 2.5in SSDs, so they’re a good match – while the original PS4’s connection will bottleneck most of the SSDs you can buy these days.
Make no mistake – you’ll get a decent performance boost by using an SSD inside both the PS4 and the PS4 Pro. It’s just that the difference will be more obvious on the PS4 Pro, and only that console will properly utilize the speed provided by a new SSD.
Be realistic
Slotting an SSD inside your PS4 or PS4 Pro will deliver a performance boost, but it’s worth tempering your expectations. While adding an SSD will improve your console by a solid amount, it’s not going to make your PS4 like a PS5 or a high-end gaming PC in terms of responsiveness or loading times. It’s an evolution, not a revolution.
The future
The PS5 and Xbox Series X are coming soon, and both will include SSDs. With new consoles on the horizon, it makes upgrading the PS4 look like a trickier proposition – it’s arguably better value to save money for a new console. Indeed, it’s only worth spending money to upgrade your PS4 or PS4 Pro if you’ve got a big library of games that you’re still going to play, and if you’re not going to be buying a new console close to launch.
It can be scary
Fiddling around with electronics can be daunting, especially if you’ve not done it before – even though Sony officially supports upgrading your console’s storage. And, aside from that, it can be time-consuming, because you’ve got to back up your data, remove the old drive, install the new product, and restore your operating system and data. It’s totally understandable if you don’t want to delve into your precious PS4, and Sony’s consoles also support external, USB-based storage, which is a far simpler method of adding capacity to your device.
Verdict
(Image credit: TechRadar)
Upgrading your PS4 or PS4 Pro with an SSD is a sure-fire way to give your console a performance boost. It’ll boost faster, load games more quickly, and eliminate texture-loading issues in many games. SSDs are more reliable than hard disks, they’re more future-proofed, and they’re available with larger capacities and lower prices than ever.
But there are cons. They’re still expensive when compared to hard disks, and the performance boosts delivered are sometimes modest. It might make more sense for some people to just bite the bullet and buy a PS5.
If you’ve got a huge library of games and you’re still planning to play your PS4 for a long time, though, it’s a relatively easy way to make your console more responsive. If you do decide to take the plunge, good luck – and enjoy a faster machine!
- How to upgrade your PS4, PS4 Slim and PS4 Pro hard drive
Sign up to get breaking news, reviews, opinion, analysis and more, plus the hottest tech deals!
Contact me with news and offers from other Future brandsReceive email from us on behalf of our trusted partners or sponsors
Mike has worked as a technology journalist for more than a decade and has written for most of the UK’s big technology titles alongside numerous global outlets. He loves PCs, laptops and any new hardware, and covers everything from the latest business trends to high-end gaming gear.
TechRadar is part of Future US Inc, an international media group and leading digital publisher. Visit our corporate site .
©
Future US, Inc. Full 7th Floor, 130 West 42nd Street,
New York,
NY 10036.
How to Upgrade Your PS4 Hard Drive
As convenient as solid-state drives (SSDs) are to work with, the PlayStation 4 and PlayStation 4 Pro never got the memo. If you’re looking to upgrade the console’s mechanical hard drive with an SSD, you’ll need to do things the old-fashioned way.
Contents
- SSDs vs. mechanical hard drives
- How to install an SSD in a PlayStation 4
- How to install an SSD in a PlayStation 4 Pro
- How to use an external hard drive with PS4 and PS4 Pro
Difficulty
Hard
Duration
30 minutes
What You Need
SSDs vs. mechanical hard drives
Before we swapped out the PS4’s hard drive with an SSD, we tested the hard drive that the system came with by measuring the amount of time the PS4 needed to boot up to the screen where the OS asks you to press the PS button on your controller. We tested it twice and got times of 27 seconds and 24.9 seconds.
Once we replaced the PS4’s stock hard drive with an SSD, we ran the boot tests again and got boot times of 19.2 and 19.4 seconds with the SSD in there. So, boot-up is roughly 5-8 seconds faster with an SSD than with the mechanical hard drive that the PlayStation 4 ships with.
If you don’t think that’s significant, remember that loading save games, levels, and more will also get substantially faster. Over time, those shaved seconds will make your PS4 feel a lot faster.
How to install an SSD in a PlayStation 4
Be sure to save your save game files to the second USB flash drive by going to the PS4’s Settings menu.
Step 1: From the Settings menu on the PS4 home screen, go to Application Saved Data Management, then Saved Data in System Storage.
Step 2: Select Copy to USB Storage Device to save your files to your second USB flash drive.
If you’re a PlayStation Plus subscriber, you can upload your game saves to the cloud instead — you’ll just need to download them once you have your new drive installed.
Step 3: Place the powered-off, unplugged PlayStation 4 on a flat, secure surface and press down on the glossy, black side of the top panel. With the system’s front facing you, slide the panel leftward. It should slide right off; no screwdriver needed.
Step 4: Remove the screw at the very front of the PS4, which keeps the hard drive bay locked down.
It’s easy to identify because it wears the same circle, X, square, and triangle buttons found on the PlayStation 4’s controller. It’s a Phillips screw, but you may need a smaller-than-usual bit to get it out without stripping it.
Step 5: Pull the hard-drive dock toward you, and remove the PS4’s hard drive. It should slide right out.
Step 6: Once you pull out the hard drive, you’ll find that it’s still guarded by a metal cage that’s locked down by four black screws. These screws are located on the sides of this cage, with two sitting on each side. Unscrew them with a standard Phillips bit.
Step 7: Slide the PS4 hard drive out of the cage.
Step 8: Place your 2.5-inch SSD into the cage, and orient it the same way that the PS4’s original drive was.
For reference, we stacked the PS4 hard drive and our SSD on top of one another in the below image. Notice how each drive’s back ports look exactly the same, and are in the same places.
Step 9: Screw the SSD into the cage with the four black screws that you removed previously.
Step 10: Slide the hard-drive cage back into the PS4’s hard-drive bay.
Step 11: Lock the PS4’s hard-drive bay with the same screw you removed to unlock it, using a small Phillips bit.
Step 12: Slide the PS4’s top panel back onto the system. Then, hook your PS4 back up, but do not turn it back on yet. This is where your other USB flash drive comes in.
Step 13: Using a computer, download the latest PS4 operating system update file by visiting Sony and clicking the Download Now link. This will ensure you get the latest version.
Step 14: Plug the other USB flash drive into your computer. Open it, and create a folder on the drive named PS4. Then, open the PS4 folder and create another folder within PS4 named UPDATE.
Step 15: Once you finish downloading the PS4 OS update file (which is called PS4UPDATE.PUP), drag it over to your flash drive, and place it in the UPDATE folder. Remember, the UPDATE folder needs to be inside the PS4 folder on your flash drive in order for this process to work.
Step 16: Eject your flash drive from your computer safely, and plug it into one of your PS4′s front USB ports. These are the same ports that you can use to plug in your DualShock 4 controller.
Step 17: Press and hold your PS4’s power button for 7 to 10 seconds until you hear two beeps. This will force it to boot into Safe Mode.
Step 18: Once you’re at the PS4’s Safe Mode menu, select the Initialize PS4 (Reinstall System Software) option, which should be seventh on the list from the top of the screen.
Your PS4 will scan the flash drive you plugged in for the update file that you downloaded using your computer. It may take 20 or 30 seconds, but the next screen that comes up will take you through some simple instructions on how to install the PS4’s operating system onto the SSD you just put in the console.
Step 19: This part of the process isn’t complicated at all; you’ll just have to press the X button on your PS4 controller a few times.
Once the PS4 OS is installed, you’ll be good to go!
Step 20: Copy the save-game files that you saved to your other flash drive back to PS4’s new SSD.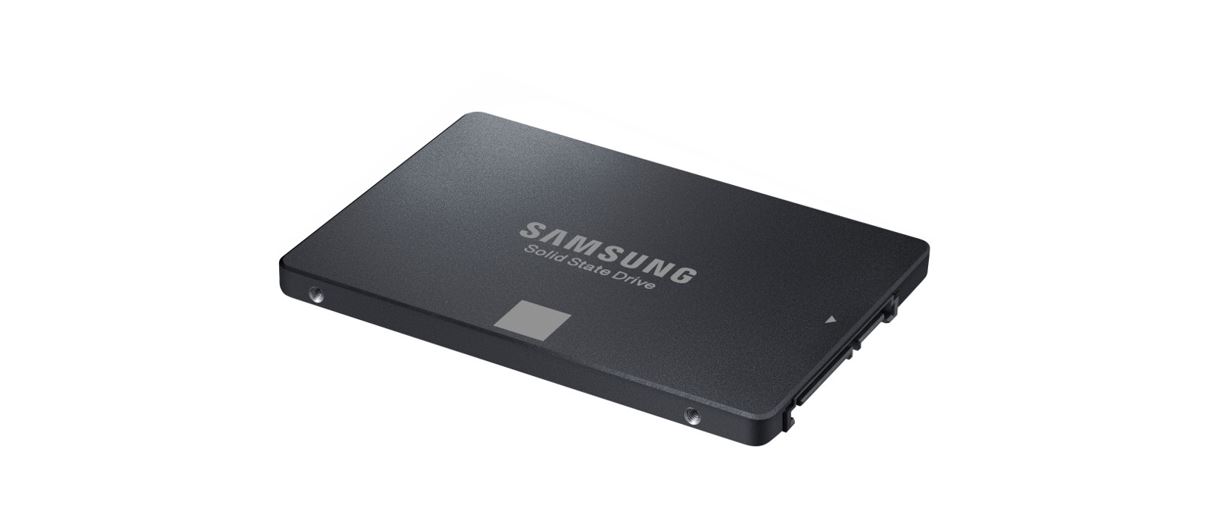 Start by plugging in that USB flash drive into your PS4.
Step 21: Open the console’s Settings menu from the PS4’s home screen.
Step 22: Select Application Saved Data Management, then Saved Data on USB Storage Device.
Step 23: Finally, hit Copy to System Storage.
How to install an SSD in a PlayStation 4 Pro
Swapping out the hard drive on the PlayStation 4 Pro is very similar to doing so with the base model, albeit with a few minor differences. Luckily, those changes actually make the process easier. Plus, you can take advantage of SATA III speeds, so long as you’re armed with the proper equipment. You can check our SATA guide if you’re interested in more information. The steps for doing this with the PlayStation 4’s newer “Slim” model are very similar, but if you need images to help, PlayStation has information for that specific system on its website.
To install a new hard drive on a PS4 Pro, you still need a Phillips-head screwdriver, a pair of USB flash drives, and a 2. 5-inch SSD larger than 160GB, and up to 9.5mm thick. Remember that if you have a PlayStation Plus account, you can back up your save data in the cloud, which can take the place of one of the two flash drives.
Step 1: Set the PS4 Pro on its back on a flat, steady surface so that the rubberized PlayStation-branded grips on its underside are facing up.
Step 2: Locate the plastic tab immediately to the left of the Ethernet port. Pull the plastic tag off with your fingers or with a small knife. You’ll see a metal hard-drive caddy, held into place by a single screw.
Step 3: Unscrew the drive with your Phillips-head, then slide it out toward you by tightly gripping it on its sides.
Step 4: Take the 1TB onboard hard drive out of its caddy by unscrewing the four screws located on the right and left sides connecting the drive to the drive caddy. Pay close attention to the orientation of the hard drive; you’ll want to install your SSD at the same angle.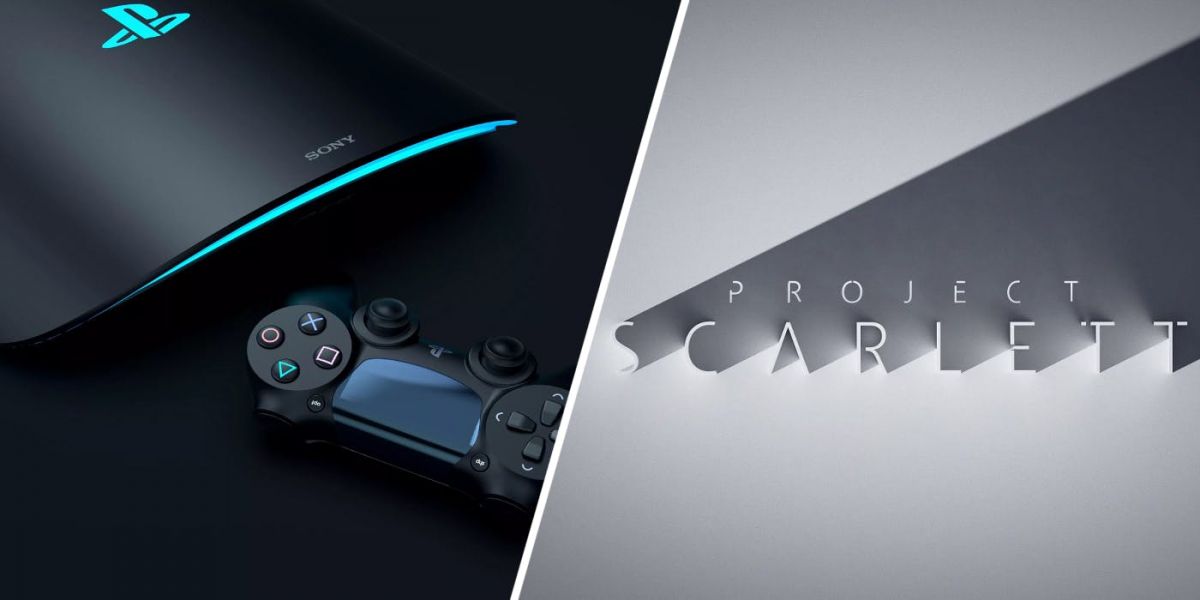
Step 5: With the hard drive removed from the caddy, it’s time to grab your SSD. Insert the SSD into the caddie the same orientation as the original hard drive, with the connectors — and presumably logo — facing up.
Step 6: Once it’s seated in the caddy, screw the SSD in using the same Phillips-head screwdriver used to eject the caddy from the PS4 Pro.
Step 7: You may need to hold the SSD up a little to align the screws with both the holes on the caddy and the holes on the SSD itself. For the best results, start with two screws positioned diagonally from one another.
Step 8: Slide the drive caddy back into the PS4 Pro, the same way it came out. Next, you’ll want to maneuver the large screw (the first one you took out) back into place.
Step 9: Replace the plastic cover on top of the metal caddy. This may take some fiddling, but you’ll eventually notice the tag snaps back into place with a little force.
Step 10: The SSD has now been installed, but don’t get too excited just yet: You still need to initialize the PS4 Pro’s firmware.
Step 11: Using a computer, download the latest PS4 operating system update file by visiting Sony and clicking the Download Now link. This will ensure you get the latest version.
Step 12: Plug your other USB flash drive into your computer. Open it, and create a folder on the drive named PS4. Then, open the PS4 folder, and create another folder in there named UPDATE.
Step 13: Once you finish downloading the PS4 OS update file (which is called PS4UPDATE.PUP), drag it over to your flash drive and place it in the UPDATE folder. Remember, the UPDATE folder needs to be inside the PS4 folder on your flash drive in order for this process to work.
Step 14: Eject your flash drive from your computer safely, and plug it into one of your PS4′s front USB ports. These are the same ports that you can plug your DualShock 4 controller into.
Step 15: Press and hold your PS4’s power button for 7 to 10 seconds until you hear two beeps. This will force it to boot into Safe Mode.
Step 16: Once you’re at the PS4’s Safe Mode menu, select the Initialize PS4 (Reinstall System Software) option.
Your PS4 will scan the flash drive you plugged in for the update file that you downloaded using your computer. It may take 20 or 30 seconds, but the next screen that comes up will take you through some simple instructions on how to install the PS4’s operating system onto the SSD you just put in the console. This part of the process isn’t complicated at all; you’ll just have to press the X button on your PS4 controller a few times.
Step 17: To upload your save-game files, plug in the USB flash drive with your save files into the front of your PS4.
Step 18: Open the console’s Settings menu.
Step 19: Go to Application Saved Data Management, then Saved Data on USB Storage Device.
Step 20: Select Copy to System Storage, and your data will reinstall.
How to use an external hard drive with PS4 and PS4 Pro
Adding to your PS4’s storage capacity via an external hard drive is another option. Firmware update 4.5.0, which came out in early 2017, made it possible. The PS4 supports external hard drives — both desktop and portable drives — ranging between 250GB and 8TB. When you plug an external drive into your PS4 via USB, you have to format it. If you have files on the unit already, you’ll need to back them up. Or you could use a new drive for your PS4. The catch is that after formatting, you can only use the external drive with your PlayStation.
An unfortunate part of using an external drive to increase your PS4’s storage is that the drive uses up a USB port. The good thing is, you get the double perk of using both system storage and hard drive space. Just know that you’ll always need to keep the drive plugged in while the system is on. If you remove it, you risk corrupting the data.
Step 1: After you’ve finished setting up the initial equipment requirements for your device, you have the chance to direct where you’d like the application to install. To do this, open up Settings on the PS4’s home screen.
Step 2: Navigate to Storage.
Step 3: Press the Options button on your controller.
Step 4: From there, choose Move to Extended Storage or Move to System Storage.
We know it seems that swapping out your PS4’s hard drive takes a long time and a lot of work, but in the end, the ultimate results will be worth all the effort. This transfer will afford you faster load times in your games, so you won’t experience as much lagging.
Editors’ Recommendations
-
How to link your Fire Emblem Engage and Fire Emblem Heroes account
-
How to connect an Xbox controller to a PC
-
The best OLED laptops for 2023
-
PS VR2 games: launch games and what’s coming later
-
The best upcoming PS5 games: 2023 and beyond
Kingston’s small external SSD keeps important data with you at all times
Necessary cookies
These cookies are necessary for our website to function properly. These cookies are necessary for the normal operation of functions such as page navigation, secure transactions and the correct display of information. The user of the web page cannot reject these cookies.
nine0003
Marketing cookies
These cookies help the website and related third parties to display relevant and interesting advertisements to users. Marketing cookies track user behavior on a web page and, among other things, create a link to third party web pages. The information collected by these cookies helps to create marketing links about the users of the web page.
nine0003
Performance Cookies
These cookies improve the experience of using the web page and store information about the user’s preferences. Performance cookies allow you to display additional content and use more features on the page.
Sunday, October 17, 2021
Stylish and small, the Kingston drive is a great choice for anyone looking for a fast, easy-to-carry storage medium. nine0003
The new Kingston XS2000 external SSD is one of the smallest portable storage solutions available on the market. This stylish SSD is capable of using the latest and very fast USB 3.2 Gen 2×2 data transfer standard. The target group of the device are creative professionals who need to save large files and who want these files to be securely stored in a pocket storage medium that can quickly store everything they need for transfer or backup. But, of course, this small device is suitable for absolutely everyone who needs a compact and fast data recording solution.
nine0003
Measuring only 7×3 cm and weighing 29g, the device is very small and light for an SSD and is more like a regular flash drive in length, although slightly wider. The kit includes a waterproof and impact-resistant rubber case, through which the Kingston logo is clearly visible. The device is equipped with a standard USB-C connector, which supports the highest speeds in accordance with the USB 3. 2 Gen 2×2 standard. Thus, the maximum data transfer rate on a computer supporting such a connection is up to 2000 MB / s, both when reading and when writing. To achieve this speed, the computer must support the same standard, but such computers are not yet very common. Of course, this SSD is also compatible with the older and slower but very common USB 3.1 and 3.0 versions and automatically selects the maximum speed supported by the computer. A 30cm USB-C cable is included for connection to the device.
The only negative is that the device does not support hardware data encryption, and Kingston does not provide administrative software. Of course, you can always use software-based data encryption to increase security. The SSD uses the exFAT file system, which means it is compatible with both Windows, Mac, Linux, and many Android devices.
Kingston SX2000 is available in three capacities: 500 GB, 1 TB and 2 TB. To choose the right capacity, you should also consider the fact that the more capacity an SSD device has, the faster and more durable it is.
