EVGA GeForce GTX 650 1GB review
Written by
Matthew Lambert
October 4, 2012 | 09:44
Tags: #geforce #geforce-gtx-650 #hd-7750
Companies: #evga #nvidia
1 — EVGA GeForce GTX 650 1GB Review2 — Test Setup3 — EVGA GeForce GTX 650 1GB — Battlefield 3 Performance4 — EVGA GeForce GTX 650 1GB — Crysis 2 Performance5 — EVGA GeForce GTX 650 1GB — Skyrim Performance6 — EVGA GeForce GTX 650 1GB — The Witcher 2 Performance7 — EVGA GeForce GTX 650 1GB — Unigine Heaven 3.0 Benchmark8 — EVGA GeForce GTX 650 1GB — Power and Thermals9 — EVGA GeForce GTX 650 1GB — Overclocking10 — EVGA GeForce GTX 650 1GB — Performance Analysis and Conclusion
The lack of of boost technology on the GTX 650 meant that in theory the card should have a fair amount of headroom for manual overclocking, since it’s built on the same architecture as the higher end cards that do support it. This, combined with the very low TDP of the GTX 650, along with its dedicated PCI-E connector and more than adequate phase power, left us hopeful that there was still a lot of juice to be squeezed from this particular fruit.
Before the card became unstable, we were able to add 220MHz to the base clock and 75MHz (300MHz effective) to the memory clock, for a stable overclock of 1,278MHz for the core clock speed and 1.325GHz (5.3GHz effective) for the memory. In order to achieve this, we raised the stock voltage of 1113mV to 1138mV. This equates to a whopping 20% increase in the core clock speed, as well as a 6% boost for the memory, which are certainly impressive figures for such a low power GPU. To test the impact of our efforts, we re-ran the Unigine Heaven benchmark as well as our 1,920 x 1,080 for Battlefield 3 test.
- AMD Radeon HD 7850 2GB
- Nvidia GeForce GTX 650 1GB (OC)
- AMD Radeon HD 7770 1GB
- Nvidia GeForce GTX 650 1GB
- AMD Radeon HD 7750 1GB
-
-
35
-
44
-
-
-
24
-
29
-
-
-
23
-
28
-
-
-
20
-
25
-
-
-
17
-
22
-
10
20
30
40
Frames Per Second
-
Minimum
-
Average
- AMD Radeon HD 7850 2GB
- AMD Radeon HD 7770 1GB
- Nvidia GeForce GTX 650 1GB (OC)
- Nvidia GeForce GTX 650 1GB
- AMD Radeon HD 7750 1GB
-
-
1081
-
-
-
691
-
-
-
684
-
-
-
582
-
-
-
536
-
250
500
750
1000
Score
-
Score
Read our performance analysis on the next page.
1 — EVGA GeForce GTX 650 1GB Review2 — Test Setup3 — EVGA GeForce GTX 650 1GB — Battlefield 3 Performance4 — EVGA GeForce GTX 650 1GB — Crysis 2 Performance5 — EVGA GeForce GTX 650 1GB — Skyrim Performance6 — EVGA GeForce GTX 650 1GB — The Witcher 2 Performance7 — EVGA GeForce GTX 650 1GB — Unigine Heaven 3.0 Benchmark8 — EVGA GeForce GTX 650 1GB — Power and Thermals9 — EVGA GeForce GTX 650 1GB — Overclocking10 — EVGA GeForce GTX 650 1GB — Performance Analysis and Conclusion
RELATED ARTICLES
Nvidia GeForce GTX 950 Review: feat. Gigabyte
Nvidia’s latest Maxwell card is after the hearts of the mid-range market and MOBA players
August 20, 2015 | 13:56
Nvidia GeForce GTX 750 Ti Review
Nvidia’s Maxwell architecture is here at last.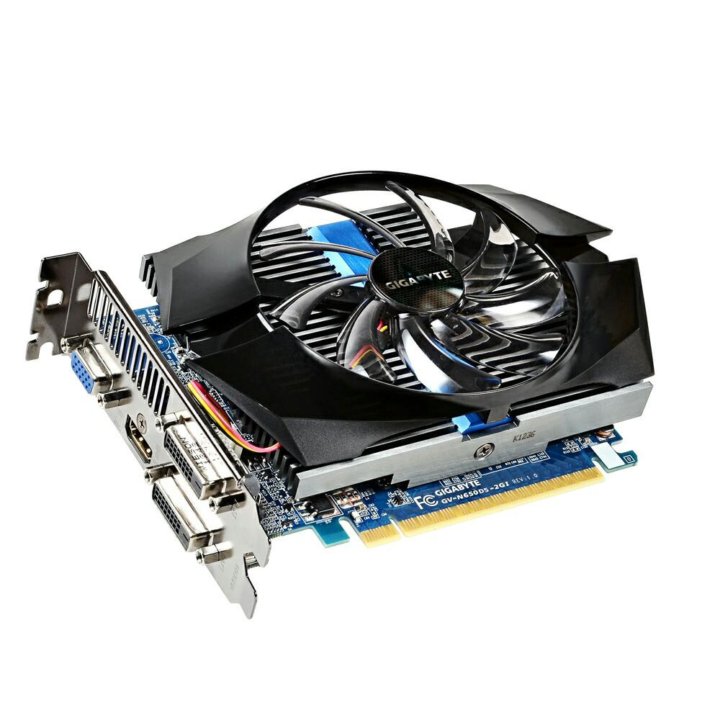 What does the £115 GTX 750 Ti bring to the table?
February 18, 2014 | 13:58
AMD unveils Radeon HD 8000M GCN family
28nm mobile parts boast impressive performance.
December 18, 2012 | 10:30
MSI MPG Velox 100R Chassis Review
October 14 2021 | 15:04
How to overclock your old, last-gen graphics card
Skip to main content
PC Gamer is supported by its audience. When you purchase through links on our site, we may earn an affiliate commission. Here’s why you can trust us.
Learn how to wring every last bit of performance out of your video card
Overclocking a graphics card used to be more trouble than it was worth, but things have changed. EVGA Precision X and MSI Afterburner are just two of the most popular choices for software overclocking.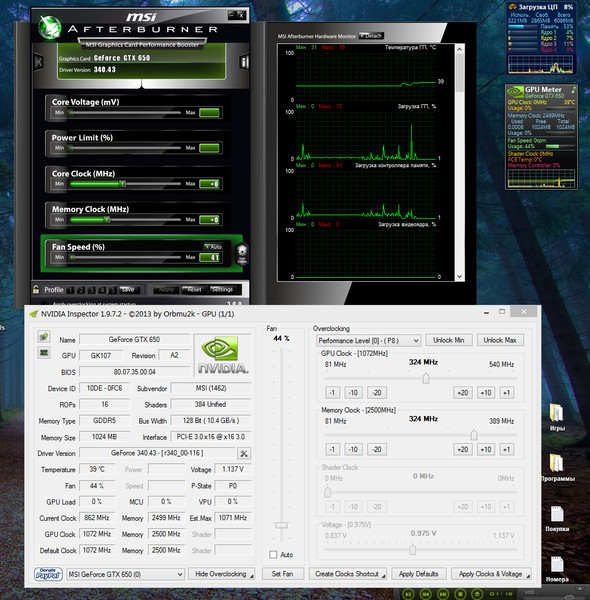 AMD even bundles its own overclocking solution—AMD OverDrive—with its Catalyst drivers. Wringing more performance out of your graphics card is now as simple as moving a few sliders and testing for stability with a benchmark.
That’s not to say that the best overclocking practices are obvious. We’re here to help with a guide on how to overclock your graphics card. Be forewarned—even the most basic overclocks can end in tragedy. Although we’re willing to walk you through the steps, we can’t be responsible for any damaged hardware or problems arising during the overclocking process. If you’re willing to take the risk, read on to learn how to overclock your graphics card. Keep in mind that the procedure for each video card can be slightly different. If any part of the guide doesn’t make sense, ask for help in the comments or spend some time on Google.
1. Gearing Up
MSI Afterburner is capable overclocking software that works with most AMD and Nvidia cards.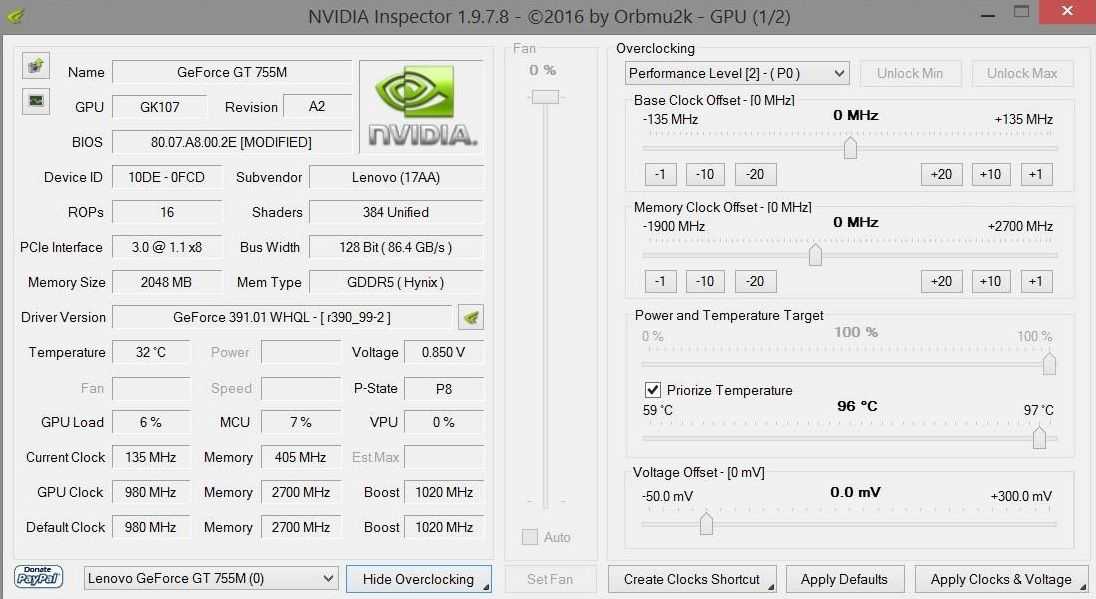
Our favorite overclocking software is MSI Afterburner . Your other options include EVGA Precision X for Nvidia cards, and for AMD Cards, AMD OverDrive, but to keep things simple we’ll be working solely with MSI Afterburner.
You’ll also need a benchmark like 3DMark —download the demo—or Unigine’s Heaven Benchmark to make sure your overclocks are stable enough for daily use. They’re also useful for quantifying just how much more performance you’re getting out of your hardware.
GPU-Z is the final piece of the puzzle and although you don’t technically need it, it’s super helpful for checking your GPU and memory clock speeds.
2. Getting in the Know
Before you even start overclocking, it helps to know what sort of overclocks you can expect from your hardware. HWBOT is the easiest way to look up what overclocks other users are achieving. Our test bench included the GTX 650 TI and 7850 , which have average overclocks listed on the site.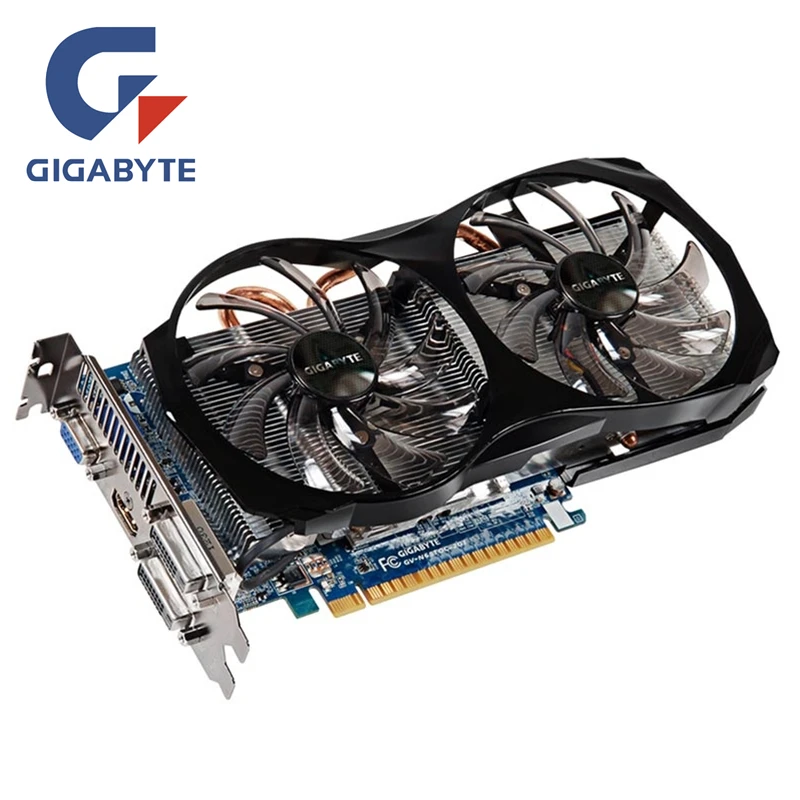
It also helps to know how much real-world performance you’ll be getting out of your overclocks. Although you probably don’t need to run through an entire suite of benchmarks, having a baseline to refer to is useful. Run through 3DMark or Heaven Benchmark once to get your base scores.
3. Core Speed Overclocks
Unigine’s Heaven benchmark looks good and is packed with features.
Once you’ve got some averages in hand—for the 650 TI: 1,179MHz GPU and 1,687MHz memory—you’re ready to start overclocking. Start by maxing out the Power Limit slider—this isn’t the same as overvolting, the power limit is simply how much power your card can draw. Then grab the Core Clock slider and move it forward at 20MHz increments. After applying your changes, crank up the settings on Heaven Benchmark—quality at ultra, tessellation to extreme, anti-aliasing to 8x, and resolution at system—and run through it at least once by pressing F9 or clicking the “Benchmark” button.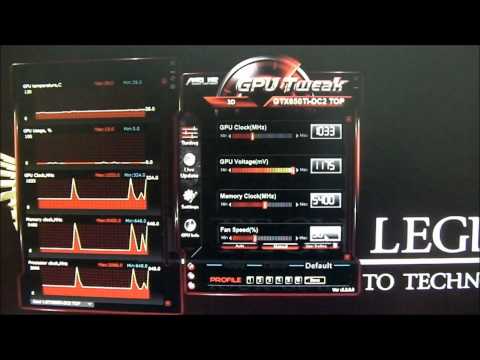 Keep an eye out for weird graphical artifacts—visual glitches that range from colorful lines of light to random off-color pixels across the screen—and for crashes. If the benchmark crashes to the desktop, seems to slow down dramatically, or gives you a lower frame rate or score upon completion, drop the clock speed by 10MHz until you can run through the benchmark without any problems.
4. Memory Speed Overclocks
When you’ve found the highest stable clock speed for your card, repeat step two with the memory clock slider. Your memory clock speed generally won’t affect your frame rate or benchmark scores as much as the core clock speed, but it’ll help, especially if you’re running at a higher resolution.
5. Stability Check
Lock in both of your increased clock speeds, run through Heaven a final time, and you should be seeing higher frame rates and a higher score. Go wild and test out your overclocked card in your favorite games to make sure that it’s stable enough for daily use—if it isn’t, step down your GPU and memory clock speeds until it is.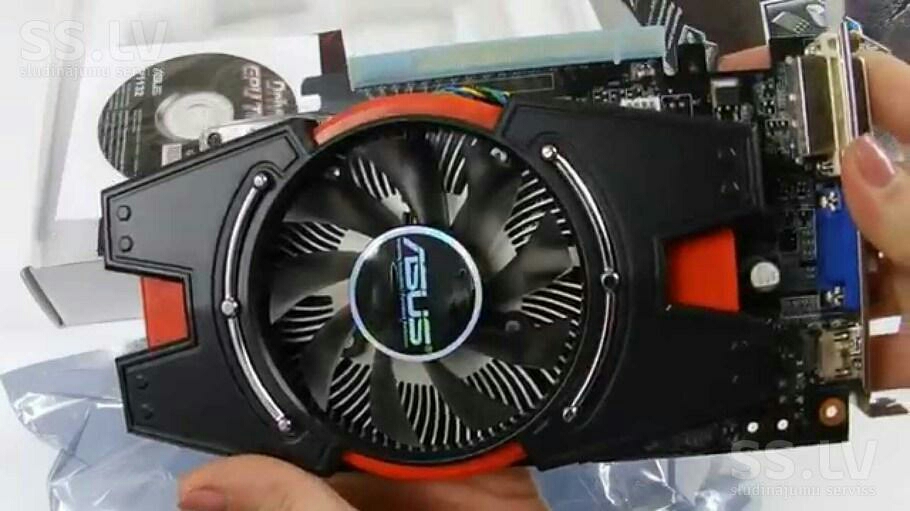 To be extra safe, you can leave Heaven running for a few hours to make sure you won’t run into any problems during an extended gaming session.
Read on for information on overvolting, special situations, and the results of our overclocks.
- 1
Current page:
Page 1
Next Page Page 2
PC Gamer is part of Future plc, an international media group and leading digital publisher. Visit our corporate site .
©
Future Publishing Limited Quay House, The Ambury,
Bath
BA1 1UA. All rights reserved. England and Wales company registration number 2008885.
Nvidia Geforce GTX 650: specifications, overclocking, games
Author Alexey Reading 10 min. Views 489 Published Updated
The Kepler architecture was created by nVidia in the fall of 2010, and the nVidia GeForce GTX 650 graphics card went on sale 2 years later.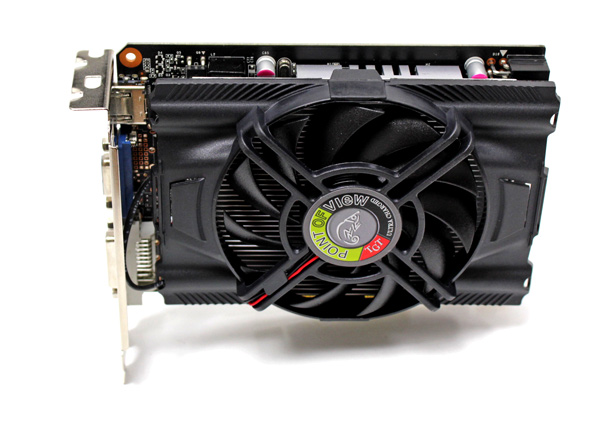 The equipment is based on the GK107 crystal with reduced functional blocks to reduce productivity and cost of production. The adapter supports API DirectX 11 and OpenGL 4 3, it is allowed to run gaming applications at resolutions up to 1080p and active anti-aliasing algorithms.
Contents
- Specifications
- Tests in games
- Overclocking
- Analog from AMD
Specifications
The chip design includes a single cluster for calculating and processing graphic information Graphics Processing Cluster, divided into 2 SMX multiprocessor modules. The GeForce GTX 650 graphics card is designed to use GDDR5 memory with increased bandwidth (RAM up to 2 GB). Comparison of graphics card specifications is shown in the table below.
| Parameter | 640 | 650 | 650 TI |
| Crystal Square, MM² | 118 | 118 | 221 |
CLASS of graphics processing, pp.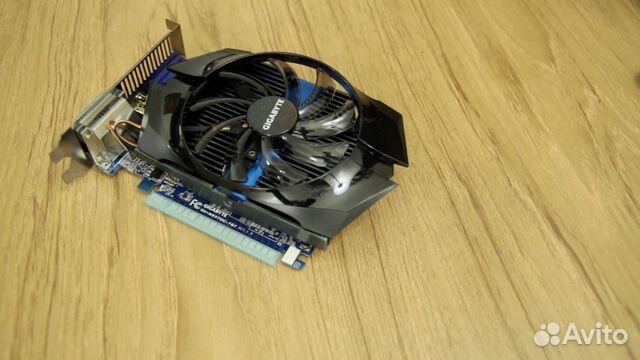 |
1 | 1 | 2 |
| Number of multiprocessor modules, pcs. | 2 | 2 | 4 |
| Number of Cuda cores, pcs. | 384 | 384 | 768 |
| Number of texture filtering units, pcs. | 32 | 32 | 64 |
| Energy consumption, VT | 65 | 65 | 110 |
Distracts from the younger version of the increased operating frequency of the kernel (up to 1058 MHS). Boost mode is not provided. Third party vendors offered factory overclocked graphics cards. The frequency reaches 1180-1200 MHz. Thanks to the applied PCIE 3 interface, it was possible to increase the speed of data exchange between the adapter and other components of the system unit. The manufacturer has provided a 128-bit bus for transmitting information between RAM and the GPU.
Reference model
Printed circuit board with reduced dimensions (reference length 145 mm).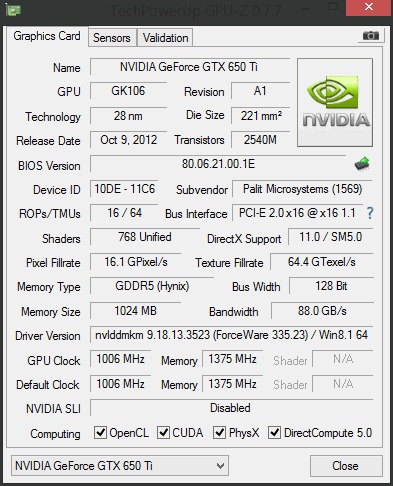 To reduce the load on the motherboard and the PCI Express 3 slot, an additional 6-pin connector has been introduced into the design of the power system. For displaying images on monitors, a dual Dual Link DVI D connector is used, as well as HDMI 1 4a. On some products there is an additional VGA port (simultaneous use of up to 4 displays is supported). The maximum resolution for digital devices is 4096 * 2160 points, for analog — 2048 * 1536.
Model from Asus
The equipment supports Adaptive Vsync, Vision PhysX and 3D Vision technologies. Implemented TXAA image quality enhancement protocol and FXAA anti-aliasing algorithms in hundreds of games. In addition to DirectX 11, Shader Model 5.0 and geometry and compute shader algorithms are supported.
Developer claims 8x performance improvement over cards based on 9500GT chip (release date 2008).
The manufacturer allows the microprocessor to warm up to 98°C, cooling is carried out using a metal heatsink with a fan.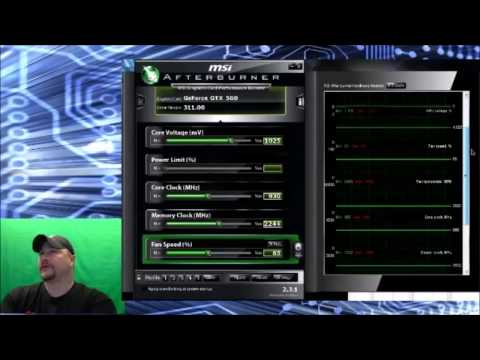 The design of the cooling system depends on the amount of RAM and the manufacturer of the adapter. For example, for cards with 1Gb or 2Gb memory, ASUS used a plastic deflector with a fan installed, which provides improved cooling of the elements. There is equipment with a passive cooling system.
Game tests
To test the capabilities of the GeForce GTX 650 cards in games, we used a bench based on the Intel Core i7-3960X processor. The design of the computer used 8 GB of RAM and hard drives Barra Cuda 7200 14 3 TB and WD Caviar Blue WD10EZEX 1 TB. The station was running 64-bit Windows 7 operating system with DirectX 11. Drivers kits for AMD Catalyst 12.11beta and nVidia version 306.97 were used. An overview of the summary results is presented in the form of a table.
Metro 2033
13.3 fps
Aliens vs Predator 3
8.5 fps
Battlefield III
20.5 fps
The Witcher 2: Assassins of Kings
25.4 fps
Sniper Elite V2
9. 0 fps
0 fps
Metro 2033
15.1 FPS
Aliens vs Predator 3
23.5 FPS
Battlefield III
35.0 FPS
The Witcher 2: Assassins of Kings
40.1 FPS
Sniper Elite V2 9000 9000 9000 9000 9000 9000 9000
002 14.9 fps
Metro 2033
43.6 fps
Aliens vs Predator 3
51.8 fps
Battlefield III
74.2 fps
The Witcher 2: Assassins of Kings
80.9 fps
Sniper Elite V2
36.0 FPS
Metro 2033
16.2 FPS
ALIENS VS Predator 3
17.2 FPS
Battlefield III
22.6 FPS
The Witcher 2: Assassins of
29.1 fps
Sniper Elite V2
11.7 fps
Metro 2033
19 fps
Aliens vs Predator 3
21.6 fps
Battlefield III
29.1 fps
The Witcher 2: Assassins of Kings
36.8 fps
Sniper Elite V2
13.5 fps
Metro 2033 (released in 2010) runs at 13. 3 FPS at 1080p with anti-aliasing enabled, which is not enough for gameplay. A similar picture is observed in the application Aliens vs Predator 3 (2010). Only a product based on the GTX 680 has sufficient performance among the adapters under consideration. Battlefield III (2011) has lower graphics requirements and is adapted for cards manufactured by nVidia, which allows you to increase the frame rate on a 650 chip to 20.5 frames per second.
The Witcher 2: Assassins of Kings (released in 2011) can run at 25.4 fps, which is 3.5 times lower than with a GTX 680-based graphics card. Sniper Elite V2 game ( development in 2012) runs on a 650 microprocessor as a sequence of frames (9 FPS). Competitors from AMD show comparable results.
In the final results, adapters based on GTX650 and HD 7750 chips took the last place, predetermining the choice of which adapter to purchase for an entry-level gaming station.
The potential of the Kepler architecture allowed the developers of NVidia to create a series of Tesla computing systems (memory capacity — up to 12 GB).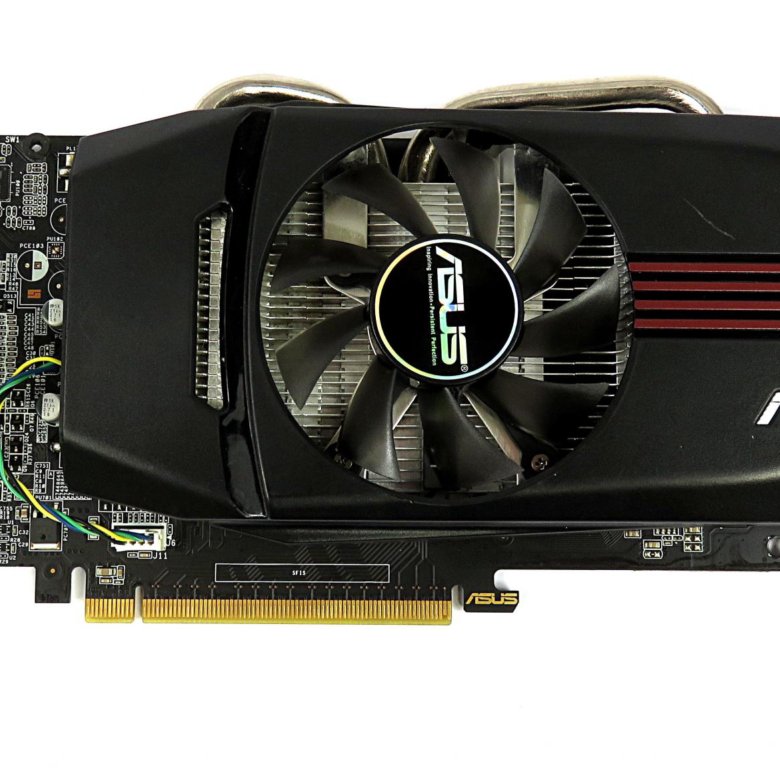 But the emergence of new design solutions and the release of improved gaming applications led to equipment obsolescence — already in early 2014, graphics cards based on Maxwell generation chips saw the light. When running game applications developed after 2012, the settings and resolution must be reduced to the minimum, which degrades the image quality.
If the owner uses a computer with a video card based on a standard 650 series chip, then the equipment is suitable for solving office tasks or watching movies. If necessary, the station can also be used to launch gaming applications. In this case, the owner needs to know which games will run on the adapter without a critical loss of graphics quality and image freezing. According to user reviews, the Euro Truck Simulator 2 and SIMS 3 applications (2012 and 2009) run without any complaints.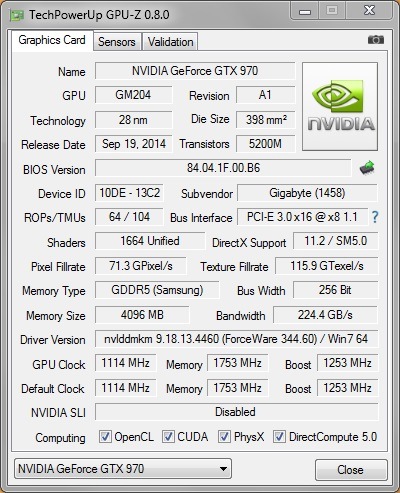 gg.).
gg.).
Overclocking
Before starting the overclocking procedure, you need to install the latest drivers available on the official website of the manufacturer. To check the parameters, the GPU Z utility is used (used to evaluate ASIC Quality). The increase in the frequency of the microprocessor is carried out by regulating the supply voltage; gaming applications are used to check the performance. Tests have shown that increasing the frequency of the microprocessor and memory can increase the performance of the adapter by 12-15%.
MSI N650 PE 1GD5 OC
The peak frequency depends on the manufacturer of the card, which selected microprocessors according to their characteristics. For example, products from Asus are capable of stable operation at frequencies up to 1333 MHz, while the MSI N650 PE 1GD5/OC adapter cannot be overclocked above 1240 MHz (due to display artifacts and instability). Increasing the memory clock frequency is difficult due to the peculiarities of the power supply system, the maximum frequency does not exceed 6.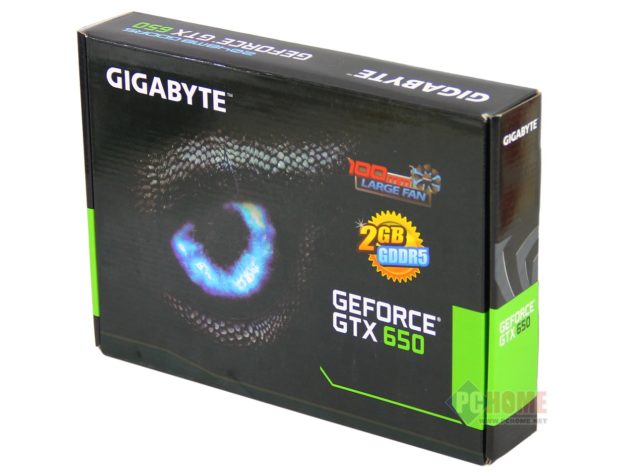 21 GHz.
AMD counterpart
AMD’s closest counterpart is the HD 7750, introduced in early 2012. The card has 1 Gb (GDDR5) memory that communicates with the GPU via a 128-bit bus. The equipment has a total power consumption of 75 W, the memory clock frequency does not exceed 4500 MHz. The product is equipped with several ports for switching digital and analog equipment, simultaneous operation of up to 4 monitors is allowed.
Another alternative is the HD7770 based on the Cape Verde architecture. The graphics core is borrowed from the Tahiti XT adapters, but differs in a reduced number of stream processors and texture filtering units. The manufacturer kept the 128-bit bus. Implemented support for 1 GB of GDDR5 memory. Power consumption is within 80 W, an additional 6-pin plug is provided.
How to overclock NVIDIA Geforce GTX 650
Did you know that your video card is capable of more? Almost any video card can be overclocked, allowing you to significantly increase its performance.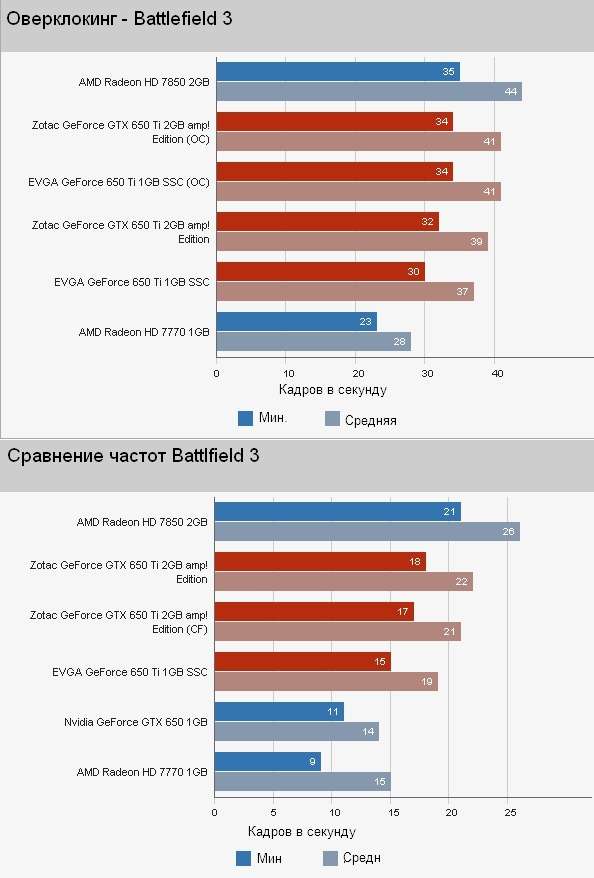 We will tell you more about how a video card is overclocked using the NVIDIA GeForce GTX 650 as an example.
Please note that the instructions below are suitable not only for the NVIDIA GeForce GTX 650 video card, but also for other models of video cards, however, we cannot but warn that the overclocking procedure is fraught with a complete failure of your device, which means that perform all further actions with extreme caution and at your own peril and risk.
To carry out overclocking, we need two utilities — one informational, which will conduct a stress test of the video card, checking its performance, and the other, respectively, to carry out the overclocking procedure itself.
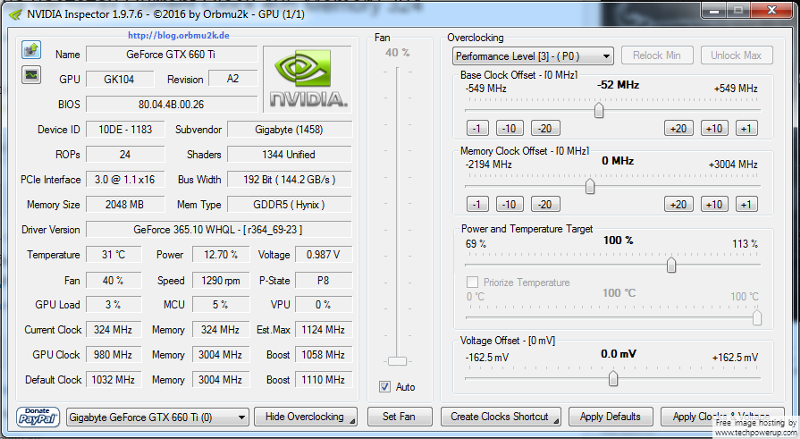
To overclock the video card, we will use the program NVIDIA Inspector , which is a free tool to unlock the video card and enhance the work of some parameters.
Download the NVIDIA Inspector program
And, of course, you should definitely download the stress test program, with which we will find out how the overclocking procedure was displayed on the video card.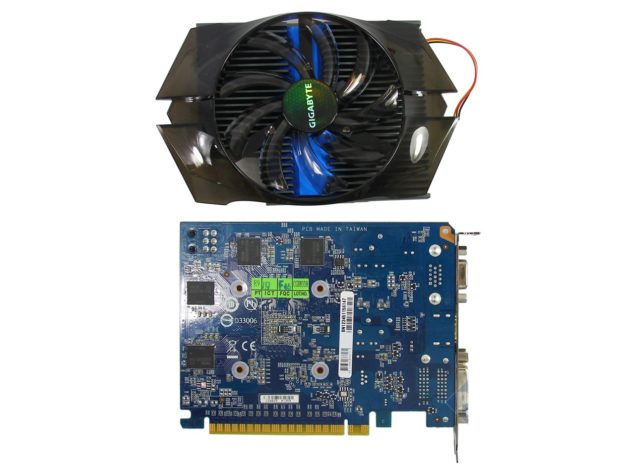 You can use any program to test a video card, but in our example we will focus on Furmark.
Download Furmark software
- When overclocked, the video card will consume much more heat, which means, first of all, we should increase the heat dissipation limit. To do this, launch NVIDIA Inspector and click on the «Show Overclocking» button in the lower right corner. Next, set the parameters shown in the screenshot to the maximum (the video card will make more noise, but the performance increase will also be noted).
- Now you can start overclocking. To begin with, the memory is overclocked, the frequency of which should be increased by no more than 100 MHz. Immediately after applying the new setting, run a test in Furmark and check the quality of the picture, which should not show any delays or artifacts. The duration of testing is approximately 10 minutes, after which you can close it and increase the frequency further (but this time by no more than 50 MHz).

