Everything Different About New Game Plus
Destiny 2’s Season of the Splicer has added four more Lost Sectors to the Legendary Lost Sector pool. One of Destiny 2’s most notable Lost Sectors, the Tangled Shore’s Empty Tank, was one of the four that got a Legendary variant.
Related: Destiny 2: 10 Tips For Farming Legendary Lost Sectors
This Lost Sector is rather short, filled with dozens of enemies, and contains some of the most unique combat arenas you’ll find in a Lost Sector. Use your weapons and abilities to take out a Captain DJ, caged Thrall, then single-handedly take out a Fallen Marauder’s supply of gladiators in a small combat arena. If you’re looking for a fun Exotic farm, it’s hard to top The Empty Tank.
Key Modifiers
- Master Difficulty: Extra Shields, Match Game, Locked Equipment, Extra Champions
- Champions: Barrier and Overload
- Faction Modifier: Arach-NO! (Vandals drop Arc mines at their feet when slain)
- Destination Modifier: +Void and environmental damage taken
- Master Modifier: Chaff
- Burn: ++Solar damage
- Shields: Arc (Captains)
Subclass
- Hunter: Way of the Trapper is better than Pathfinder here due to the long sightlines.
Dodge whenever you need to reposition, and use your Super to debuff a large group of enemies at once.
- Warlock: Attunement of Chaos doesn’t disappoint. Equip Contraverse Hold, then throw overcharged grenades at stunned Champions to annihilate their health bar.
- Titan: Code of the Protector provides some defensive options and a 35% damage boost with Ward of Dawn. If you’re near 1,340 Power, Code of the Siegebreaker is also a good choice for a more aggressive playstyle.
Weapons
- Anarchy: With Breach and Clear, Anarchy is arguably the strongest Heavy weapon in Destiny 2 currently. Stun a Champion, launch two bolts into them, then use your Primary to take them out. Witherhoard can work, but you’ll have to run Surge Detonators and an Arc subclass to stun Overloads.
- Solar Rocket Launchers: Solar damage is 50% stronger in this Lost Sector, meaning Solar Rocket Launchers deal excellent damage.

- Empty Vessel: It deals Solar damage, has great perks, and can spawn Warmind Cells if you have Wrath of Rasputin on your armor.
- Seventh Seraph Officer Revolver: It can roll with Explosive or Timed Payload, allowing it to stun Overload Champions in two shots. It’s also the only Kinetic Hand Cannon that can spawn Warmind Cells without relying on specific Warmind Cell mods.
Mods
- Arc Damage Resistance: Nearly everything in this Lost Sector deals Arc damage. If you don’t have an Arc chest piece, use Sniper Damage Resistance and Concussive Dampener.
- Warmind Cell Mods: Warmind Cells are fantastic in this Lost Sector, clearing entire waves without much input. Good mods include Wrath of Rasputin, Rage of the Warmind, and Global Reach.
- Breach and Clear: This causes your Grenade Launchers to debuff enemies, making them take 30% more damage for ten seconds.
 It has a high cost of nine energy, but it’s more than worth it.
A Detailed Guide: Dance Floor
Dance Floor Enemies
- Two Overload Captains
- One Barrier Servitor
- Vandals
- Dregs
- Shanks
Have your Overload weapon at the ready. Guarding the dance floor is an Overload Captain, and he isn’t keen on letting you in. Use any Overload weapon you have to stun it, then use your strongest weapon to take it out. If you have a Grenade Launcher with Breach and Clear, debuff the Captain before damaging it further.
Pro Tip: When an Overload enemy is recovering from a stun, keep shooting it with an Overload weapon. This prevents the enemy from teleporting and regenerating its health, even while it’s immune to stuns.
Past the Captain is a large room that has an Overload Captain DJ playing tunes for everyone. Pushing forward is certain death, so focus on the Overload Captain first. Stun it from a distance, debuff it with a GL if you can, then take it out with your high-damage abilities and weapons. If you have Warmind Cell mods, try to kill the Captain with your Seventh Seraph/IKELOS weapon. This will spawn a Warmind Cell, allowing you to kill most of the enemies in the room.
Related: Destiny 2: 10 Tips To Survive Grandmaster Nightfalls
With the DJ gone, slowly make your way to the DJ’s gear at the other side of the room. This makes for solid cover, but beware of Vandals at the other side of the dance floor. Use any long-range weapon to take the Vandals out, provided they aren’t protected by the Barrier Servitor at the other side of the room.
For the Servitor, you’ll want to remove about 20% of its HP. This will force the Servitor to deploy its barrier. Use an Anti-Barrier weapon to pop the shield, removing all immunity tethers and stunning it for a short duration. When it’s stunned, focus on killing all of the Vandals and Shanks near it. Stun the Servitor again, finish it off, then kill the rest of the adds in the room. The DJ’s gear can now be interacted with, opening the path forward.
A Detailed Guide: Cages
Cage Enemies
- One Overload Captain
- Thralls
- War Beasts
When you open the path forward, an Overload Captain will rush into the dance floor. Like the last two Captains, stun the boss before taking it out. Push forward to enter an unlit storage room filled with caged enemies. A few Thrall and War Beasts will jump you in this room. Try to group all of them together before using a GL or grenade to take them out. Run through the storage room to reach the boss arena.
A Detailed Guide: Arena
Arena Enemies
- Two Barrier Colossi
- One Overload Captain
- Captains
- Vandals
- Explosive Shanks
- War Beasts
The center of the arena will be housing a rather unfair fight between one Barrier Colossus and a small group of Fallen. Stick to the ramp that leads to the arena, and direct your attention towards the Barrier Champion. A few shots from Anarchy or Witherhoard will force the Cabal to deploy its shield. Pop the shield, then do your best to damage the boss while the Fallen fire at you. Clear out the Fallen once the Champion is dead.
Arena Wave One
The boss will send two waves of enemies before it’ll face you. For the first wave, you’ll have to fight an Overload Captain alongside a group of Explosive Shanks. Throw a grenade at the fog gate to the left of the boss. This should kill most of the Shanks. Stun the Captain and take it out.
Arena Wave Two
A second wave will spawn shortly after you clear the first group of enemies, this time spawning on the right side of the arena. They’ll be a group of War Beasts and a Barrier Colossus. Kill the War Beasts first, using grenades or AoE weapons to take them out quickly. Take out the Champion, then get ready for a messy boss fight.
A Detailed Guide: Boss Encounter
Boss Encounter Enemies
- Two Barrier Servitors
- Azilis, Dusk Marauder
- Vandals
- Tracer Shanks
- Shanks
- Wretches
The barrier surrounding the boss and their bodyguards will dissipate. Unless the Barrier Servitors are already protecting people, immediately Super. You want to kill as many enemies as possible before the Servitors begin to make enemies invulnerable.
Make your way to the other end of the arena, standing atop the entrance to the arena. Use this vantage point to pick away at the Servitors, destroying their barriers whenever they appear. Be careful, as the boss and Wretches will periodically get aggroed on you and attempt to push. If this happens, try your best to reposition or focus on the boss. Azilis is about as tough as a Champion, so a good Heavy weapon should kill him with little issue. Clear out the Champions, then eliminate the boss.
A final wave of enemies will spawn beside Azilis’ throne when he gets weak. This wave is fairly trivial, consisting of Wretches, Shanks, and Tracer Shanks. Kill the Tracers before the rest of the adds. Once the boss is dead, head to the right of Azilis’ throne to find the Lost Sector chest.
Next: Destiny 2: Beyond Light Complete Guide And Walkthrough
Resident Evil 7: Biohazard – Das schalten Sie frei, wenn Sie RE7 zum ersten Mal durchgespielt haben (Guide)
[Update: Es wurden alle bekannten „unlocks“ für das Zerstören aller Mr. Everywhere Statuen, die Erledigung eines 4-Stunden-Speedrun und das erfolgreiche Durchspielen des Madhouse Schwierigkeitsgrads hinzugefügt.]
Resident Evil 7 setzt die lange Tradition der Belohnungen nach dem Ende der Hauptstory (post-game rewards) fort. Sie können einige unterhaltsame, zum Teil nützliche Boni freischalten, die künftiges Durchspielen leichter oder schwerer macht, abhängig von Ihren Entscheidungen. Aber keine Sorge, es spielt keine Rolle, ob Sie das gute oder das schlechte Ende erhalten haben, Sie müssen die Story nur auf Schwierigkeitsgrad „Normal“ komplett durchspielen, um diese coolen Belohnungen zu erhalten. Das erste und wichtigste Feature, das Sie freischalten können, ist der verrückt schwere “Madhouse” Schwierigkeitsgrad, der das Spiel auf mehrere coole Arten verändert.
Madhouse ist aber nicht der einzige Bonus, denn Sie werden auch ein verbessertes Abblocken (block) erhalten. Sie werden dann weniger Schaden erleiden, wenn Sie feindliche Angriffe abblocken, was immer sehr angenehm ist und einiges erleichtert. Und dann gibt es auch noch eine ganz besonders tolle Belohnung — die Albert-01R Pistole. Dieses kompakte Tötungswerkzeug erledigt die meisten Feinde mit nur einem einzigen Schuss. Das macht das weitere Spielen fast schon kinderleicht. Perfekt, wenn Sie Achievements/Trophäen erringen oder alle Collectibles einsammeln möchten.
Hier ist die vollständige Liste der „post-game unlocks“.
Anmerkung: Alle freigeschalteten Gegenstände werden in der Item Box erscheinen, wenn Sie einen gespeicherten Spielstand laden oder ein neues Spiel starten.
-
Diese Belohnungen schalten Sie frei, wenn Sie das Spiel auf Schwierigkeitsgrad „Normal“ oder „Leicht“ (easy) durchspielen:
-
Schwierigkeitsgrad Madhouse
-
Die Geheimnisse der Verteidigung (verbessertes Abblocken, Stackable)
-
Albert-01R Handgun/Pistole
-
[Wenn sich sowohl The Essence of Defense als auch The Secrets of Defense in Ihrem Inventar befinden, wird das Abblocken jedes Mal 100% des Schadens verhindern.]
Eine dieser Belohnungen, und zwar der Schwierigkeitsgrad “Madhouse”, ist als Bonus für Vorbesteller verfügbar und kann, sofern Sie das Spiel bei einem der entsprechenden Händler vorbestellt haben, sofort freigeschaltet werden.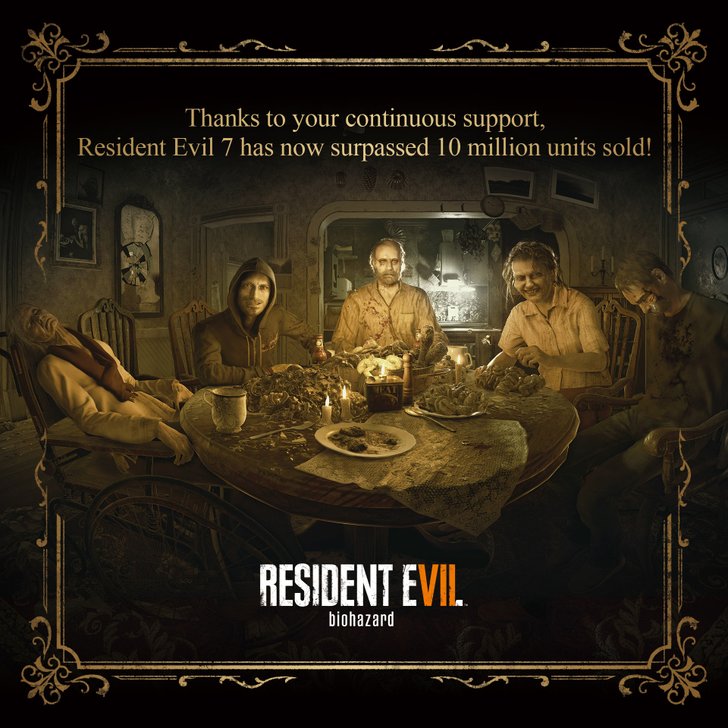 Dennoch ist es besser, Madhouse durch Spielen freizuschalten, denn die erste Kampagne gleich auf Madhouse zu starten, wird zu vielen frustrierenden Momenten führen. Das liegt daran, dass Madhouse nicht einfach nur schwieriger ist, sondern das Spiel erheblich verändert — zunächst einmal gibt es viel mehr Antique Coins (antike Münzen) und Vogelkäfige (bird cages).
Hier eine kurze Liste der Veränderungen, die der Schwierigkeitsgrad Madhouse am Spiel vornimmt:
-
Gesundheit wird nicht regeneriert. Überhaupt nicht.
-
Feinde und Stalkers tauchen öfter auf, noch dazu an anderen Orten.
-
Es gibt mehr Antique Coins (33 insgesamt) und mehr „locked item bird cages“.
-
Weniger Gegenstände. Viele Gegenstände von „Normal“ / „Leicht“ wurden entfernt.
-
Neue Gegenstände: Cassette Tapes (Tonbandkassetten) — Sie müssen Bänder sammeln und Kassetten in Save Rooms (Sichere Räume/Speicherräume) verwenden.

