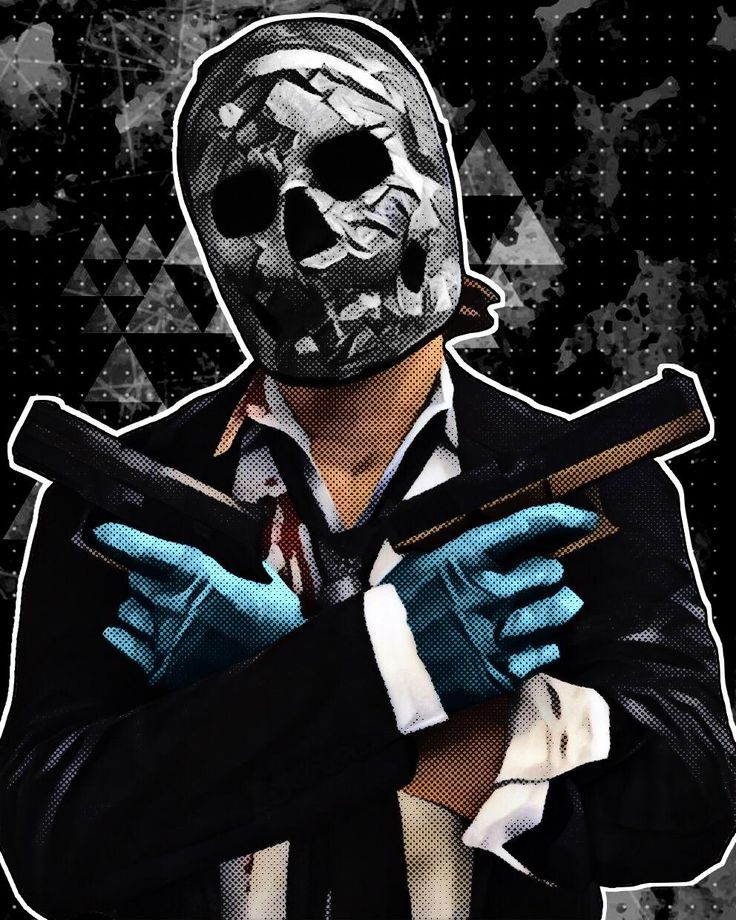
Tips, Tricks & Strategies for New Heisters
By
Zack Millsap
Payday 2 can be overwhelming for new players, but it can still be mastered. These tips will have you on the route to mastering heists in no time.
Despite being over seven years old, Payday 2 is still one of the most popular multiplayer games on Steam. With more new players joining the Payday crew every day, many novice heisters are looking for ways to maximize their profits in the shortest amount of time.
Becoming a notorious heister is no easy task. By following these simple tips, novice players will be able to complete complicated heists with relative ease. Just remember that building up a respectable reputation takes time. Don’t be discouraged if you get stuck mission or continually fail stealth heists. If you stick to it and apply these helpful tips, you will be able to play with the best in no time.
Related: Cyberpunk 2077: How to Get Every Ending
Plan Your Approach
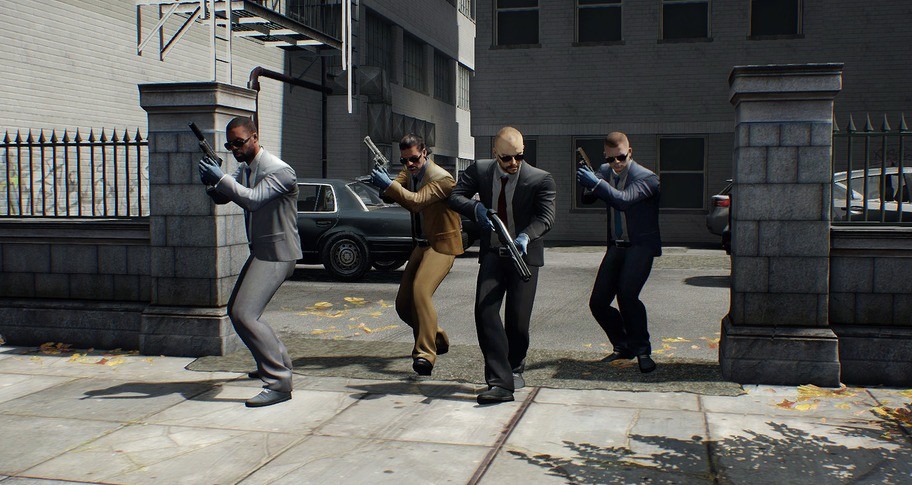
Organizing your inventory to correspond with each heist’s playstyle is vital in Payday 2. Players will need to communicate with their teammates to figure out the best way to approach each mission. Loud heists require a hefty amount of health and ammo to complete. However, having an influx of one or the other may jeopardize the mission. Make sure to have an equal distribution of medkits and ammo bags before accepting a loud contract.
Stealth contracts require players to replace medkits with ECMs jammers and body bags. Ammo is still needed during stealthy bank heists, but only if a team plans on opening the safety deposit boxes with a saw. Most stealth missions won’t require armed combat, so planning a strategy to sneak past enemies is more important than bringing a bunch of items.
Related: Cross-Play Is Great, But It’s USELESS Without Cross-Save
It is also crucial that players reduce their threat levels as much as possible before entering a stealth mission. Wearing light clothing and carrying inconspicuous guns are two great ways to dimmish threat levels. There are also a few traits and skills players can equip to make their character even more stealthy.
Don’t Jump into Difficult Heists Right Away
Although the longer, more difficult heists give players astronomically more cash and experience, jumping into them prematurely will only lead to frustration. As players progress, better guns, weapon mods and skills will unlock. Accepting a difficult contract before unlocking the proper gear will almost always guarantee a quick death. Playing through easier missions will allow players to build up their skills and unlock powerful inventory items before taking on more advanced heists.
Related: Diablo III: Everything You Need to Know About the Darkening of Tristram
Utilize Stealth
Completing stealth missions may be the quickest way to level up in Payday 2. Simple heists like the Ukrainian Job and Bank Heist: Gold can be completed silently, giving novice heisters the skills they need for more advanced missions. Even on higher difficulties, the Ukrainian Job and various Bank Heists are rather easy to complete stealthily.
If a player finishes a mission without raising an alarm, they will receive an XP bonus after completing their next heist. Up to 15% more XP will be applied to the following mission. If a heist crew can pull off multiple stealth missions consecutively, the 15% will continually carry over, allowing players to reach infamous status in a blink of an eye.
KEEP READING: Payday 2: The 5 Best DLC Collaborations
Subscribe to our newsletter
Related Topics
- CBR Exclusives
- Video Games
- feature
About The Author
Zack Millsap is an entertainment writer based out of Dallas, Texas. He graduated from Texas State University with a Degree in English in 2017. Zack is also an avid retro video game and movie collector. When Zack isn’t writing, you can find him either boxing, gaming, or attending concerts.
PAYDAY 2 — Tips and Tricks for Getting Started
August 2, 2021
0
Before you play the Payday 2 game, you will definitely want to know these simple but useful tips and tricks. If you have any tips feel free to share with us!
Contents
- Things to Know Before Playing
- What to Buy
- General
- Stealth
- Difficulties
- Loud
- Specific Heists
What to Buy
- Almost all DLC for the game comes with the “Ultimate Edition”, which is discounted slightly if you have the base game, and more if you have some DLC already.
- You do not need the Ultimate Edition to play DLC heists, just to host them. A ton of good weapons and equipment is only available in the full version, though.
- The base game has hundreds of hours of gameplay. The full version has around two thousand. Your call.
General
- There is now a pair of tutorial heists that explain some of the game’s basics. They’re worth running through first to get a feel for the underlying mechanics.
- HOLD F to do things, don’t just press it.
- The AMCAR and Chimano 88 that you have at first absolutely suck. Ditch them as soon as possible.
- The CAR-4 is incredibly customize-able, just like in real life. Buy two, and mod one for stealth and the other for war.
- Some weapons and weapon parts that come with the Ultimate Edition are locked behind achievements. Look up their descriptions to see exactly how to unlock them.
- Always mark special units, guards and cameras by hitting F while looking at them. Not only does it let you see them everywhere, but it warns your team about them too.
- When starting out, choose one perk deck and stick with it until you max it.
 All decks have some incredibly useful skills in common, including increased ammo pickup and 45% more experience gained. Armorer and Muscle are both solid starting perk decks and do not require DLC.
 - Once you complete a perk deck, only use it and other completed decks until you earn the points to complete all the other ones – one of the perk deck bonuses is increased XP, which also means faster perk points.
- “Infamy” is the game’s prestige system. It costs a ton of money the first 5 times you do it, but it also reduces skill tier requirements those first 5 times. Levels after that are purely cosmetic.
- “Continental Coins” are gained by completing safehouse raids, daily missions, and Crime Spree. They’re used to upgrade the safehouse and buy gun parts. Safehouse upgrades are 99% cosmetic, get gun parts first.
- “Crime Spree” is a sort of endless heisting survival mode for advanced players. It’s also a huge continental coin sink. Don’t bother with it until you’ve gotten gud.

- “Holdout” is an infamously ill-balanced multi-wave survival mode with limited maps, poor rewards, bugs galore and completely broken, nonsensical difficulty. There is no reason to play it other than to get special associated masks for completing weekly challenge runs. Find a full team of expert masochists if you want to do it.
Stealth
- Stealth is pretty much learned by doing it. There’s a lot of map-specific weirdness to grok. Don’t be afraid to mess up; unless you terminate the contract, you have unlimited attempts.
- After killing a guard in stealth, be sure to answer his pager. Otherwise, an alarm will sound. Your team can only answer a max of 4 without an alarm going off.
- Some stealth maps have only 4 guards-killing them all and tying down any civilians/other threats will make them “safe”. Bank heists are an example of this. Most maps have more than 4 guards and require greater care.
- Some maps have a civilian or guard monitoring a camera bank.
 Taking them out or tying them down effectively turns off cameras (though guards will still freak out if they spot a broken camera). Beware, though! Some heists have no camera operator, meaning cameras are a persistent threat, and a couple have two operators in different locations.
 - The Burglar perk deck is basically dedicated to stealth. It’s similarly a good idea to have a dedicated stealth build – you can unlock all the relevant stealth skills and have spare points in one build.
- A popular strategy is “ECM chaining”. A team uses their ECMs in sequence and rush the map’s objectives, completing the map before ECMs wear off. This requires map knowledge and coordination, but it vastly simplifies things.
- Shotguns can “launch” enemies and civilians if they are shot from relatively short range. This method can let you control where corpses are, which can be incredibly useful with practice and map knowledge. This technique only works properly if you are host, though- the body isn’t synched, and the host’s body location are what is used for detection.
Difficulties
- Payday 2 has had a lot of power creep over the years, and at this point difficulties below Overkill are introductory. You’ll only need to do them once or twice to gain some initial levels and get a feel for the game.
- Difficulties above Overkill start to require in-depth game knowledge, a lot of skill, progress unlocking better equipment and/or a higher level.
- Death Sentence, when played loud, is the difficulty for crazy idiot masochists. It’s not remotely fun, and should only be done if you’re a completionist. If you give it a pass, you’re not missing out.
Loud
- Don’t rush off on your own. Payday 2’s like Left 4 Dead; being a loner will get you blown away. Unlike Left 4 Dead, “rushing” is rarely a valid tactic.
- You do not want to “max out” a skill tree – mix and match according to your role in the team and what weapons you like.
- Complement your primary; if you have a low-accuracy but high ammo main, bring an accurate secondary to help hit snipers.
- Inspire Ace is insanely good but has a 20-second cooldown. If a teammate’s not in dire need (say, downed by a special with no other enemies nearby), you may want to pull him up by hand to save the Inspire for later.
- Call out specials with the shout button whenever you can, especially if you do not use a microphone.
- Make headshots at every opportunity. Practice getting headshots while hip-firing. The more you can land, the more unstoppable you become.
- Familiarize yourself with each special unit’s sounds – Cloakers in particular.
- It is okay to disengage in a bad situation – even if it is a single Bulldozer that you are not equipped to handle easily. Call it out and stick with your team.
- It is also okay to not try and revive someone who has been downed in a terrible place. If you do, thin the enemy near your teammate as much as possible before attempting to get him up.
- Enemy police can be shouted down and turned into hostages if they have less than 100% HP.
 Note this does not work on criminal enemies, and there is a limit on how many cop hostages you can have at once.
 - Always shoot snipers. Pubbies have something against killing them, resulting in a pile of downed players.
- No, seriously, shoot snipers. Not only do they have hacker-level aim, but their shots bleed through armor into health, which no other enemy does.
- SWAT Turrets have a shield protecting them – it’s vulnerable to explosives. The first two times you take out the shield, the turret will retract, heal, and summon a new one. The third time, the turret stays up and can be killed. Turrets on helicopters stay out when repairing and can be destroyed during the process. Most of the time, though, it’s better to just make it retract and move on. Turrets in building interiors are way easier – they don’t heal.
- Captain Winters will lock the game into assault mode when he arrives. He will also begin passively increasing all enemy max health while he’s around, until it’s doubled.
 Make him retreat quickly by taking out his escort – explosives work well.
Specific Heists
- Expect to get lost in the Alesso, Murky Station, and Goat Heist maps during your first few runs – they are complex and weirdly laid out.
- Beware: wide open spaces and bad firing lines make Goat Heist, Heat Street and Lab Rats much harder than most other heists.
- Safehouse Nightmare and Cursed Kill Room are two gimmick heists with completely imbalanced enemy distributions. Do not expect to play them for fun; bring a skilled, experienced team if you want to survive.
- If your group’s playing Shadow Raid and you’re lousy at stealth, haul bags back to the van. Hug the fence and crouch.
- Don’t smash cases in Diamond Store until you disable the alarms. You do that by getting a keycard off the manager, or off a desk, and using it in a slot upstairs.
- Day 1 of Rats, Lab Rats and the Cook Off heist, use a specific system of callouts for ingredients.
 Bain will say an ingredient, pause, and then say something else. If he corrects himself, the ingredient he mentions in his correction is the right one. If he says anything else (“I’m 51% sure”, for instance), the first ingredient was correct.
 - The non-Rats/Cook Off meth cooking sequence is exactly the same every time (Muriatic > Caustic > Hydrogen). It’s written on the whiteboard above the caustic soda’s table, if you forget.
- When doing a stealth Bank Heist, shoot the tellers and guard the panic button in the back hall with extreme prejudice. ECMs don’t turn these off, and civilians can and will go right for them.
- In Hoxton Breakout Day 2, save a keycard for the door leading to the escape.
- Bags chucked in the water in Watchdogs Day 2 won’t disappear, but they do respawn all the way back at the beginning of the level. Don’t throw more than four into the boat at a time.
- Jumping onto the folded-up blankets in Lab Rats keeps you from taking fall damage.

- Be aware that the last couple heists in the game’s storyline, Hell’s Island and White House, never got a complete optimization pass and therefore suffer from serious performance problems.
- Yes, the motorcycles in Biker Heist Day 1 handle that badly. Their hitbox is much, much larger than it looks.
Recommended for You
- PAYDAY 2
Related Articles
8th Anniversary news on pcgameabout.com
Posted on Aug 12, 2021 0 likes
Hi Robbers!
You know… you and I have been doing robberies for a very long time.
A whole eight years of arrivals, bullets, and kicks from the Clockers.
To celebrate the eighth anniversary of PAYDAY 2, we made eight different figurines. Each of them represents a separate year of support for the game and all the great time that we had with you raiding banks, stores, warehouses, etc. Play certain heists that were in the game at the time of its release and look for these figurines there to join in the fun and unlock cool rewards.
We also thought about how many enemies we killed and introduced our supersonic friends in full metal jackets. I am sure that even the newest members of our happy community have a good number of broken helmets to their credit.
Perhaps there is another way?
The perennial problem of an abundance of law enforcement officers trying to interfere with your perfectly legitimate and honest earnings can be solved in a completely different way. As we all know, there is only one more effective solution to any problem than violence, and the name of this solution is MONEY.
We call on all robbers to help the police see their wrong and realize that retirement is much closer than they thought.
Police resignation
Even if we give only a thousand dollars to each officer, this whole police resignation business is going to be quite expensive. In order to retire cops at least as fast as they are replaced, we need a high-speed dollar bill dispenser. We present to your attention Dengomet — the latest word in technology for the resignation of cops. This kid is capable of squeezing thousands of dollars out of your offshore account faster than you can say «It’s F-cking PAYDAY Motherf-ckers»! They say that every person has a price, but no matter how great this price is, no one can resist the Money Thrower.
The Money Thrower will only be available during the 8th Anniversary event.
To access this Mass Waste Weapon, you will need to find 2 different Anniversary Figurines. They can be found on the following heists:
- Jewelry Store
- Pyro
- Four magazines
- Nightclub
- Watchdogs
- Rats
- Bank Robbery (Cash, Gold, Deposit, Random)
- Crusher
Community Challenge: Offshore Crowdfunding
You and all the other thieves need to join forces and pay the police $15,000,000,000 from your offshore accounts using the Money Thrower, and you will not return home empty-handed after such squandering. For every two figurines after the first two, and every $5,000,000,000 in offshore community account cop retirement, you’ll complete one additional challenge and be rewarded with a piece of the 8th Anniversary Outfit, which includes: 1 pair of stylish gloves, a 2-pin jacket colors, and a powerful mask that completes the whole look.
Solemn Gloves, Great Eight Years (Red), Blazing 8th
You can find more details about the event and rewards in the extra missions menu located on the sidebar of the CrimeNet map. You can also keep track of our community’s police pension fund on the PAYDAY 2 8th Anniversary Site.
To make sure your spending is properly funded and unlocks the posh anniversary costume, you need to turn on the telemetry feature. To enable telemetry, follow this short guide:
Let us go and we’ll give everyone $10,000,000. It’s not a bribe…
OVERKILL_Tobias
OVERKILL — a Starbreeze Studio.
location of all anniversary statues — Guides and game reviews , That’s not all.
 This is also due to the large number of resisting police armies that are trying to destroy you and your team.
However, each heist includes a segment that lets you roam the open air, tweak things, and just generally sort out the situation. The developers took this into account when they released various types of commemorative statues and hid them in various environments and scenarios. While the timed blaster pistol is no longer available, you can still collect all of these statues that pay homage to the game’s history.
Listed below are all places where statues can spawn. The spawns themselves will be random and may occur on different days, so it’s worth checking these locations during each heist.
Content
- Safe drill models around the jewelry shop
- Meeting with Almir in Firestarter
- Swat van collection in four stores
- Brushing teeth in the nightclub
- Grandowing dogs
- Gathering a mariachi group in Mallcrasher
T-shirts during a bank robbery
Safety drill models around a jewelry store
- Behind the trash can: as soon as the robbery starts, go across the street and into the alley you are standing in front of.
 Keep walking until you see a rusty white car. The statue will be behind the blue trash can right behind this car.
 - In the office: Go to the back of the jewelry store where the offices are located. Check out the closets in the room across from the manager’s office.
- Shopping for bags: Along the main street you will see a shop with large glass windows called Precious Things. Behind one of the windows there are two paper shopping bags hiding one of the statues.
- Behind a stack of boxes: There is a parking lot in front of Precious Things. There is a stack of boxes against the far brick wall with a statue hidden behind them.
Meeting with Almir in the Firestarter
- Under the rusty stairs: Once the heist starts, cut through the mesh fence in front of you. Go down the hill to the nearest building and go right to find yourself in an alley. Stay against the wall and follow it until you find a ladder leading up, the statue is under it.
- On cart with crates: Turn back from the rusty stairs and go straight between the buildings. It will lead to an open area with cars. Go to the right of the building opening faces and look for a cart with boxes on it, there will be a statue on it.
- Near the office building: Once you are in the main office building, go up to the second floor and find the meeting room. The statue will be on the counter next to the plant.
- Security desk . While on the second floor, find a security room filled with screens. The statue will be on one of the tables.
- On the roof of the building: During the day, look for a building with a rotating & sign. Find your way to the rooftop and you’ll find a statue sitting on a concrete ledge near the sign.
- On bookcase: Find your way into & building and check the area in front of the office. You will find the statue on a bookcase filled with folders.

Collection of SWAT vans in four stores
Dimensions
- At the barred door in the alley: When the robbery starts, turn around and go straight down the alley. Keep walking until you see the alley turn into the street. Look to your right and you’ll find a statue by a barred door.
- On the shelf in the back room: enter Tune Out and go into the back room past the kitchen. The statue will be on a shelf near the corner.
- In the kitchen sink: enter the pear shop and find the rest room on the left. The statue will be in the shell.
- Behind a worn dark door: enter King Bo and go into the room on the back left. The dark wooden door should be open, look behind it to get the statue.
Nightclub teeth cleaning
- Corner light: Enter the club and go to the terrace above. Check the corner for a large light source on a tripod, the statue will be behind it.
- Behind the mop bucket in the bathroom: Enter the men’s room on the first floor of the club. You will find a statue behind a bucket in the corner.
- On the counter next to the bathroom: Look for the bathrooms on the second floor of the club on the right side. The statue will be behind the bottles next to the railing.
- On crates by some of the stairs: Go upstairs to the club operator’s room where there is a table and immediately turn right and follow the railing behind the stairs. The statue will be on some crates with a view of them.
Shining medallions in watchdogs
- Behind the wall in the loading area: After exiting the truck, exit to the left and head towards the brick wall. The statue will be behind a wooden pallet.
- For large industrial pipe . To the right of the truck is a hill that can be reached by the nearest ladder.
 Look for a large rusty pipe behind a smaller statue pipe.
 - In the open rusty trash can: head towards the Dock 9 sign during the day. Turn around from it and you will see an open faded red trash can with a statue inside.
- On the windowsill: go to the warehouse near berth 9 and go up to the second floor. Head to the front windows behind the railing. The statue will be on the windowsill.
Rat Cocktail Sipping
- Behind a stack of metal barrels: enter the house and find the laboratory. Look into the side room to find a stack of metal barrels in the corner where the statue is hiding.
- In the tire of a rusty car . Walk down the street and turn into the driveway leading to the mission home. The second rusty car hides a statue where one of its tires should be.
- At the top of the air duct: The next day, turn around and go up the stairs to jump through the air ducts.
 Follow the canals back the same way you came to find the statue at the end in the corner.
 - In the corridor between the door and the fire extinguisher: Enter the apartment building and find the floor with the gang members looking down the alley. Check the corridor to find the statue by the barred door.
- At the corner of the bridge: When you get to the bridge, look for one of the towers on the side. The statue will be at one of the points where the railing and the building meet.
- On the other side of the bridge railing: When you cross the bridge to the cranes in the distance, keep to the right. The statue will be somewhere on the other side of the railing.
Grabbing T-shirts during a bank robbery
- On A Bench at the sign of the crop trustee: Once the robbery begins, circle the bank until you find a large green sign. The statue will stand on a bench by a tree nearby.

- On the roof behind the air ducts: make your way to the roof of the bank and find two air ducts coming out of the wall. They will hide the statue.
- In the concrete corner of the parking lot: find the parking lot behind the bank. The statue will be in the corner formed by two stacks of cinder blocks.
- On some shelves with documents: Inside the bank, check the corridor leading to the vault. The statue will be at the end on top of one of the filing cabinets.
Putting together a mariachi group in Mallcrasher
- In the coffee shop by the steamer: mall entrance, go straight to the coffee counter on the left. The statue will be at the ship.
- At the counter in a clothing store. On the second floor, find the DC clothing store. Go inside and you will find the statue next to the folded shirts.
- In the gym by the exercise bike: look for the gym on the second floor at the top of some escalators.

