Walkthrough — Dark Souls Wiki Guide
Dark Souls Wiki Guide
By Dan Curtis, Kyle, Shawn Saris, +47.2k more
updated
The world of Dark Souls is massive to say the least. This is why our complete Dark Souls Walkthrough will guide you from the moment you land in the Firelink Shrine and through the numerous paths open to exploration.
While our Dark Souls Walkthrough is certainly not the only order in which the areas can be tackled, we’ve found it to be the easiest in terms of enemy level scaling.
advertisement
Looking for help with the new Dark Souls? Check out IGN’s complete Dark Souls 3 guide.
Dark Souls Walkthrough Sections
| Game Area | Boss |
| Prologue: Northern Undead Asylum | Asylum Demon, Stray Demon |
| Firelink Shrine | |
| Undead Burg | Taurus Demon |
| Undead Parish | Bell Gargoyles, Prowling Demon a. |
| Darkroot Garden | Moonlight Butterfly |
| Lower Undead Burg | Capra Demon |
| The Depths | Gaping Dragon |
| Undead Asylum Part 2 | |
| Darkroot Basin | |
| Blighttown | Chaos Witch Quelaag |
| Darkroot Garden Part 2 | Great Grey Wolf Sif |
| Sen’s Fortress | Iron Golem |
| Anor Londo | Dark Sun Gwyndolin, Ornstein and Smough |
| Painted World of Ariamis | Crossbreed Priscilla |
| Anor Londo Part 2 | |
| Firelink: The Return | |
| The Great Hollow | |
| Ash Lake | |
| The Catacombs | Pinwheel |
| Tomb of the Giants | Gravelord Nito |
| The Duke’s Archives | |
| Crystal Cave | Seath the Scaleless |
| New Londo Ruins | The Four Kings |
| Valley of the Drakes | |
| Demon Ruins | Ceaseless Discharge, Centipede Demon, Firesage Demon |
| Lost Izalith | Bed of Chaos |
| Kiln of the First Flame | Gwyn, Lord of the Cinder |
| Artorias of the Abyss | Black Dragon Kalameet, Manus, Father of the Abyss, Knight Artorias |
Loading
Want to know even more about how to master Dark Souls?
- Find everything you need to know about Covenants?
- Discover the secrets of the Prepare To Die Edition
- Master the difficult Game Mechanics
If you’re a fan, you may also like: IGN’s Deathloop Walkthrough and Guides
Up Next: Prologue — Northern Undead Asylum
Previous
Tips and Tricks
Next
Prologue — Northern Undead Asylum
Was this guide helpful?
In This Wiki Guide
Dark Souls
FromSoftware
Rating
ESRB: Mature
Platforms
Xbox 360PlayStation 3
Hogwarts Legacy: 9 Magical New Details
Hogwarts Legacy: Harry Potter Movies vs Game Comparison
Star Wars Jedi: Survivor — 9 Minutes of Gameplay
Get an early look at one of the first new planets Cal Kestis will explore in the upcoming sequel, Star Wars Jedi: Survivor.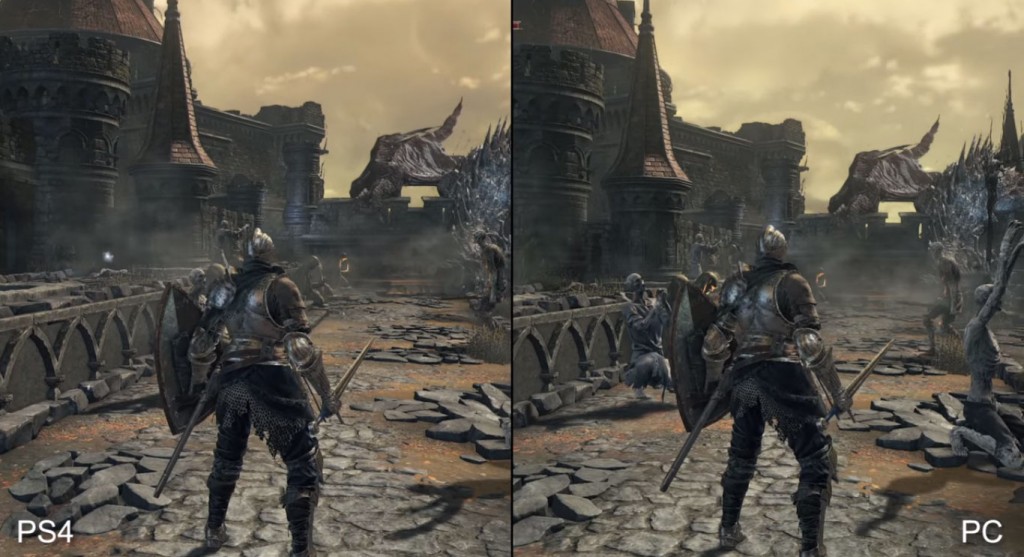 This video covers 9 minutes of gameplay that takes place after Cal crash lands on Koboh and must seek out help to repair his ship, The Mantis.
Dark Souls Cheats, Codes, Cheat Codes, Walkthrough, Guide, FAQ, Unlockables for PlayStation 3 (PS3)
New Game + mode
Successfully complete the game, and save when prompted to unlock New Game + mode. Select New Game + mode to begin a second playthrough with all previously obtained weapons, armor, and souls. However, you do not keep unique items like keys or Embers. The enemies will also be more difficult during the second playthrough. Their health and attack values are raised nearly twice as much from the first playthrough.
Duplicating items and souls
Go to a bonfire, and interact with it so there are no enemies around you. Then, unequip your head slot item, and equip either the Grass Crest Shield or Cloranthy Ring. Equip the Dragon Head Stone with the soul or item you wish to duplicate directly after it. Face forward, and use the Dragon Head Stone again while holding Square. Immediately afterwards, turn around while still holding Square, and press Down on the D-pad to switch to the item used. Release Square for a split second, then hold it again. If done correctly, your character should be able to run around with his hands above his head. Repeat this as many times as desired.
Easy souls
This trick requires a bow (can be purchased from the merchant in the Undead Burg) and arrows. Once you reach the point where you are underneath the bridge where the Red Dragon is resting, you will be able to see its tail sticking out just over the right side. If you shoot the base of the tail, the dragon will swoop over the bridge and spray fire, killing all enemies on top, includes the skeletons.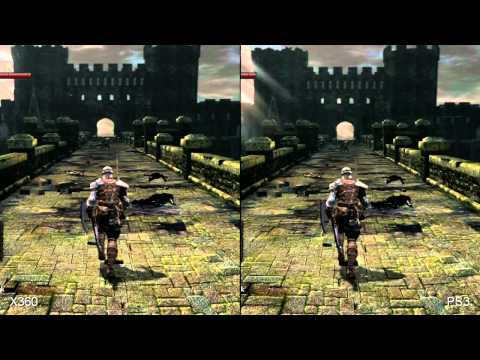 You will be awarded 300 souls for their deaths. Then, jump off the side of the underpass, climb back up the ladder from where you respawn below, and grab the souls. Repeat this process as many times as desired. You can get 300 souls in approximately 30 seconds each time. Note: You must jump off the side or die before shooting the Red Dragon again to get it to do its flaming attack on the bridge again.
After defeating the Taurus Demon, you will be looking at the Hellkite Dragon across a bridge. Run along the left side of the bridge, avoiding arrows from the Undead, and try to make it to the far left corner of small walled area. Stand there to avoid the fire from the dragon, while the enemies on the bridge die from it. You will get 300 souls. Then, go across to the stairwell parallel to your position. Descend and move across to the stairwell directly under your previous position. You can then kick down a ladder which allows you to access the last bonfire. Rest, go back up the ladder, and slowly walk over to the stairwell that led down from the surface of the bridge. If you step on the purplish stone of the bridge (just past the railing of the stairwell), the dragon will descend upon the bridge and breath fire, killing all the enemies again, and giving you another 300 souls. Repeat this as much as desired. Note: Make sure to roll back down the stairwell so you do not catch on fire.
You can easily kill the Black Knight in the Undead Burg with three or four strikes when you are not a very strong character. First, stock up on large arrows and throwing knives. You will be using the bridge you previously crossed while being targeted by firebombers. Run to the Black Knight, and shoot him with an arrow to get his attention. As soon as he starts chasing you, go back to the room that previously had two axe users and the Undead Knight. Turn around and close the door. Then, go out on the bridge, and start shooting him with the bow and arrow. When you run out of arrows, change to throwing knives. The Black Knight should fall, and you will gain 600 souls.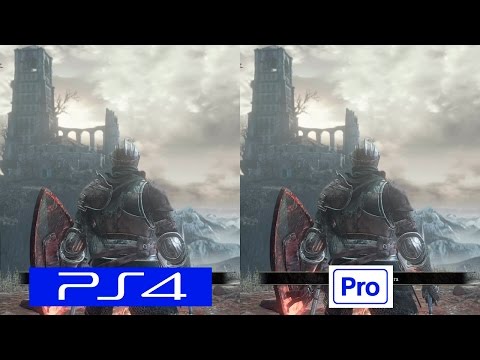 Next, sit at a bonfire, and then repeat the process as many times as desired.
Note: This trick requires you are not part of the Forest Hunters covenant. Spend 20,000 souls to purchase the Astoria Crest from the Undead Parish blacksmith that opens the Astoria (glowing) door in Darkroot Forest. Then, go to the door in Darkroot Forest, and break the false wall to the left of it to find a hidden bonfire. Open the door, and kill the enemies to get 7,000 souls. You can easily kill the enemies by running around and getting them to chase you. Then, hide in the corner on the small ledge below the staircase next to the cliff (near the ghost knight with the two-handed sword and shield on the back), and wait for the enemies to run up the staircase and off the ledge and die. Once all enemies are dead, rest at the bonfire, then repeat the process as many times as desired.
Easy humanity
In the Catacombs is a cave with a large pool of water.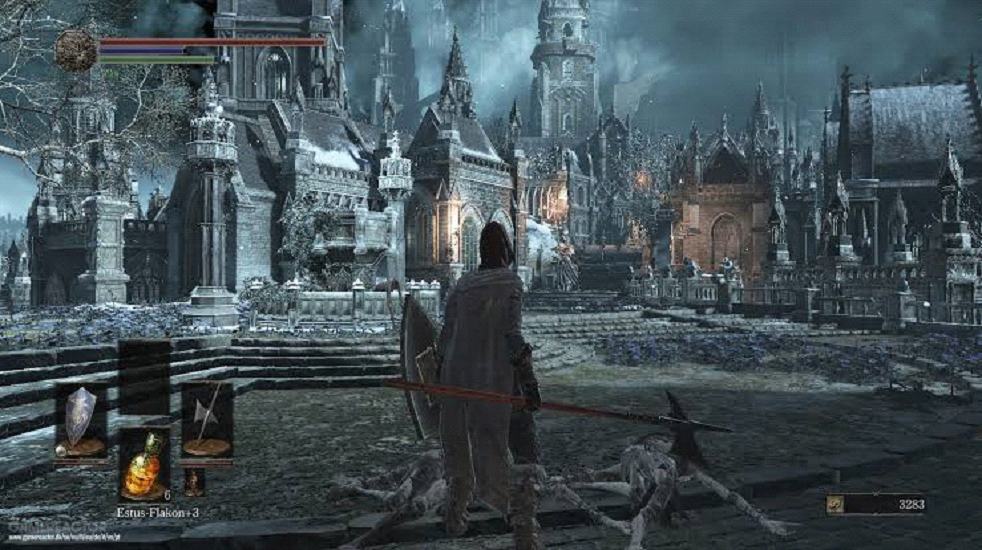 Baby skeletons continually and infinitely spawn in the water when you step in it. They die with one shot from a large arrow or a jump attack from a two-handed weapon. Equip the Covetous Gold Serpent Ring, and keep killing the baby skeletons to get a lot of humanity. However, you first must defeat some larger enemies in the area before you can easily kill the baby skeletons from a distance with arrows and not worry about getting attacked. The larger enemies throw fireballs, but they have to first charge up, and a hit from an arrow will interrupt them. Note: The baby skeletons’ attacks can make you Toxic if they hit you enough. They will also disappear when you defeat them, taking their items with them. Thus, watch for the white glow when you kill one, and immediately grab the humanity before they disappear.
Avoiding repeated game play
Use the following trick after getting killed so you do not have to repeat game play to get humanity and souls back. When you die, immediately quit the game or turn off the system and save. The game now has saved the fact that you have been killed and made the bloodstain with souls and humanity, but still has the old saved location. You should be standing a few feet from your bloodstain.
Armored Rhino helm
When fighting the Armored Rhino in the Undead Burg, defeat it with your weapons instead of using the nearby fire pits. It has a chance to drop the creature’s head, which can be used as a helm.
Covetous Gold Serpent Ring
In Sen’s Fortress, when you reach the room with the device that controls the giant boulders, move the pedestal so it sends a few boulders down every doorway. In one of the paths, a gap will be bridged by the first boulder, and the second will have broken a hole in the wall. Just beyond that hole is the Covetous Gold Serpent Ring.
Dragon Head Stone and Dragon Eye
Go through the Great Hollow, which is accessed by reaching the swamp in Blighttown. At the end of Ash Lake is the Everlasting Dragon. Enter into a covenant with the Everlasting Dragon to get into the «Path Of The Dragon» covenant and get the Dragon Head Stone and Dragon Eye.
Drake Sword
Shoot the Red Dragon’s tail off in the Undead Burg by snipping it from under the bridge with a bow to get the Drake Sword. It takes well over 150 arrows to shoot the tail off. The Drake Sword is one of the best weapons you can get early in the game. It has 200 attack strength.
Gargoyle Tail Axe
To get the Gargoyle Tail Axe, you must cut the tail off the first Bell Gargoyle you fight. Once the first Gargoyle’s HP reaches 50%, a second Gargoyle will appear with its tail already cut off. You might get a Gargoyle Shield or Halberd from the second Gargoyle.
Moonlight Sword
To get the Moonlight Sword, you must cut the tail off Seath the Scaleless, which is directly opposite from the front of its body.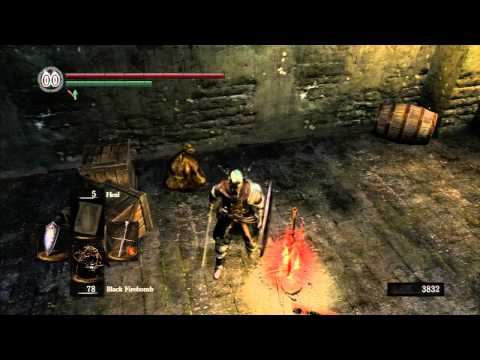 It can be hard to get behind Seath, but the best time to get behind it is during its breath attack that makes spikes come out from under the floor. Immediately after the attack, get behind it, and attack its tail. Once you cut off the tail, you can pick up the weapon.
Returning to Undead Asylum
Once you have unlocked the elevator to the Undead Parish, take it up from Firelink Shrine, but jump off as soon as the demolished wall appears. You will now be on a platform just above the entrance to the elevators. Go around the corner, and sprint towards the edge. On the left, there will be a rounded edge of the cliff immediately across from a support pillar for the tower. Do a running jump off this rounded cliff onto the pillar. Once you have landed on the pillar, you will have to walk up the connecting stonework to the broken tower. Halfway up you will have to roll across an invisible barrier, but be careful, as the ledge is very thin. When you are on the tower, first collect the Asylum Basement Key on the corpse on top of the building. You can get it by going up the stairs to the left, and rolling off the tower onto the rounded building in front of you to collect it. Next, if you are careful, you can roll back onto the tower. If not, repeat the elevator-jump-pillar process. Then, go up the stairs, but this time, go around the corner and up the next set of stairs. This will give you access to the crows nest on top of the tower. You can now curl up in a ball, and wait until the crow comes and picks you up to transport you back to the Undead Asylum. The enemies will be much more powerful than they originally were, and there will be crumbling floors.
Killing the Red Dragon with one arrow
Note: This trick completely kills the Red Dragon, and you will not see it again in the game. Thus, if you need to get anything from it, do so before attempting this trick. You can do this shortly after ringing the first bell; the dragon should either be pacing the bridge, or standing at the entrance waiting for you. You may also have to go to the bridge entrance to lure him out. Go to the adjacent bridge where you fought the Taurus Demon. If the Dragon is in the correct position, you will be able to see him from the bridge. Go over to one of the places where the wall is broken on the right side of the bridge (the one right after a pile of bricks toward the middle of the bridge works well). Line up the arrow (this takes practice), and shoot it at the dragon. If done correctly, he should disappear from your screen. After approximately thirty seconds, you will hear a roar, and get 10,000 souls as well as a humanity.
Trophies
Successfully complete one of the following tasks to get a trophy:
- The Dark Soul (Platinum): All trophies obtained. Congratulations!
- Knight’s Honor (Silver): Acquire all rare weapons.
- Wisdom of a Sage (Silver): Acquire all sorceries.
- Bond of a Pyromancer (Silver): Acquire all pyromancies.
- Prayer of a Maiden (Silver): Acquire all miracles.
- Covenant: Way of White (Bronze): Discover Way of White covenant.
- Strongest Weapon (Bronze): Acquire best weapon through standard reinfrc.
- Crystal Weapon (Bronze): Acquire best weapon through crystal reinfrc.
- Lightning Weapons (Bronze): Acquire best weapon through lightning reinfrc.
- Raw Weapon (Bronze): Acquire best weapon through raw reinfrc.
- Magic Weapon (Bronze): Acquire best weapon through magic reinfrc.
- Enchanted Weapon (Bronze): Acquire best weapon through enchanted reinfrc.
- Divine Weapon (Bronze): Acquire best weapon through divine reinfrc.
- Fire Weapon (Bronze): Acquire best weapon through fire reinfrc.
- Chaos Weapon (Bronze): Acquire best weapon through chaos reinfrc.
- Enkindle (Bronze): Light bonfire flame.
- Estus Flask (Bronze): Acquire Estes Flask.

- Reach Lordran (Bronze): Arrive in Lordran.
- Ring the Bell (Undead Church) (Bronze): Ring Bell of Awakening at Undead Church.
- Ring the bell (Quelaag’s Domain) (Bronze): Ring Bell of Awakening in Quelaag’s domain.
- Rite of Kindling (Bronze): Acquire the Rite of Kindling.
- Art of Abysswalking (Bronze): Acquire the Art of Abysswalking.
- Reach Anor Londo (Silver): Arrive in Anor Londo.
- Lordvessel (Silver): Acquire the Lordvessel.
Additionally, there are 17 secret trophies:
- To Link the Fire (Gold): Reach ‘To Link the Fire’ ending.
- Dark Lord (Gold): Reach ‘The Dark Lord’ ending.
- Covenant: Princess’s Guard (Silver): Discover Princess’s Guard covenant.
- Covenant: Blade of the Darkmoon (Silver): Discover Blade of the Darkmoon covenant.
- Covenant: Warrior of Sunlight (Silver): Discover Warrior of Sunlight covenant.
- Covenant: Forest Hunter (Silver): Discover Forest Hunter covenant.
- Covenant: Darkwraith (Silver): Discover Darkwraith covenant.
- Covenant: Path of the Dragon (Silver): Discover Path of the Dragon covenant.
- Covenant: Gravelord Servant (Silver): Discover Gravelord Servant covenant.
- Covenant: Chaos Servant (Silver): Discover Chaos Servant covenant.
- Occult Weapon (Bronze): Acquire best wpn through occult reinfrc.
- Defeat Gravelord Nito (Silver): Defeat the Soul Lord Gravelord Nito.
- Defeat Bed of Chaos (Silver): Defeat the Soul Lord Bed of Chaos.
- Defeat the Four Kings (Silver): Defeat the Four Kings, inheritors of souls.
- Defeat Seath the Scaleless (Silver): Defeat Seath the Scaleless, inheritors of souls.
- Defeat the Dark Sun Gwyndolin (Silver): Defeat Dark Sun Gwyndolin, the Darkmoon God.
- Defeat Crossbreed Priscilla (Silver): Defeat Crossbreed Priscilla, the Lifehunter.

Cheats for Dark Souls
Save before reaching Bonds of Pyromancy
Download
Save before talking to Quilana with the «Bound of Pyromancy» achievement. Collected all spells of sorcery and all wonders for achievement «Maiden’s Prayer» except «Spear of Light» as it is issued already on NG+ by the altar of light in exchange for Gwyn’s soul. Killed all b …
Save (Before NG+, no points allocated)
Download
Throw the file «DRAKS0005.sl2» with a replacement along the path …\Documents\NBGI\DARK SOULS REMASTERED\1638 !Make a backup of your file, these are your saves / Persians! Saving for those who once went through the usual, but NG + would like to go differently with the feeling of +- th …
Save editor — DS Gadget 2.3
Download
According to the author, this is a utility for testing and modding the game.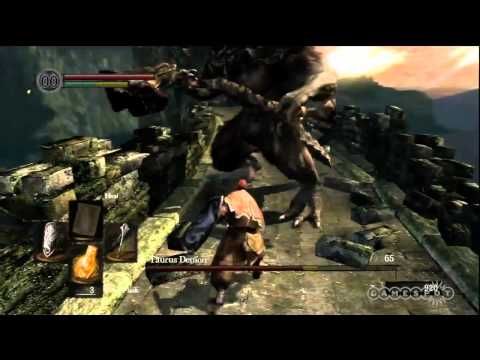 In fact, the working and best trainer for this game. Features: 1. Tab «Player» — change of health and endurance; teleport on fires and levels. 2. In «Stats» — change …
Saving (the beginning of the game, everything is pumped)
Download
The beginning of the game is near the stone dragon, the character is fully pumped with all parameters, in the inventory there are all melee weapons, all small arms and bolts and arrows for them, all staffs and talismans, all consumables, all types of magic, all rings, in …
Save (beginning of the game, everything is pumped)
Download
The beginning of the game is at the temple of fire, the male character is fully pumped, the inventory has full equipment and a shield, the two most powerful weapons, there is also a large powerful bow and powerful arrows for it. All this has excellent durability, it is also full of bottles of heaven . ..
..
Save (Start of the game, full upgrade, better weapons and armor)
Download
The game starts at the first fire, a lot of souls, the character is fully pumped and already equipped with the best armor and armed with a cool sword and shield, all the souls, all the keys, and all the rings are also in the inventory, see the rest for yourself. …
Save / SaveGame (NG +, the very beginning of the game)
Download
ON THE LICENSE IS NOT CHECKED! For Dark Souls Remastered version 1.0.1.2 (1.02) (CODEX tablet) INSTALLATION: Extract the DRAKS0005.sl2 file from the archive to the folder at: C:\Users\User\Documents\NBGI\DARK SOULS REMASTERED\1638\ Compiled and received …
Save / SaveGame (NG, Before the final boss, all boss souls, quests and items)
Download
The last boss was not killed, everything was collected and received (quests completed) that is possible for the first passage of the game under certain conditions, except for drops from blacksmiths and the exchange of souls of bosses. The blacksmiths and Quilana (for upgrading the Pyromancer’s Flame Gloves) are alive, Framt is not at …
Trainer / Trainer (+10) [1.0] [Servick]
Download
Description: Dark Souls: Prepare to Die Edition, Year of release: 2012, Trainer + 10 Description: 1) Numpad_1 — Infinite life and stamina (removes a long scale of life pumping, who like this scale in full screen, use below separate life and …
Save / SaveGame (Knight, NG+, 100 lvl, first fire)
Download
There are almost no items, the game was completed as a Knight, leveling with heavy armor and the Black Knight’s Sword.
Save / SaveGame (Multiple characters 80+ levels)
Download
Multi-character save: — 1 GiantDad pvp build; — Cleric 100+ lvl; — Warrior through strength 80+ lvl; — Mage 80-90 lvl; — An ordinary Persian used to complete the game . ..
..
Save / SaveGame (Before placing the bowl at Kaas, 92 lvl, fully ready for pvp build) — Updated: 06/08/2018
Download
Saving, for those who are too lazy to go to the dark ending and generally make a pvp build. UPD: The previous save was too incomplete, therefore, I decided to fill in the completed version (the covenant «dark spirits» was pumped up to +3, a crayon was found and a weapon was picked up p …
Save / SaveGame (All gear and magic, NG+ after Anor Londo, lvl 250)
Download
Persian lvl 250, Collected most of the weapons and armor, all pyromancy, miracles, sorcery, including everything necessary for the achievement to collect rare weapons. A lot of titanite and other consumables, a lot of sharpened weapons, alas, I did not take into account that for the sake of achievement it would be possible to enter ..
Save / SaveGame (95 lvl, final stage)
Download
Save at the final stage of the game, before Gwyn. C:\Users\ADMIN\Documents
Trainer / Trainer (+12) [1.01.1] [MrAntiFun]
Download
Author: MrAntiFun Edition: Steam Version: 1.01.1 Language: Eng Functions: 12 Release date: 06/02/2018 Trainer features: — Immortality (Inf. Health) — Infinity. Endurance (Inf. Stamina) — Besk. Items (Inf. Items) — Besk. Durability (Inf. Dur …
Dark Souls: Remastered — technical analysis of the Switch version of the game from Digital Foundry
Platforms:
SWITCH
Categories:
Interesting
Industry
Video
Updates
Tags:
testing
switch
Digital Foundry
Dark Souls: Remastered
Origin
Games in material
- Comments
- Forum
The release of Dark Souls: Remastered for Switch was delayed in relation to other platforms by almost half a year, but a few days ago the re-release of the role-playing action from From Software still reached the owners of the Nintendo hybrid console, received high marks from the Western press . Specialists Digital Foundry have already studied the project and outlined its technical component in detail in their new video.
The Switch port of Dark Souls: Remastered is based on the previous generation of consoles, which explains the lack of support for high frame rates and visual effects available in the re-release on Xbox One , PlayStation 4 and PC . According to Digital Foundry, Dark Souls for Switch is an «authentic» port, presented from a visual point of view as close as possible to how the game looked many years ago.
In terms of image clarity, the Switch version of Dark Souls has a twofold advantage over the original console release for Xbox 360 recorded a decrease in resolution to 900p . As for handheld mode, here « Dark Souls » showcases honest 720p .
If we talk about the speed of work, for the most part we are talking about stable 30 FPS , although frame rate drops still occur during intense action and are more pronounced when playing in handheld mode.