Dark Souls 3: Burg Lothric — Zugang, Zweites Leuchtfeuer, Drachen umgehen
Nach dem Bosskampf gegen die Tänzerin des Nordwindtals — die erst nach Erhalt von dreimal Fürstenasche erscheint, also nach dem Sieg über die drei Aschefürsten — platziert ihr das Becken des Gelübdes, klettert die Leiter hinauf und betretet Burg Lothric.
Auf dieser Seite:
Zugang zur Burg, Zweites Leuchtfeuer, Drachen umgehen
Auf anderen Seiten:
Dark Souls 3: Burg Lothric — Drachen töten, Abkürzungen, Sonnenlicht-Eid
Dark Souls 3: Boss: Drachentöter-Rüstung
Dark Souls 3: Großes Archiv — Kristallweisen töten, Fahrstuhl aktivieren, Abkürzungen
Dark Souls 3: Großes Archiv — Dach, Geflügelte Ritter, Titanitscholle
Dark Souls 3: Boss: Lorian, älterer Prinz, Lothric, jüngerer Prinz
Rechts ist eine Sackgasse, geradeaus patrouilliert in einer Halle mit etlichen Rittergrabmälern ein Rotaugen-Lothric-Ritter mit einem heilenden Billiggegner. Letzteren könnt und solltet ihr schnell umkloppen, Ersterer macht schon mehr Problemchen, kriegt ihr aber hin. Am Altar gibt es anschließend die Seele eines entmutigten Ritters.
Der Aufzug auf der linken Seite lässt sich nicht von hier aus bedienen, gibt aber später eine sehr nützliche Abkürzung zum Gebietsboss ab. Rechts geht es die Treppen hoch in einen Bereich Heilern und den dazugehörigen zwei Lothric-Rittern, zum Glück nur die normalen und nicht die mit den roten Augen. In der angrenzenden Halle entdeckt ihr das nächste Leuchtfeuer (Burg Lothric) und im folgenden Raum eine normale (!) Schatztruhe mit dem Rüstungsset des Gebets.
Links auf dem Balkon findet ihr einen Titanitbrocken und den weiterführenden Weg die Stufen nach oben. Gegner hier sind normale klapprige Skelettsoldaten — die trotzdem eine Menge austeilen — und solche, die mit Brandbolzen schießen (generell erwartet euch im folgenden Gebiet so mancher Hinterhalt mit mehreren scheinbar harmlosen Feinden, die einzeln kein großes Problem sind, jedoch in der Gruppe eine Menge Ärger anrichten können.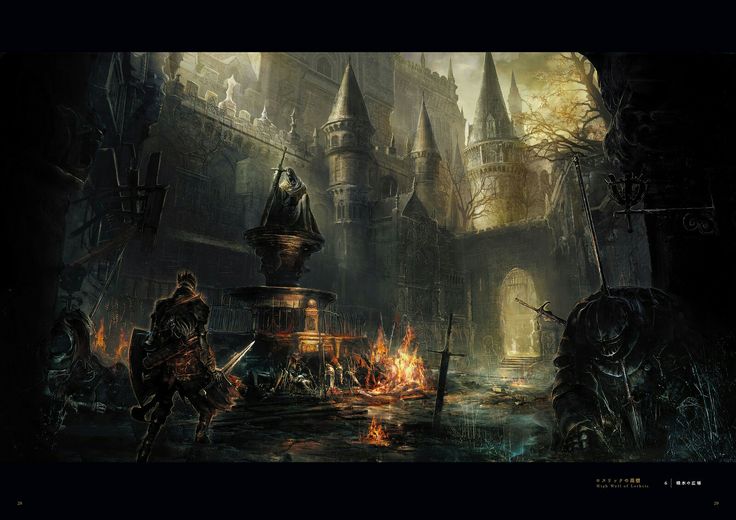 Stellt euch auf Estus-Blocker ein und lockt möglichst immer nur einen Gegner zu euch).
Klettert ihr rechts im Turm die Leiter hoch, fällt ein oberhalb lauernder geflügelter Ritter nach unten und ihr könnt eine scheinbare Wand zerstören. Vor den Gemälden im folgenden Raum findet ihr das Rüstungsset des geflügelten Ritters sowie den Heiligblütenschild. Ihr könnt auf dem Rückweg die Höhe für einen Sturzangriff auf den Dickwanst ausnutzen. Nehmt unten das Funkeltitanit mit.
Wieder nach draußen geht es rechts die Treppen hoch oder bei der Holzbarrikade weiter, hinter der ein Skelett auf seinen großen Moment wartet, euch zu erschrecken. Letzterer Pfad endet in einer Sackgasse, verknüpft mit einem Hinterhalt, denn einige Untote preschen über die Brüstung. Die Leiche überlässt euch einen Titanitbrocken. Zurück und die Treppenstufen hoch.
Kämpft euch durch mehrere Skelette und nehmt von den beiden Ausgucks die Große Seele eines kampfesmüden Kriegers sowie 2x Titanitbrocken mit.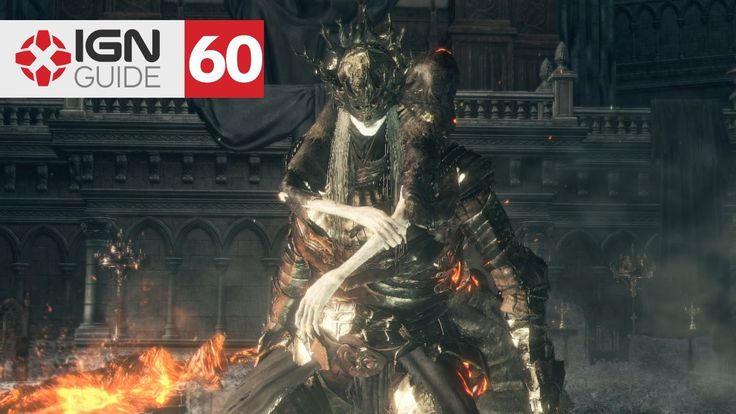 Nun weiter die Treppe hoch — hier oberste Vorsicht vor den Estus-Blockern der Gegner auf den Stufen — und ihr findet auf der linken Seite das nächste Leuchtfeuer (Drachenhort). Sammelt links an der Mauer 1x Glut ein und ihr steht vor drei Treppenaufgängen. Der rechte ist nicht relevant und endet in einer Sackgasse mit einem funklenden Item oberhalb, der mittige setzt euch gleich zwei feuerspeiende Drachen vor die Linse (sehr gefährlich), und der linke führt ebenfalls auf dieselbe Ebene vor den Drachen. Links wartet der nächste Rotaugen-Lothric-Ritter neben einer Leiche mit der Großlanze.
Erst ein Drache, dann ein zweiter — auf direktem Weg kommt man hier kaum durch. Ihr müsst euch von der Brücke auf einen Vorsprung fallen lassen.
Nun müsst ihr wohl oder übel an den Drachen vorbei. Der direkte Weg über die Brücke wäre Selbstmord; beide speien abwechselnd, sodass nie ein Zeitfenster zum Drüberrennen entsteht. Betretet die Brücke und lasst euch gleich rechts auf den Vorsprung darunter fallen. Seid ihr schnell genug, könnt ihr es bis zum Ende der Brücke schaffen und euch dort fallen lassen, auf den Vorsprung gegenüber, um einen Untoten-Knochensplitter einzusammeln. Nun wieder zurück und auf den eigentlichen Vorsprung fallen lassen.
Sammelt rechts bei der Leiche 1x Titanitbrocken ein. Unten auf der linken Seite seht ihr schon einen verseuchten Untoten, wie ihr ihn aus dem ersten Gebiet vom Anfang des Spiels kennt. Hier liegt 1x Titanitbrocken und noch einer, ganz hinten im Eck, wo der mutierte Gegner steht, 2x Funkeltitanit. Verlasst dann den Ort durch den rechten Durchgang und ihr findet hinter ein paar Kisten im Eck 3x Blitzurne und dahinter eine Kristallechse, die euch in eine Falle locken will. Vorsicht vor den zwei Gegnern, die euch von rechts das Leben schwer machen wollen und gleich darauf Unterstützung von drei weiteren erhalten, die flink und unvermittelt über die Mauer hopsen.
Nicht genug Drangleic in eurem Leben? Wenn ihr Dark Souls liebt, dann findet ihr hier (Amazon.de)
Dark Souls 3 Wand-Viny-Druck — Brecht euer Zimmer in eine neue Welt auf!
Schafft den Durchbruch in die Welt von Dark Souls.
Es gibt aber noch viel mehr zu Dark Souls, zum Beispiel:
Dark Souls als aufwändige Comic-Reihe — Dark Souls: The Breath of Andolus
Summer is coming — Das offizielle Dark Souls 3 Gravelord-T-Shirt.
Am Ende des Weges gelangt ihr zu dem Item, das ihr schon von unten beim Leuchtfeuer gierigen Blickes erspähen konntet: Große Seele eines namenlosen Soldaten. Auf dem Turm daneben erscheint ein weiterer geflügelter Ritter, der mit seiner Hellebarde gerne mal mehrfach um die eigene Achse wirbelt und damit ordentlich Aua macht. Er bewacht eine Sackgasse mit der Präzisions-Armbrust und 11x Scharfschützen-Bolzen. Hiermit schließt sich der Kreis.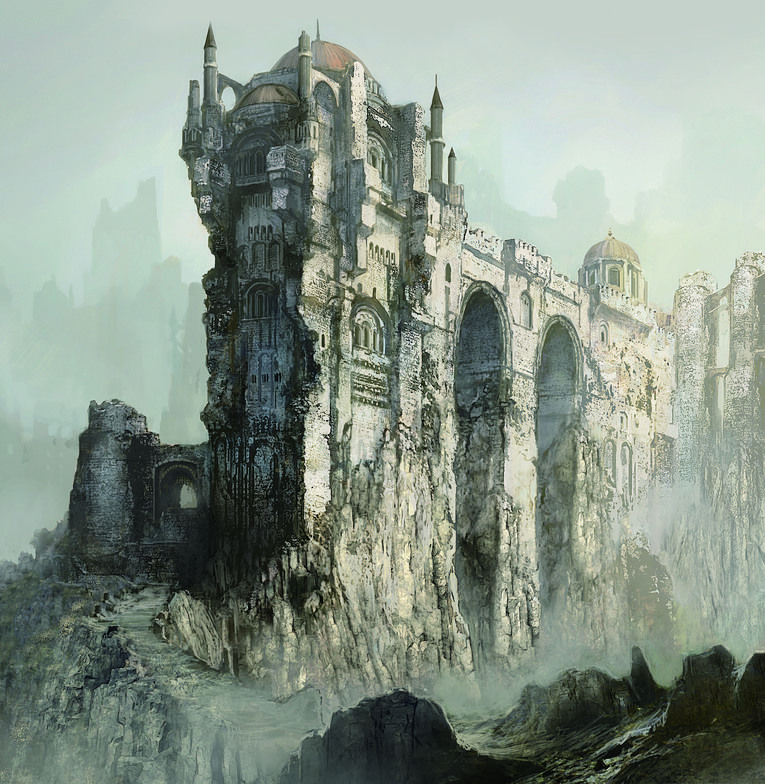
Gehen wir nun den eigentlich Weg weiter: auf der Drachenbrücke gleich links fallen lassen und an mehreren Skeletten vorbeikämpfen in Richtung des Gebäudes. Das ist deswegen etwas tricky, weil euch eines davon mit Amuletten bewirft, die eure Estus-Regenerierung kurzzeitig hemmen. Achtet auch darauf, dass euch das verseuchte Wesen von unten treffen kann, wenn ihr zu nahe am Abgrund steht. Das Clipping ist hier nicht sauber.
Am Ende des Weges rasten gleich zwei Lothric-Ritter, die aber nichts bewachen (das Item oben erhaltet ihr erst später von der anderen Seite), daher könnt ihr sie vorerst dort hocken lassen. Rechts geht es den Treppenaufgang in einen Raum mit einem weiteren Untoten, der mit Estus-Blockern wirft. Sammelt hier an der Säule die Große Seele eines namenlosen Soldaten und rechts Kruder Edelstein ein. Die Treppe runter erwartet euch ein vierbeinig kämpfender Vorreiterritter, wie ihr ihn vor dem Eingang zum Pfad der Opferungen anfangs schon kennt. Ihr wisst dann sicherlich auch, dass mit ihm nicht zu spaßen ist.
Zurück zum Inhaltsverzeichnis der Dark Souls 3 — Komplettlösung
Der Vorreiterritter bewacht nur eine Sackgasse, dafür aber eine mit vier Schatztruhen.
Am besten ist es, ihr säubert oben erst alles von Gegnern und nutzt die reine Luft, um ihn auf eine freie Fläche zu locken. Seine Frostangriffe töten euch nicht auf der Stelle, aber ihr nehmt ordentlich Schaden, sobald die Leiste aufgeladen ist. Der Sieg über ihn bringt euch das Irithyll-Rapier ein. Hier unten ist nun eine Sackgasse, aber ihr findet immerhin vier Kisten, ausnahmsweise sicher zu öffnen, und in den beiden links 3x Funkeltitanit, in der daneben 1x Titanitschuppe, in der rechten den Geistbaumwappenschild. Weiter geht es hier nicht, was bedeutet, dass ihr euch oben mit den Drachen auseinandersetzen müsst (siehe nächste Seite).
Lothric Castle | Dark Souls 3 Wiki
A full walkthrough including all the items, enemies and bosses goes here. You can add links, images. and other details. Click
here to go to the Speedrun Walkthrough.
Accessing Lothric Castle
After defeating Dancer of the Boreal Valley, ascend the ladder and proceed forward into the castle. In the first room will be a red eyed knight and a black clothed figure. The cleric in black will heal the knight during the fight so it would be useful to kill it first. Kill them and loot Soul of a Crestfallen Knight 1x from a corpse in front of the altar.
Take the staircase from the right side of the room up to find a cleric in black on your right and 2 Lothric knights and a cleric ahead. Proceed into the next room and light the Bonfire to the left.
Proceed straight into the next room and loot the chest on the right for the Prayer Set. On the left by the railing you will find a Titanite Chunk 1x. Head to the stairs along the left side to encounter some hollows. At the top of the stairs to your left will be another seated hollow in a tower.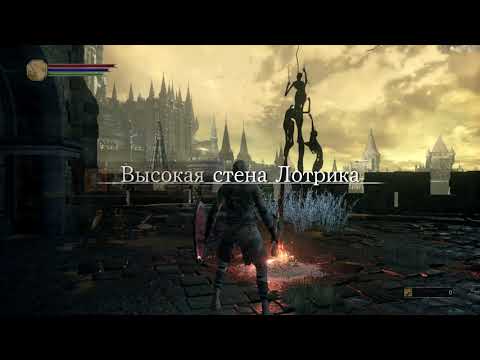 Ahead of this to the left is a set of stairs you can take down to a tower top where several hollows will climb over. Loot the corpse here for a Titanite Chunk 1x. Go back up to the main path and head into a room on the right where winged knight will drop down. Defeat it and loot the corpse here for Twinkling Titanite 1x. Climb the ladder, turn around, and go to the end of the platform to find an Illusory Wall on your left. Go through to find the Sacred Bloom Shield and the Winged Knight Set.
Return to the room with the Winged Knight, exit the room, and head up the stairs to face some crossbow hollows. Up to the left is a tower with another hollow where you can loot Titanite Chunk 1x. To the right you can loot a corpse for Soul of a Weary Warrior 1x and another Titanite Chunk 2x. Continue up the long staircase and then head left to light the Dragon Barracks Bonfire. Loot a corpse near for an Ember 1x. If you continue through the door closest to the bonfire and then right up the stairs and then head left you will find a red eye knight guarding a corpse with a Greatlance.
Navigating Wyvern Fire
Head toward the stone bridge near here where you’ll see a Lothric Wyvern perched on the other side, but be aware that a second wyvern will land next to it, and both will begin spraying fire. Killing one wyvern will make them both die. If you decide to run across the bridge, you can drop down near the end to loot Undead Bone Shard 1x from a corpse underneath the bridge. Drop down again to the right to find a seated hollow. To the left is a doorway you can enter to find some stairs up but first, proceed down the path here to loot Titanite Chunk 2x. Keep going, and you will see a hollow that will turn into a black mass hollow; try to kill it before it can transform, and then continue on to find Twinkling Titanite 2x. Return to the doorway and head up the stairs and break some boxes to the left to find Lightning Urn 3x. Step through and exit the doorway and head right. On the stairs you will find a Crystal Lizard and a hollow will drop down here.
Continue up the stairs where more hollows will drop down. Continue up the path, where you will find a corpse to the right hanging over a ledge with Large Soul of a Nameless Soldier 1x. Continue up to the top of a tower and head down the stairs here to encounter a Winged Knight and a hollow to the left. You can loot a corpse near the hollow for Sniper Crossbow and Sniper Bolt 11x. Return to the tower top and take the other stairs down and take the path back towards the bonfire.
Make your way back to the stone bridge. Near the start of the bridge, you can drop down to the right to a lower ledge where you will find Titanite Chunk 1x. Continue along this ledge to come to a path and a staircase where 3 more hollows will attack. Continue up the stairs dispatching the hollows. At the top if you proceed straight you will encounter 2 Lothric Knights on the left. The one on the right is particularly deadly, he’ll two-hand his sword and can bless it. You can aggro one at a time with ranged projectiles. If you head right instead up the short set of stairs you will come to a doorway on the right. Through here you will find a hollow to your right. Straight ahead will be Large Soul of a Nameless Soldier 1x on a corpse. To the far right of this room you will find a Raw Gem on a corpse.
Fight the Boreal Outrider Knight
Go down the stairs on the right to encounter a Boreal Outrider Knight on the lower level who deals some powerful frost damage. This is enemy is quick and relentless so patience and stamina conservation are key. Killing it has a chance to drop Irithyll Rapier. In this room are 4 chests, 1 with Twinkling Titanite 1x, 1 with Spirit Tree Crest Shield and 1 with Titanite Scale 1x. The 4th chest can be found hidden behind several boxes and contains Twinkling Titanite 2x.
Return up the stairs and head right up the large stairs. The wyverns will breathe fire into this courtyard area. You can dash left or it can be rolled through to head straight into the next room. Head up the stairs here avoiding the fire barrels being tossed and take out the hollows at the top.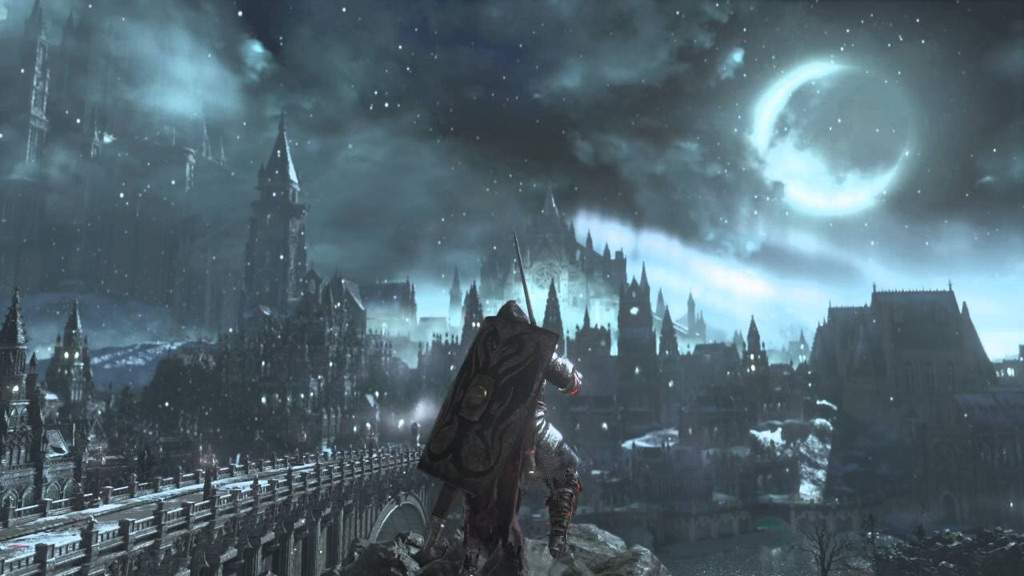 Head into the proceeding room where you will find hollows and a Mimic chest to the right with Titanite Scale 3x. A corpse in here can be looted for Pale Pine Resin 1x. If exit to the outside from this room you will find several hollows and a corpse with Titanite Scale 1x.
Reenter the room and head left down the stairs to take out more hollows and loot Large Soul of a Nameless Soldier 1x on a corpse hanging over the edge. If you take the ladder down you can loot a corpse in this room for Black Firebomb 3x, which will be useful for the next step. Head back up the ladder. To the right you will see a wyvern claw reaching into the room. Attacking it will trigger a dark eruption from which the Pus of Man infecting the wyvern will spill out spitting abyssal sludge that will build up curse. It is weak to fire and can be attacked at range to stay out of harm’s way. Killing it will fell both wyverns in the area. At this point you can return to the area across the stone bridge where the wyverns had been guarding to loot corpses for Lightning Urn 6x, Refined Gem 1x, and Ember 2x.
Unlock main Gates for a Shortcut
Once the wyverns are slain, exit this room out the opposite doorway and head right down the stairs, down the path to find a corpse on the left with Titanite Chunk 1x and further down the path a Crystal Lizard & a body with Titanite Scale 1x. Return back to the room where you fought the wyvern claw and take the stairs down and head into the nearby room to find a Large Soul of a Weary Warrior 1x. Pull the lever here and drop down to the right to take on the cleric and red eyed Lothric Knight. Defeat them and head down the main central stairs to face another cleric and knight. A corpse in the corner has an Ember 1x.
Head back up the central staircase and take the curved stairs on your left. Head right to exit and right again to enter a church like building. There is an open doorway on the left. Take it and head right to find the Red Tearstone Ring. If you jump down where the rail is broken, you can find Caitha’s Chime, beware the long fall.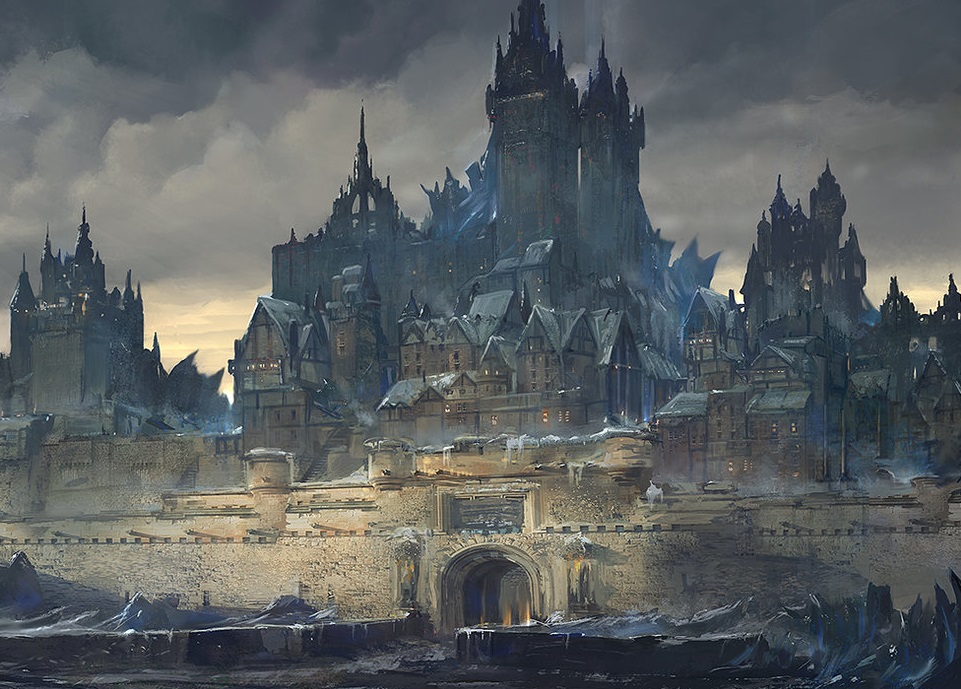 Inside the church you can find Rusted Coin 2x on a corpse and behind it, a chest with a Titanite Scale 1x. In the lower portion of this room, you can find the summon sign of Eygon of Carim. You can summon him now or wait until ready to tackle the boss if you want to explore some more.
Find the Sunlight Altar
Exit the church and slightly to the left and ahead will be a corpse with Sunlight Medal 1x. To the left of this corpse enter the room to activate a lift to unlock a shortcut to where you first entered the castle. Take the lift back up to the top and exit to the left and go left around the corner. On the left up the wall will be a ladder. Take it to the top and head left on the roof to find a corpse in the corner with Titanite Chunk 1x. If you make your way back along the roof you will come to a long rooftop leading towards some crossbow hollows and an axe wielding hollow. Cross into the building they are in and head to the opposite side of the room and take the ladder down.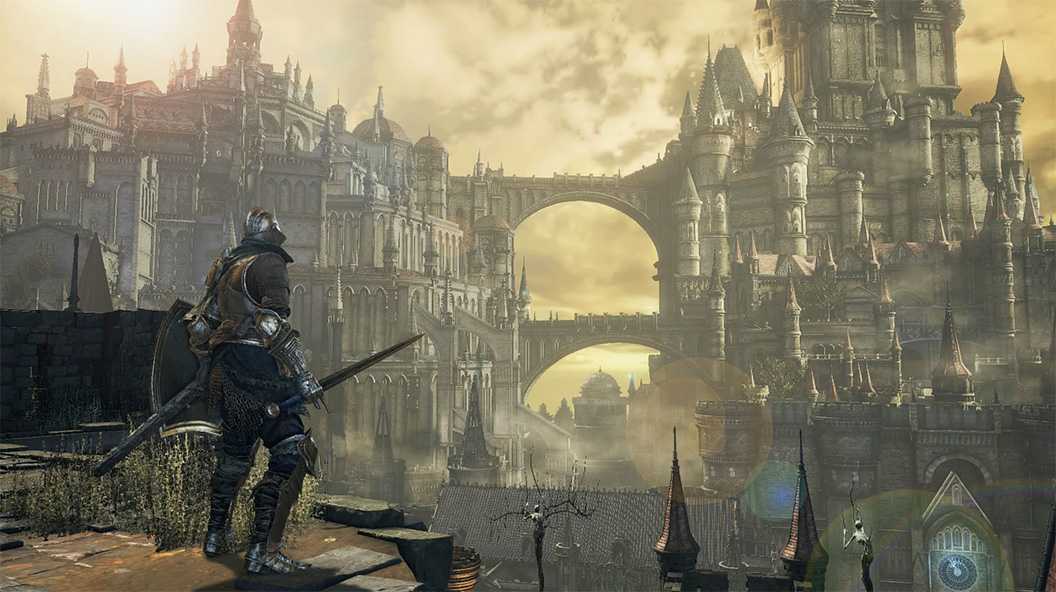 In this room you will find the Knight’s Ring 1x.
Cross the covered bridge which leads out of this room to encounter an axe hollow and a greatsword wielding lothric knight. Beyond them in the next room is a chest with Titanite Scale 3x. In this room you will find the Altar of Sunlight, where you can learn the Praise the Sun Gesture and which also serves as the covenant turn in for the Warrior of Sunlight Covenant. Open the double door here and exit out.
If you head left and look over the edge you can see the dark mass which has erupted from the fallen wyvern. You can snipe it safely from up here with casting or a lot of arrows. The Onislayer Great arrow seems to do the most damage. It is susceptible to fire and can be taken out from range. If you have no ranged, run past the left side of it and get behind it. You will be inside the dead wyvern and it cannot attack this direction, just be careful attacking since most attacks cause your character to move forward, and getting you in range of it’s flailing attacks. Killing it will cause the wyvern to disappear and you can loot Titanite Chunk 2x, Large Titanite Shard 2x, and Ember 2x. A corpse nearby can be looted for Soul of a Crestfallen Knight 1x. In the adjacent room you will find a Mimic with the Sunlight Straight Sword and up the stairs the Braille Divine Tome of Lothric.
Boss Fight: Dragonslayer Armour
Once ready to tackle the boss return to where you saw the sign for Eygon of Carim and summon him if you choose. Head out and to the right to come to the fog, where you will challenge the area boss, Dragonslayer Armour. Kill him to obtain Soul of Dragonslayer Armour. Proceed along this bridge and light the Bonfire, and continue on. Head to the right and take the stairs down to find Titanite Chunk 1x. Return up the stairs and head right up the main central stairs. In the next room you will find another Bonfire. Light it and press on into the Grand Archives.
Lothric Castle Map
Video Playthroughs
TheGadgetAddicts: Lothric Castle Video Walkthrough Part 1 (First two Bonfires, Winged Knight, Wyverns, Frost Knight)
TheGadgetAddicts: Part 2 (Wyverns, mimic, shortcut, Dragonslayer Armour)
Speed Run Walkthrough
A fast walkthrough of how to get to the end of the level the fastest, picking up only essential items goes here.
Ranking of the best starting zones in Souls games
There is a lot of hard work in the starting zone of any Souls game. He must teach the player the basics of the game and set the ground rules for what he will experience after the game. It needs to be visually appealing so that players don’t immediately turn away from what they’re looking at. And above all, he needs a good boss or a set of bosses that are challenging but not overpowering. This list lists the most common starting areas that players may encounter throughout the Soulsborne genre, from least to most effective.
Contents
- 7. Dark Souls 2: Forest of Fallen Giants
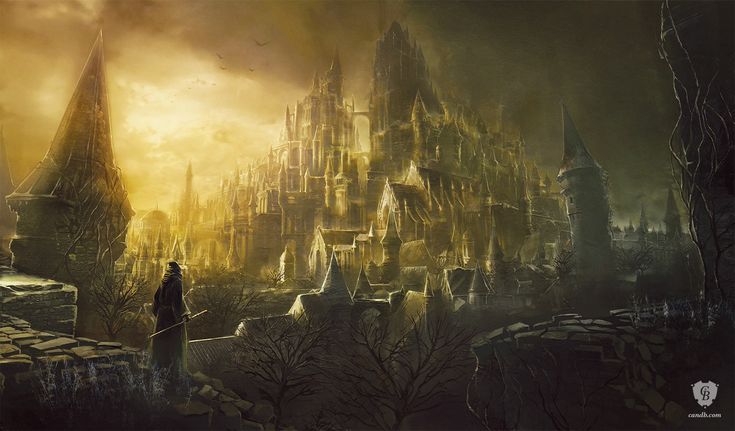
- 6. Dark Souls 3: High Wall of Lothric
- 5. Dark Souls: Undead Burg
- 4. Sekiro: Ashina Outskirts
- 2. Demons Souls: Gates of Boletaria
- 1. Bloodborne: Central Yharnam
. : Limgrave
7. Dark Souls 2: Forest of Fallen Giants
and level designs.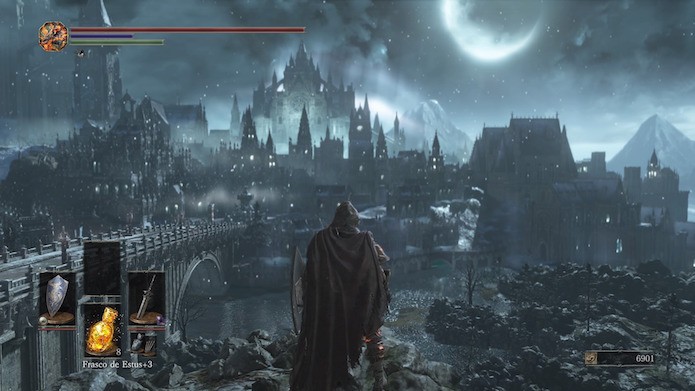 There are several different locations players can end up with after reaching Majula, but the most common is probably the Forest of Fallen Giants. This level is well put together, relatively challenging, and does everything an entry level is supposed to do. It’s not particularly exciting, however, and its bosses aren’t prime examples of quality compared to others in the game. Finally, its appearance is more generic than the others on this list, so while it does its job overall, it’s the last one on this list.
6. Dark Souls 3: The High Wall of Lothric
The High Wall of Lothric, like the Forest of Fallen Giants, is a great opening area, but doesn’t inspire awe in the player. Composed of gothic-style architecture like much of Dark Souls 3, and with one of the least impressive bosses in the game (Vordt of Bleak Valley), the High Wall does what it’s supposed to do, but no more. It rises somewhat above the Forest because the Dancer of the Cold Vale fight is available at any time, and the connecting areas of Lothric Castle and the Undead Settlement are much better examples of good Souls level design.
5. Dark Souls: Undead Burg
The first major location that most Souls players have likely ever visited, Undead Burg isn’t the biggest or most visually impressive place. Instead, it has moments of surprise and shock that have stood the test of time and set the stage for everything that follows. The sudden appearance of the Hellkite Drake on the bridge as you enter the second zone, the lone Black Knight ready to slam players into the ground, and even the fight against the Taurus Demon all combine to take Burg from good to great.
4. Sekiro: Ashina Outskirts
Sekiro’s Ashina Outskirts had one of the hardest jobs in all of Soulsborne. It was meant to make veteran players forget their old habits while teaching newcomers the many systems they needed to master. It works on every level. The entire level is a master class in progression. Early enemies don’t deal much damage and are easy to deal with, while mini-bosses scattered around force players to use what they’ve learned against trash mobs in a much more tense environment.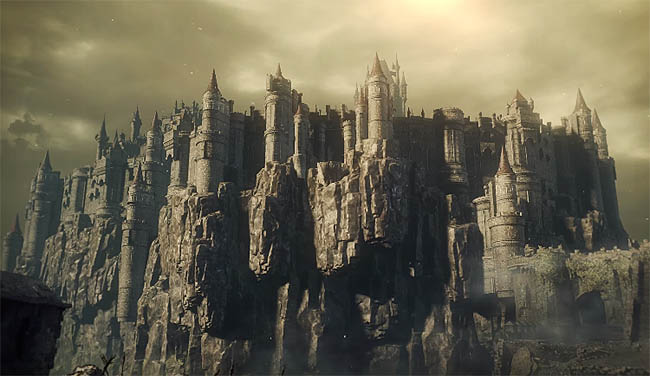 That this area also leads to the rest of this masterpiece of the game is another advantage.
3. Elden Ring: Limgrave
If one word describes everything that Limgrave had to convey to Elden Ring players, it would be «scale». No game in the wider Soulsborne franchise has been as extensive as this one, and Limgrave has had to teach both that and the various research systems. new to the game. It’s entirely possible to spend dozens of hours exploring all the depths of just this first zone, and many newcomers to the series have done just that. Limgrave not only teaches the «explore-mind-explore-again» mechanics that all of Elden Ring will be based on, but also uses some of the meanest tricks FromSoftware has even done, with teleportation traps that send unsuspecting players to a hellish world. Kalid and not only.
2. Demons Souls: Gates of Boletaria
Demon39;s Souls39; Gates of Boletaria managed to scale just about better than Elden Ring thirteen years before the release of the last game. Once you leave the already impressive Nexus to begin your journey as a demon slayer, you will be greeted by this huge castle and closed gates, and the obvious path forward is to open those gates somehow. This challenge requires exploring the entire area, wrestling with some of the most dastardly traps FromSoftware has ever created, and learning their trademark loopy level design and combat. Add to that the merciless checkpoint system in Demon’s Souls and you’ll find that Gates’ level is one of the best in the series. Too bad the Phalanx boss is the way he is.
1. Bloodborne: Central Yharnam
Bloodborne is one of FromSoftware’s greatest achievements and a testament to their prowess. The first view of Yharnam Central may not be as impressive as Limgrave or Boletaria Gate, but once players start to delve into its complexities, nothing beats it. Every corner holds something new, and just when players thought they had seen everything in a level, a new path opens up. The level also does a fantastic job of teaching the player how Bloodborne works while confusing the world they’ve learned. The two area bosses — Cleric Beast and Father Gascoigne — are some of the best in the game with dozens of fantastic boss designs. Central Yharnam is the complete package and the best entry level in Souls.
Dark Souls General — /vg/ — Video Games General
This thread no longer exists.
This is a copy saved on June 14, 2016.
Download thread: with preview only, with preview and attachments.
The second option can take a long time to download. Files will only be in live or recently drowned threads. Read more
If the M.Dvacha archive is useful to you, donate to pay for the server.
502 Kb, 624×528
2446 Kb, 5760×3240
83 Kb, 600×338
Dark Souls General #17645952 End of thread | Web
Buy :
http://store.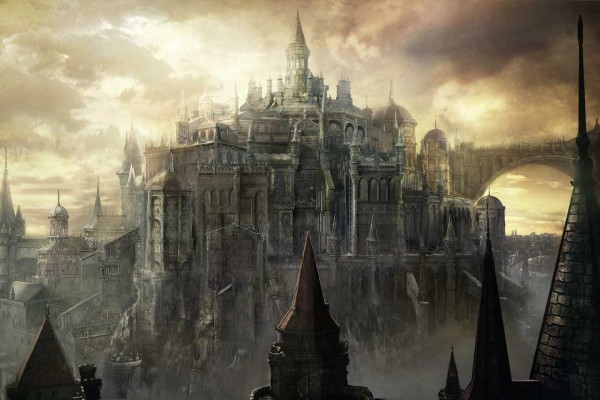 steampowered.com/app/374320/
Download
http://new-rutor.org/torrent/499388/dark-souls-3-deluxe- edition-v-1.03.1-2016-pc-repack-ot-xatab/
Wiki :
http://darksouls3.wiki.fextralife.com/Dark+Souls+3+Wiki
Tips for mentally retarded 9Dark Souls III Souls
http://pastebin.com/ka65TSHL
Answers >> 17648037 >> 17648152 >> 17651680 >> 17652478 >> 1765865 >> 17667835 >> 17668913 >> 1768306674> 1768254 >> 1768254 >> 1768254> , 14:15 #714 #17681027
I had a dream today. that we had a game exhibition in our city. And it was all right in the open stadium. They put rows of plastic seats there, like in polyclinics, and something happened on the stage. But I, passing by, saw Miyazaki and Tanimura on the last row. Ohuev with joy, I went to them to take selfies and ask questions. I even found a Japanese translator for this, from our ped, who was sitting in the next row, because, as it turned out, Miyazaki knows English badly. Let’s talk to them about some bullshit, I was about to go home, when I suddenly remembered that I forgot to ask about the most important thing. When I returned, I found that everyone had already begun to disperse, even Tanimura had left, but I managed to find Miyazaki. Having stolen someone’s phone (for some unknown reason, mine refused to turn on), I started asking him through google translate why in dark souls one poise works so that in havel you do not lose balance if you are beaten by daggers, but in dvrk souls 3 you lose. He, of course, did not believe, and asked for proof. While I was trying to go to YouTube, I even suggested that everything works in the Japanese version, but not in the rest. But Miyazaki said that the translation does not affect the game files in any way. Finally, I found him a video of «DARK SOLS 3 HAVEL ZERO POIZ», where a dude in a havel was punched. After watching this, Miyazaki said, «In the first part, my fists were like a stream, and in the third — like a waterfall.