How To Calibrate Your Monitor
Backlight Calibration
Minimum backlight
Maximum backlight
The easiest calibration setting is one that most people have probably already used. The ‘Backlight’ setting changes the amount of light your monitor outputs, effectively making it brighter. Changing the backlight level on your monitor doesn’t alter the accuracy of your screen significantly, so feel free to set it to whatever looks good to you. It’s sometimes called ‘Brightness’, which can be confusing. Generally, if there’s a single setting called brightness, it refers to the backlight. If there’s both a backlight and brightness setting, the backlight is the one you should be changing (as the brightness setting alters the gamma calibration, which we’ll look at later on).
Picture Mode Calibration
‘Standard’ mode
‘Movie’ mode
‘Dynamic’ mode
When it comes to color calibration, the best place to start adjusting the colors when calibrating your monitor is usually the picture mode. These are the setting presets the monitor comes packaged with and usually alter most of the image settings. It’s pretty important if you aren’t using a colorimeter for calibration because it’s otherwise very difficult to enhance your monitor’s color accuracy.
For the monitors that we test, we measure each of the picture modes and pick the most accurate one as part of our «Pre-Calibration» test. In general, though, the best mode is usually the ‘Standard’ or ‘Custom’ preset.
sRGB mode
Some monitors also come with an «sRGB» picture mode, often referred to as an ‘sRGB clamp’. It can be particularly beneficial in enhancing image accuracy on wide gamut monitors where the default color reproduction exceeds the sRGB color space, making some colors appear over-saturated. However, most monitors lock the rest of the calibration settings when this picture mode is enabled, which might bother some people.
Brightness And Contrast Calibration
The brightness and contrast settings change the way the screen displays tones at different brightness levels.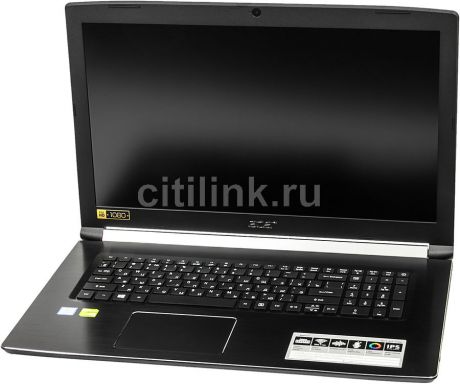 These are easy options to adjust when calibrating your screen without a dedicated calibration tool, as most of the job can be done fairly accurately while simply displaying different gradient patterns.
Brightness
Minimum brightness
Correct brightness
Maximum brightness
The brightness setting affects the way the monitor handles darker colors. If it’s set too high, blacks will look gray, and the image will have less contrast. If it’s set too low, the blacks will get «crushed». Crushing means that instead of showing distinct near-black steps of grays, the monitor will instead show them as pure black. It can give the image a very high contrast look at first glance, but it loses a significant amount of detail.
When calibrating your monitor, the best way to adjust the brightness is by using a near-black gradient test pattern like the one above. Raise or lower your brightness setting until the 17th step disappears completely, then go back one step to have it be visible again.
Some monitors have a ‘Black adjust’ or ‘Black boost’ setting that lets you adjust the black level. You can use it to make blacks look darker, but since you can’t make blacks look darker than what the display is capable of, it ends up crushing blacks. Some gamers use it to make blacks look lighter, making it easier to see objects in dark scenes, but it’s at the cost of image accuracy. It’s best to leave this setting at its default.
Most graphics card software applications have a dynamic range setting that lets you toggle between limited and full RGB range. A full RGB range means that the image is displayed using all 255 values, with 0 being absolute black and 255 being absolute white. It’s the default range for sRGB and the recommended setting for most modern LCD monitors. The limited range (16 — 235) is mainly used for TVs as most movies and TV shows are mastered in the limited range. In short, you have to match the source and the display as forcing your full-range monitor to display a limited RGB range makes the image look washed out, and forcing a limited-range display like a TV to show a full RGB range crushes blacks. The pattern we use is for calibrating a full-range display.
Download Pattern
Contrast
Minimum contrast
Correct contrast
Maximum contrast
The contrast setting is very similar to the brightness setting, but it affects the brighter parts of the image rather than the darker parts. Much like brightness, setting it too high will cause brighter images to «clip,» which is similar to crushing. Setting it too low will darken the image and reduce contrast.
Just like when calibrating for the brightness, adjust the contrast until steps up to 234 show some visible detail. The last few steps should be very faint, so it might take some trial and error.
Download Pattern
Sharpness Calibration
Correct sharpness
Maximum sharpness
Sharpness is one of the easiest settings to adjust, and generally, the default tends to be fairly accurate.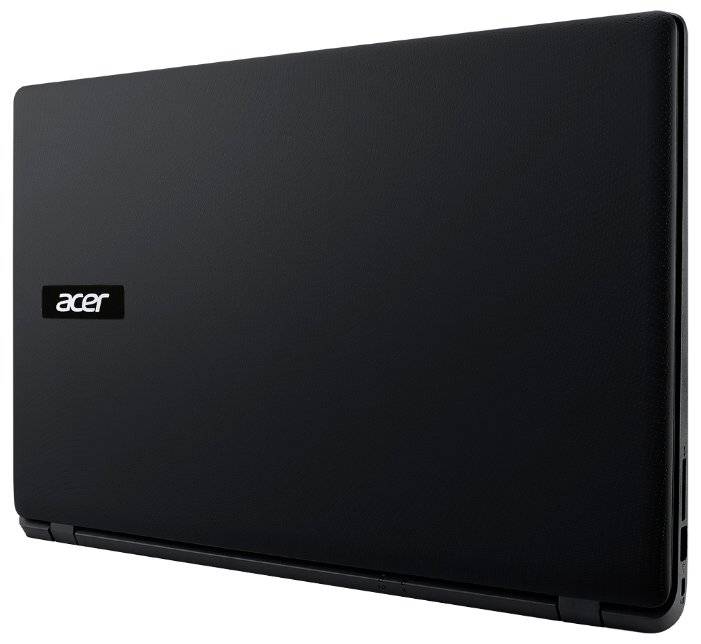 Adjusting the sharpness changes the look of the edges of shapes that appear on-screen. Having it too low will give you a blurry image, while setting it too high will give the picture an odd look with strange-looking edges. It’ll also usually cause close, narrow lines to blend and produce a moiré effect.
The simplest way to calibrate this aspect if you aren’t pleased with the default is to set it at max, then lower it until no strange pattern forms between the lines and shapes of the test image.
Download Pattern
Color Temperature Calibration
Warm color temperature
Cool color temperature
The color temperature adjusts the temperature of the overall picture. A cooler temperature gives a blue tint, while a warmer temperature gives a yellow or orange tint. Think of it as the tone of the light outside at various times of the day. When the sun is shining bright at noon, the clouds and skies look almost pearl white without a distinct yellow. However, the light is yellow in the morning and evening as the sun rises and sets, and at night, white objects look blue when everything is lit by moonlight. We recommend a 6500k color temperature, which is the standard for most screen calibrations and is equivalent to midday light (also called Illuminant D65). It’s generally on the warmer side of most monitors’ scales. Some people find it too yellow, so feel free to adjust it to your preference.
White Balance Calibration
The white balance refers to the balance of colors across different shades of grey. An absolute white or grey has equal amounts of every color, with only the luminance distinguishing them.
Unfortunately, it isn’t possible to adjust these settings with any form of accuracy without the necessary equipment. In general, we recommend most people keep these settings at their defaults as they can easily make things worse. Even copying our settings made using a colorimeter isn’t recommended since these values will most likely be different across different units of the same monitor.
ICC Profiles Calibration
Calman’s ICC Profiler
If you do calibrate your monitor using a tool, your calibration software will likely create a calibration profile that ends in .icm. This is an ICC profile, effectively a reference table that your computer’s programs can use to display content accurately on your screen. In general, Apple’s macOS is better at handling ICC profiles, whereas Windows and Windows applications tend to be quite inconsistent with how and when they’re used. Generally speaking, hardware calibration yields better results, but since most monitors don’t allow for full calibration using the OSD settings, ICC profiles are essential to getting the best possible image accuracy.
Much like the white balance, we don’t recommend you use an ICC profile built on another monitor for your own, even if it’s an identical model. The variance in accuracy between units tends to be quite distinct, so the correction that these profiles apply might not necessarily match what your monitor needs.
Motion Settings
While usually less problematic than on TVs, there are a few settings that you can adjust to alter the quality of the motion produced by the screen.
Overdrive
Visible Overshoot
The overdrive setting adjusts the speed at which the monitor’s pixels switch from showing one thing to another. Usually, the default setting tends to be optimal, but you might prefer setting it higher or lower. A too strong overdrive setting will cause the pixels to overshoot, which creates a strange-looking inverted ghost following moving objects on-screen. A too low setting will create more motion blur, with longer trails following moving objects. You can learn more about overdrive in our motion blur article.
G-SYNC and FreeSync
G-SYNC and FreeSync are variable refresh rate technologies that allow the monitor to synchronize its refresh rate with the framerate of the input device automatically. It’s a great feature that reduces stuttering and generally makes for a more fluid experience. If your monitor supports it, we generally recommend keeping it on at all times unless you encounter bugs with certain games. G-SYNC specifically includes a «variable overdrive» feature that automatically adjusts the overdrive setting according to the game’s frame rate. You can learn more about these technologies in our G-SYNC vs FreeSync article.
Refresh Rate
The refresh rate of your monitor refers to the frequency at which it updates what is shown on-screen every second. The standard refresh rate found on most monitors is 60Hz, but some screens, usually gaming-oriented, support upwards of 360Hz. You should almost always set it to as high as possible. You can learn more about refresh rates and our related tests in our refresh rate article.
Additional Calibration Settings
Game Mode
Some monitors also feature a ‘Game Mode’ (sometimes called ‘low input lag mode’). We recommend using this feature, as it usually lowers the monitor’s input lag without altering the image quality, making it more responsive.
Low Blue Light
Similar to modern mobile devices like smartphones and tablets, many monitors have a blue light filter that can help reduce eye strain. It’s often called ‘Low Blue Light’ or ‘Reader Mode,’ and it essentially reduces the amount of blue light emitted by the screen, giving it an amber shade. It’s said to be less fatiguing on the eyes, especially at night. Most desktop operating systems have this feature built-in: ‘Night Mode’ on Windows, ‘Night Shift’ on macOS, and ‘Night Light’ on Chrome OS. There are also third-party apps that can do the same. We recommend leaving this off when calibrating your monitor.
Eco Mode
Many monitors come out of the box with a series of energy-saving features enabled. This generally alters the picture quality in undesirable ways and are better kept off. Usually, monitors will also have a dedicated «eco» picture mode that enables these features. If you would like to reduce the energy consumption of your monitor, we recommend reducing your backlight setting instead. Simply turning off your monitor every time you step away from your desk also greatly reduces idle consumption. It’s best to leave this setting off when calibrating the monitor.
Conclusion
Unless you have the equipment to perform a more thorough calibration, calibrating a monitor by eye is largely a trial and error process, so it may take a few tries before you get the results that you’re looking for. Fortunately, most monitors have a reset feature to discard any changes and bring the settings back to their defaults if you end up with worse image quality. While it’s generally recommended for content creators to calibrate their displays once a month because accuracy can drift over time due to panel degradation, most people can probably get by for much longer in between each calibration.
Acer KG241Q 144Hz Monitor Review
Search
—
1980
One of the most requested reviews here at NUpgrade is finally coming out of the oven, Acer lent us its low-cost Acer KG241Q 144Hz monitor, the Acer KG241Q 23. 6 “and we will compare it directly with the Warrior Kai, monitor that took everyone by surprise – including us – and it was very well accepted by the public and by us as well.
We will touch all possible aspects of the monitor, just as we already do in the current reviews and we will see which model assumes the title of 144Hz monitor with the highest cost x benefit in the Brazilian market, come on.
External Construction and Design
Let’s start with the most striking aspects of the monitor, which are its support feet and its side edges that are quite large. The monitor really gives the impression of not being very modern because of the more square design, without curves or thin edges like some of its competitors.
Acer KG241Q 144Hz Monitor Review – Monitor name is at the top right
Whether it is beautiful or not with you, the important thing is not to hinder the usability of the product, and fortunately it does not hinder anything. Going to the rear of the monitor we find two HDMI 2. 0 Inputs (supports 144Hz) and a DisplayPort 1.2 (also supports 144Hz). A DP cable was included in our box, but as our monitor is already in use, we are not sure if Acer sent it together or if it actually comes in the box.
Acer KG241Q 144Hz Monitor Review -As the picture illustrates, there are 2 HDMI 2.0 ports and 1 DP 1.2 port
The monitor stand is almost the trademark of Acer in its gamers monitors, we have the two red “claws” jumping forward with the main trunk recessed and all in black. Unfortunately this support only has tilt adjustment, offering no elevation or rotation on the axis, be it horizontal or lateral.
Acer KG241Q 144Hz Monitor Review – Stand is firm and very stable, providing little shaking during gambling
On occupying enough space I would say it depends. At its rear there is a stretch, but this is done to ensure greater stability of the monitor on the table. I prefer the KG241Q’s V-claws instead of the AOC Hero’s round support as you can put things there without sliding.
But in fact the only good points of the support foot are the stability and the inclination, besides the Hero is undoubtedly much more complete – height adjustment, inclination, rotation – and the other manufacturers owe this point.
The navigation and Power On / Off buttons on the monitor are all positioned at the front front with easy access and indented in the monitor housing, probably for design reasons. One thing I think they could do is put small reliefs to better define the function of each button by touch, because many times I ended up pressing the wrong button exactly because of the lack of it.
Acer KG241Q 144Hz Monitor Review – There are no textures on the navigation buttons, which I think makes a good difference
Acer is undoubtedly one of the manufacturers with the most complete menu, and because of that there are great gains that can be made if you do a color calibration on the monitor. There are also FreeSync, DCR options, among other things that I will explain better in the color section of this review.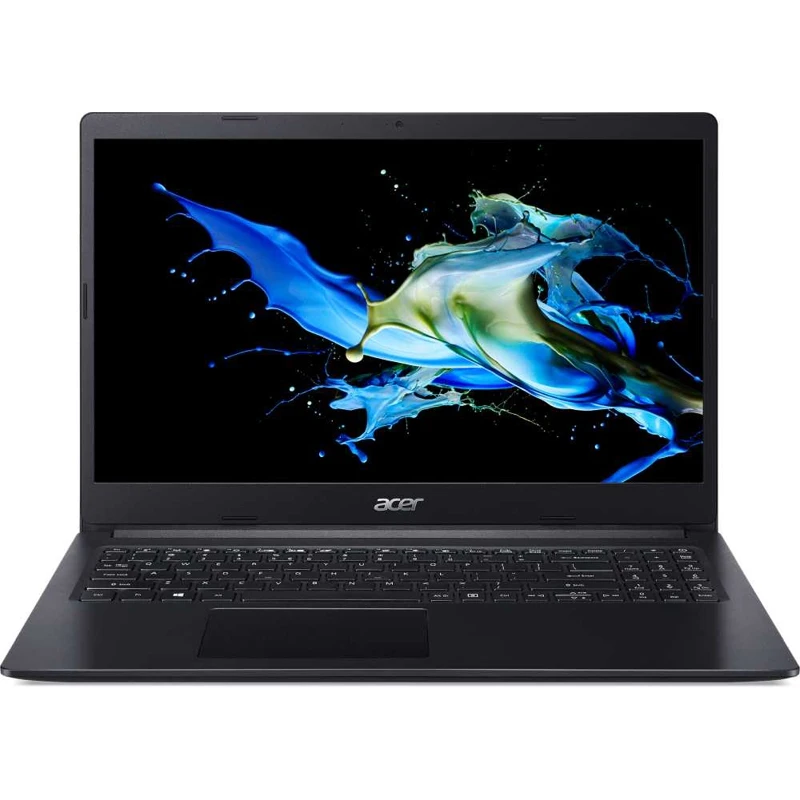
Oh, before any of you ask, the monitor does have support for VESA mounts and its measurements are 10cmx10cm, so just look at the hole in the support to see if it matches with the monitor and see if it supports at least 4kg.
Acer KG241Q 144Hz Monitor Review – Drilling is compatible with VESA 10x10cm
So for now the monitor does not take any penalty on your note, not least because I do not score points for visuals with the exception if it hinders use, which it does not. Now let’s talk about the panel itself.
Image quality
This part of the review will be separated by several parts, it is the most important aspect of a monitor and therefore it is the one that deserves the most attention on our part. Let’s start with color fidelity.
Gaming
This is the most focused aspect of the monitor, so this time I decided to start the review by talking about it. The first game that I ran with this monitor with CS: GO, I did it because it is the game that I am most familiar with at the moment and I know every corner of it.
The first thing I noticed was the saturation, which ended up “bouncing” the colors on the maps much more. In hell, for example, there are several places that I am used to seeing whites with shades of blue – partly because of my AOC Hero at home – and that on Acer they turned out to be more yellow, and highlighting the greens too.
Acer KG241Q 144Hz Monitor Review – Green tones are well highlighted
Of course, in addition, 144Hz makes all the difference compared to a common monitor and I had no problem with that. After the CS game, I decided to go to Metro Exodus, and the image quality did not disappoint us one bit.
In Metro Exodus the story changes a little, there is clearly a “green filter” in the colors of the monitor and it is very apparent in this game because it contains cold and dark colors , highlighting this tone pull. The good news is that this can be corrected without any major difficulties directly on the monitor.
Acer KG241Q 144Hz Monitor Review – Colors are unfortunately not as visible on the camera
And so, we decided to go to Far Cry New Dawn which has lots of bright colors and that makes monitors with good reproductions shine even more. Once again we liked the results we saw and without putting it side by side with other monitors we certainly wouldn’t see anything bad.
Acer KG241Q 144Hz Monitor Review – Far Cry New Dawn has very colorful elements that the monitor ends up highlighting even more
In general, if you buy the Acer KG241Q to play and follow the few changes we’ve made directly to the monitor settings, you shouldn’t be bothered in the slightest. The user experience was great and we had nothing to complain about within the price and panel limitations it offers. To see what we have changed on the monitor, just see the section below.
Colors and Contrast
According to the specifications of the panel itself, it covers 72% of the NTSC color aspect, which in theory gives us 100% coverage of the sRGB aspect. Unfortunately we cannot validate these numbers because we do not have the testing tools.
What I can say is that we put it against other monitors certified for 99% DCI-P3, and what I can say is that it is far from this level of image quality, which reinforces its very low price which is currently varying between $ 181and $ 221, depending on the day and stores you access.
Acer KG241Q 144Hz Monitor Review – The image is good for the type of panel and the price, but not as accurate as other models
Again we put it in comparison with other monitors and also with its biggest competitor, the Warrior Kai 144Hz. If you haven’t seen his review, it’s worth checking out.
We placed the two monitors side by side in two different comparisons: one before calibration and one after, and the results were very interesting, quite different from what we expected to see.
When we place the two monitors with the factory default settings, the difference between them is clear and Kai is in the front by a large margin. The KG241Q’s colors are too green and the monitor looks not only like a green film but also exaggerated.
Ace Acer KG241Q on the left – Warrior Kai on the right
The contrast is also a place where Kai is ahead when the monitors are original from the factory, something that was totally expected due to the different technologies used in both monitors.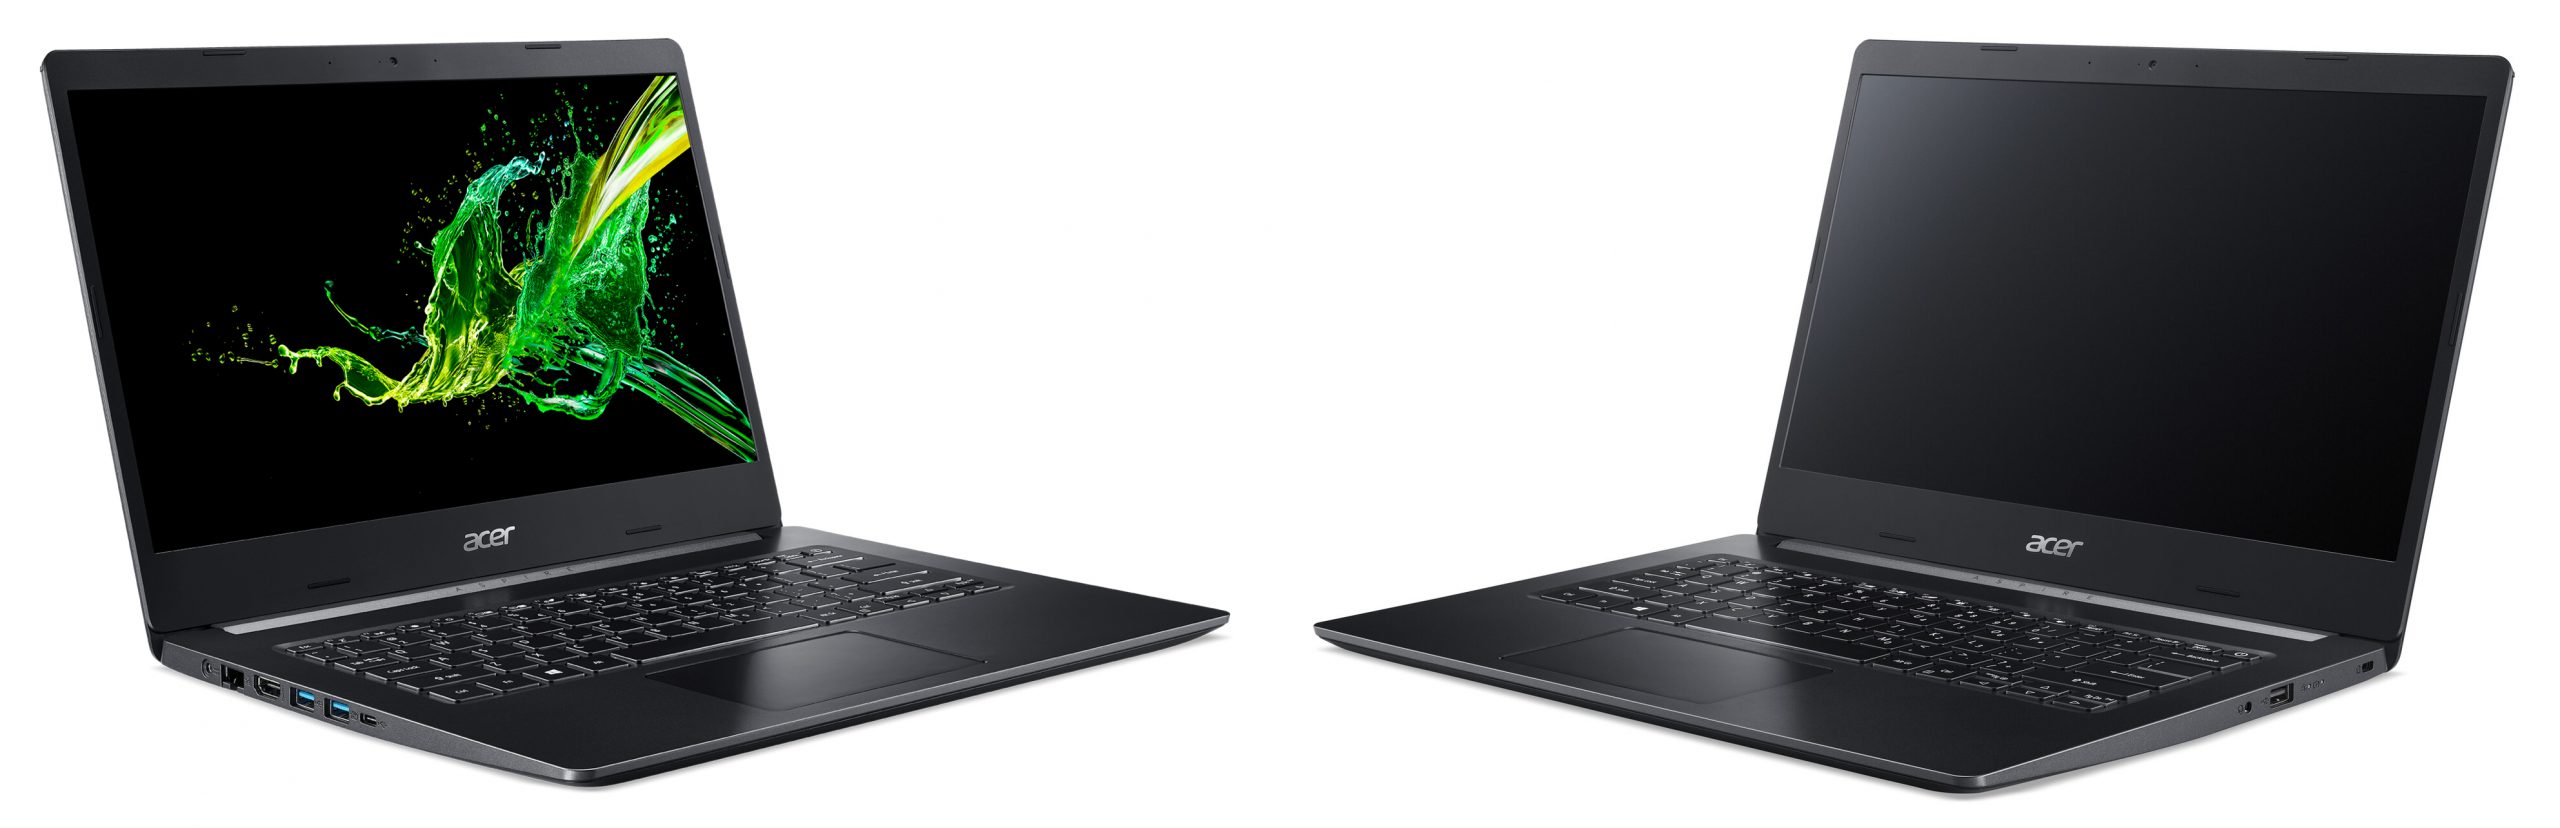
But, as I mentioned before in the review, we always do color calibration to get the closest to the real colors of the images, and this is where the Acer monitor goes ahead. Because of the extensive color configuration menu that Acer provides, it has a lot of adjustment flexibility and ends up having a much more accurate color reproduction after the internal adjustments.
Adjusting the image just like we did shouldn’t take you more than 5 minutes, and to help you even more I’ll leave you with a short list of the adjustments we’ve made.
- Brightness 76
- Contrast 30
- Black Boost 4
- Gamma 1.8
- R Gain 54
- G Gain 42
- B Gain 50
- R Bias 47
- G Bias 46
- B Bias 45
- Blue Light, ACM, Super Sharpness, VRB and Aim Point OFF.
The rest that was not mentioned have been kept at the default values.
So, to finish this part, we can conclude that your factory colors are not very good, there is a great tendency towards green and it is very apparent depending on which environment you are using the monitor. But, after correct adjustments the colors are much clearer as well as the contrast improves a lot, making it a great option and competition to Warrior Kai, his main rival.
Ghosting / Fringing
Ghosting is the effect caused by the slow change of pixels on a computer screen, the ideal is that when we take a picture of the monitor, we need to see only the image that is being shown totally static, without any kind of blur or trail behind the image.
As usual, for the video review, we use the iPhone XR with slow-motion recording and for the photos in this article, we use a Canon T5 with 1 / 160sec shutter speed, giving more than enough time for the monitor to display fully static images on all the UFO Test tracks.
And luckily the result is very good for an input panel, there is a little fringing in the images, but low enough not to be noticed during the game, while Ghosting is very little and again it doesn’t bother.
Even with the good results presented by the monitor, he still ends up being minimally behind the Warrior Kai, but it is so little that you don’t really notice the difference during use, only in tests. If that was a concern with the monitor, then know that you no longer have to worry.
Input Lag
The Input Lag “test” is always recorded in slow motion to give an idea of the monitor’s delay. We always use the same environment and the same game to ensure that there will be no gross differences between each monitor.
Again, I emphasize that it is more a visual test than a scientific one and it is an aspect that I do not conclude – unless it is a big problem – due to the lack of testing equipment. As soon as we have the appropriate equipment we will update all possible reviews.
From the video, everything indicates that the Acer KG241Q has a delay very close to the Warrior Kai, with only one instance being longer than the rest, but this could very well be an external influence – like some other program updating in the Background, for example.
We can then conclude that there are no major delay problems on the part of the monitor and that you should not have any problems in competitive games because of that, after all I also played a lot with the monitor and could not notice any problems.
Conclusion
And this review ends with yet another good evaluation of a monitor that has been competitively priced and has not shown any serious flaws during the tests, proving to be the Warrior Kai’s real competitor in both price and quality.
In the end, what will define which one you prefer will be your preference. Want a more modern design and just plugin, connect to the PC and play? Warrior Kai. Do you want a slightly better image as well as firmer support on the floor and don’t care much for the appearance? Acer KG241Q.
Acer KG241Q 144Hz Monitor Review – Mustang photo used in the Warrior Kai and HQ 24QHQ review
Acer proved to be a good option between $ 161-201, prices that are seen almost weekly in several retail stores and the good part is that this is also true for Kai, but the criticisms still remain the same: IPS panel, greater color aspect coverage (at least 100% of Adobe RGB) and foot with more adjustments should already be standard at this time of the championship.
But regardless of which one you choose from the current options, you will undoubtedly be well served by the price and you should not regret your choice.
Pros:
- Plenty of color and contrast adjustment flexibility, greatly improving image quality
- Very stable support foot
- Low price
Cons:
- There are no height adjustments and no vertical / horizontal rotation
- Panel still uses TN technology
- Design gives an old product look
- Factory colors are not very good
👇 More in NUpgrade
- Xiaomi finally launches Mi Band 4 globally with NFC
- Electronic Arts releases more than 25 games on Steam starting today
- Panasonic launches its first TWS headphones, meet the RZ-S500W and RZ-S300W
- Rockstar Games will temporarily close GTA Online and Red Dead Online in support of Black Lives Matter
- 10 best (working) Torrents sites in 2020
- Motorola RAZR 2 can arrive with 6.
 7 “screen
You might also likeRELATED
Recommended to you
Acer A317-53 17.3´´ i5-1135G7/8GBGB/256GBGB SSD Notebook Silver| Techinn
Features:
Powerful Productivity:
— For better performance, the Aspire 3 uses the latest Intel® or AMD Processors1, has up to 16GB1 of memory, and delivers enough power to see you through your workday2. Work, play, or relax; do it all with powerful productivity.
Color-rich Display:
— The Full HD1 display keeps images and videos stunning while the narrow border offers-up more viewable space. To protect user’s eyes from harmful blue light, it also includes Acer BlueLightShield™. nine0003
High-speed Storage:
— With a combination of up to 1TB, M.2 PCIe SSD1, and up to 2TB HDD1 – users have plenty of storage for all of their media, work files, and more.
Plenty of Ports:
— With three USB ports, including two USB 3.2 Gen 1 and one USB 2.0, you’re always prepared for any situation – whether plugging in for a presentation or using the latest peripherals. If needed, you can also connect to an external display via the HDMI® port when the occasion calls for a larger screen. nine0003
Stay Connected:
— Users get easy updates to the latest information with a full range of connectivity options. Wi-Fi 5 (802.11ac) provides fast internet access. For enhanced video calls, this laptop also includes an optimized camera and microphones.
Purposeful Design:
— The practical design has been slimmed down to provide users with an easily portable device and even includes an ergonomic hinge1 that pulls in additional airflow from underneath the laptop.
Specifications:
Design:
— Product type: Notebook
— Form factor: Clamshell
Display:
— Display diagonal: 43.9 cm (17.3´´)
— Display resolution: 1600 x 900 pixels
— HD type: HD+
— LED backlight: Yes
— Native aspect ratio: 16:9
Processor:
— Processor manufacturer: Intel
— Processor generation: 11th gen Intel® Core™ i5
— Processor model: i5-1135G7 : 4. 2 GHz
2 GHz
— Processor family: Intel® Core™ i5
— Processor cores: 4
— Processor cache: 8 MB
— Configurable TDP-up frequency: 2.4 GHz
— Configurable TDP-up frequency: 28 W GHz
Memory:
— Internal memory: 8 GB
— Internal memory type: DDR4-SDRAM
— Memory layout (slots x size): 2 x 4 GB
— Maximum internal memory: 16 GB
Storage:
— Total storage capacity: 256 GB
— Storage media: SSD
— Total SSDs capacity: 256 GB
— Number of SSDs installed: 1
— SSD capacity: 256 GB
— SSD interface: PCI Express
Graphics:
— On-board graphics card: Yes Audio:
— Number of built-in speakers: 2
— Built-in microphone: Yes
Camera:
— Front camera: Yes
— Front camera resolution: 1280 x 720 pixels
— Front camera HD type: HD
Network:
— Top Wi-Fi standard: Wi-Fi 5 (802.11ac)
— Wi-Fi standards: 802.11a, 802.11b, 802.11g, Wi-Fi 4 (802.11n), Wi-Fi 5 (802. 11ac)
11ac)
— Ethernet LAN: Yes
— Ethernet LAN data rates: 10,1000,
— Bluetooth: Yes
— Bluetooth version: 5.0
Ports & interfaces:
— USB 2.0 ports quantity: 1
— USB 3.2 Gen 1 (3.1 Gen 1) Type-A ports quantity: 2
— Ethernet LAN (RJ-45) ports: 1
— HDMI ports quantity: 1
— Combo headphone/mic port: Yes
— Charging port type: DC-in jack
Keyboard:
— Pointing device: Touchpad
— Numeric keypad: Yes
Software:
— Operating system architecture: 64-bit
— Operating system installed: Windows 11 Home Extended Page Tables (EPT): Yes
— Idle States: Yes
— CPU configuration (max): 1
— Intel Virtualization Technology for Directed I/O (VT-d): Yes
— Intel Virtualization Technology (VT-x) : Yes
Battery:
— Battery technology: Lithium-Ion (Li-Ion)
— Number of battery cells: 2
— Battery capacity (Watt-hours): 36.7 Wh
— Battery life (max): 7 h
Power:
— AC adapter power: 45 W
Security:
— Cable lock slot: Yes
— Cable lock slot type: Kensington
— Trusted Platform Module (TPM): Yes
— Password protection: Yes
— Password protection type: BIOS, HDD, Supervisor, User
Weight & dimensions:
— Width: 403. 5 mm
5 mm
— Depth: 263.7 mm
— Height: 20.9 mm
— Weight: 2.6 kg
Want more electronics & computers products from brand Acer ? At techinn your electronics & computers online store has a large number of electronics & computers products related to Acer A317-53 17.3´´ i5-1135G7/8GBGB/256GBGB SSD Notebook 9013 available to you. Now Acer A317-53 17.3´´ i5-1135G7/8GBGB/256GBGB SSD Notebook in stock. We value the needs of our customers and select every item of electronics and computers with great attention to detail.
23.8″ LCD monitor ACER V247Ybi, black, (UM.QV7EE.001)
9 700 rub
Add to cartDismantled (0)
Share:
- Code: 459735
- Manufacturer: Acer
- Diagonal: 23 inches or more
- Matrix type: IPS
-
Max.

